Stick adjustment, Parts, Troubleshooting – Star Headlight & Lantern DL15-30 User Manual
Page 19
-16-
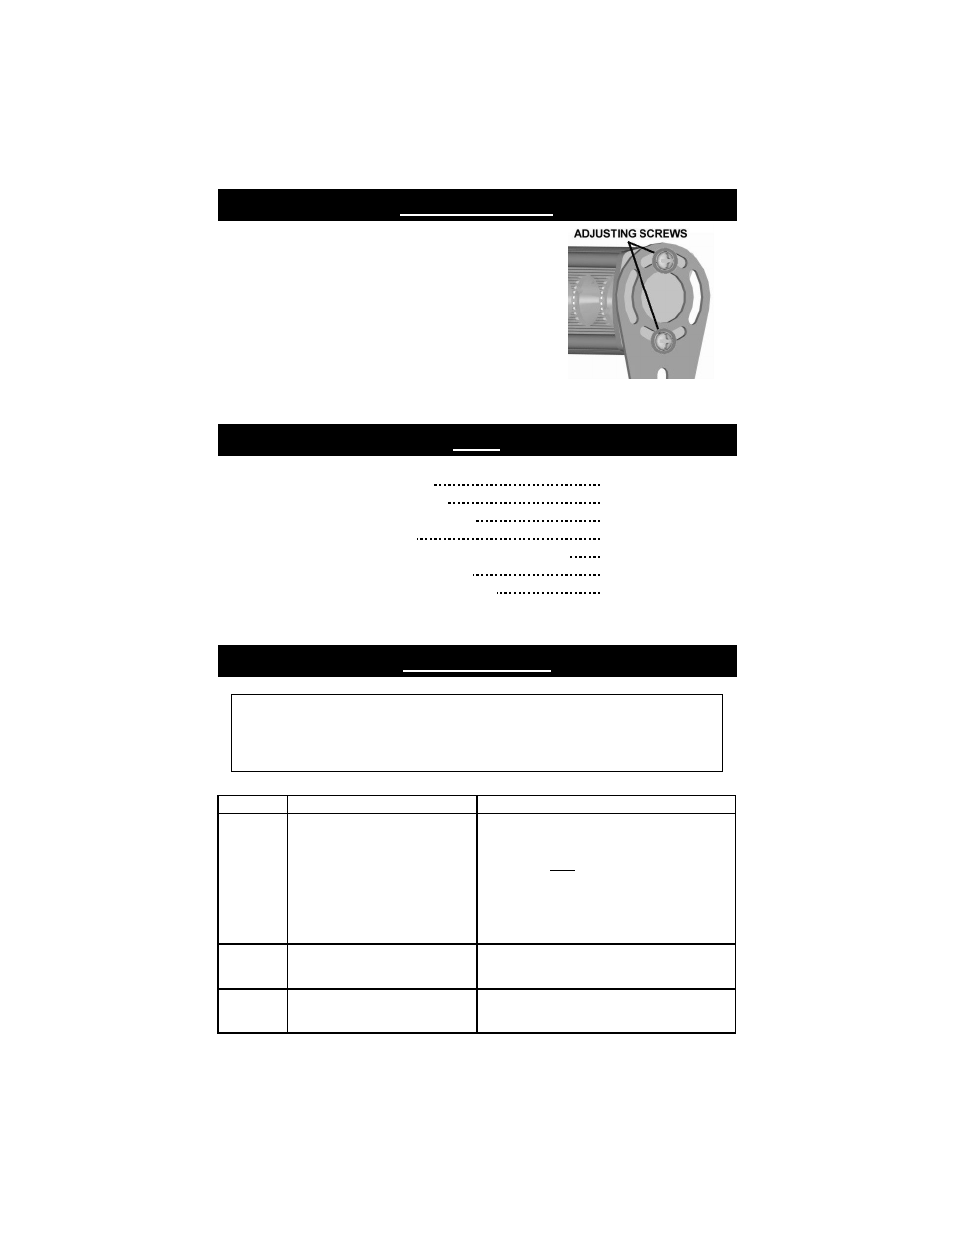
After the light is securely installed, loosen the adjusting
screws located on each end of your light. Tilt the light to
the desired angle and tighten the screws. Turn the light
on and check the light from the front or rear of the
vehicle, through the window (if applicable), to ensure that
it is at the most desirable angle, and that the light is not
impeded by any obstacles and/or window tinting
Stick Adjustment
Adjusting Screw Washers
P30072-3
Short (1-¾") Mounting Legs
DL15-BKT-S
Medium (2-7/8") Mounting Legs
DL15-BKT-M
Tall (5") Mounting Legs
DL15-BKT-T
Kit w/1 pair each: Short, Medium, & Tall Legs
DL15-SMTK
Optional 4-Switch Switch Panel
SP1515-TDC
Optional Controller w/ LED Display
TD77-2
Parts
The DL15 uses state-of-the-art Light Emitting Diode (LED) technology. This warning
light is comprised of ultra-high intensity LEDs that are operated by a micro-controller
to efficiently produce light output with lifetimes up to 100,000 hours. Under normal
circumstances, you will not need to replace any lights in this warning light.
Symptom
Possible Cause
Check
No power
Power source not turned on
Power hooked up backwards
Positive ground vehicle
Connector loose
Fuse blown
Loose connection at power source
Is ignition switch an EXTERNAL SWITCH?
Check that Power and Ground wires are correct
Check vehicle’s owner’s manual to be sure
vehicle is NOT positive ground.
Check connector
Is an external fuse or circuit breaker used?
Check wires connected to +12VDC
Are the negative leads connected to a good
ground?
Odd flash
pattern
Programmed for a random flash
pattern
Jumper not set properly
Try cycling the patterns.
See jumper setting instructions.
Directional
buttons
reversed
Mis-wired controller
Traffic director mounted upside
down
Swap left and right control wires.
Turn Traffic Director over or swap left and right
control wires.
Troubleshooting