Datalogging and charting, Converting a chart file to txt, Motor controller – Parr Instrument A2110E User Manual
Page 13
Motor Controller
w w w . p a r r i n s t . c o m
13
5. Click the Save button and save a REC
fi le to an appropriate place on the PC.
When the chart is generated, it will write
to this fi le.
6. When you return to the main Recorder
screen, notice that the Save button
is depressed. Hit the Start button to
begin recording.
7. The chart will show the process values of each
module represented. As the values change, the
chart will automatically scale to show the values.
8. When you wish to stop recording, click the stop
button. The chart has already been saved in the
REC fi le created in step 5. You may
view the chart by clicking the record
button (shown on the left).
9. You can convert the fi le to a txt fi le for export to
a spreadsheet as well.
Converting a Chart File to TXT
Once a chart REC fi le has been created, you can con-
vert it to a TXT fi le for export into a spreadsheet.
1. Insert the 554M CD into the CD-ROM. Locate the
conversion fi le at " \software\convert.exe". Copy
it to the PC.
2. Open the convert.exe fi le. No installation is
necessary.
3. Click the "CONVERT" button. Locate the REC fi le
to be converted, and click "Open".
4. The conversion program will create a new TXT
fi le in the same location as the REC fi le with the
name "CONVFILE.TXT".
Datalogging and Charting
The A2110E Controller comes equipped with a chart-
ing and datalogging program. This program cannot
be run simultaneously with the control program, but
once the user is satisfi ed that the controller is set,
the control program may be closed, allowing the
charting and datalogging program to run. The mod-
ule on the A2110E may still be modifi ed manually at
the physical panel during datalogging and charting.
1. Open the ParrCom.exe fi le. No installation is
necessary.
2. At the main program screen, select "protocol >>
set PC" (if you have already done previously, you
may skip this step). Ensure that the following
values are set:
Baud: 9600
Data length: 8
Parity: even
Stop bit: 1
ASCII: RTU
Click OK to return to the main screen.
3. At the main screen, select "Program >>
Recorder". The Recorder screen will come up.
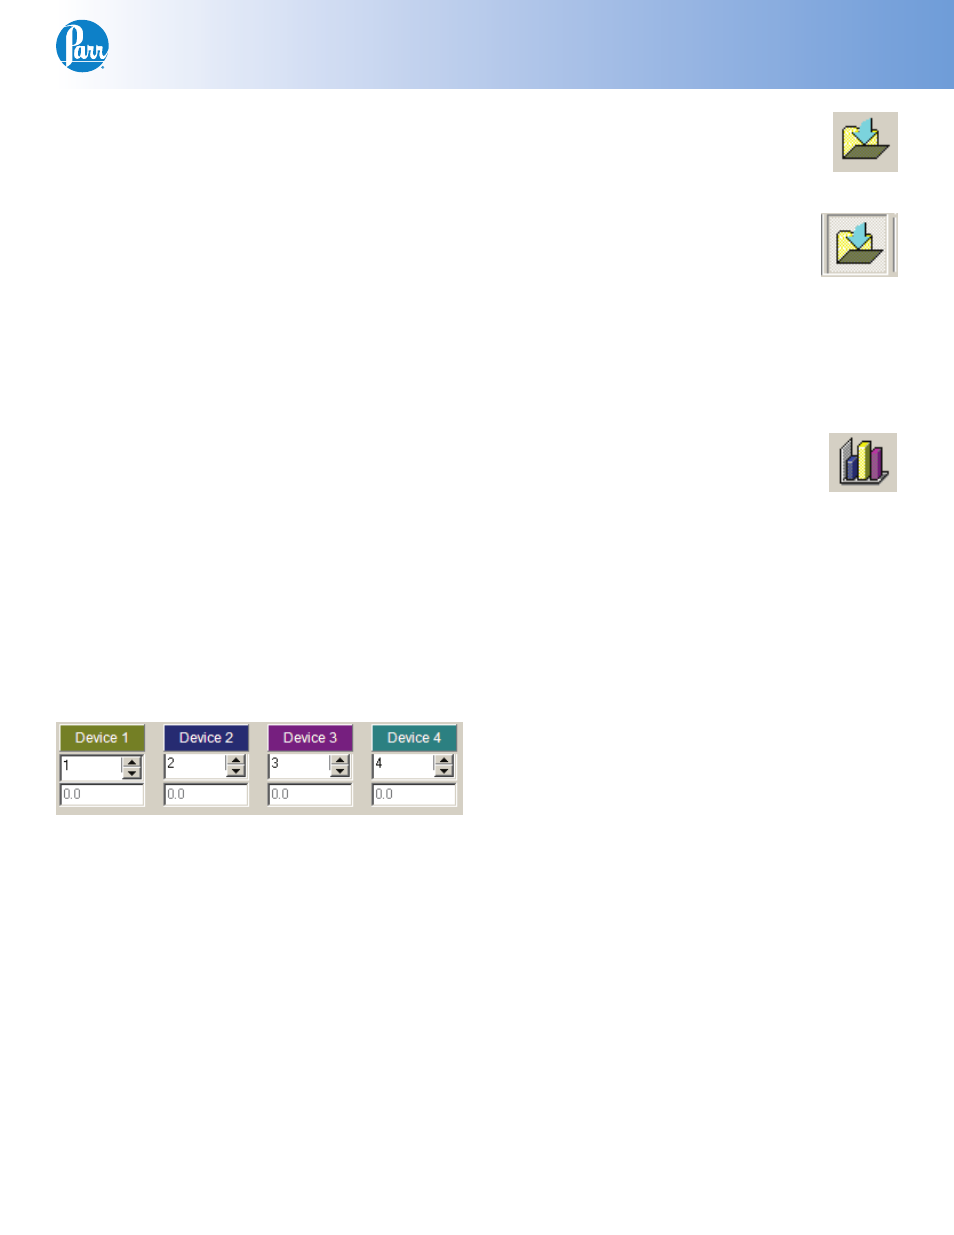
4. Select the proper address for the digital display.
The digital display has address 2.