Battery charging – ParkZone PKZ3980 User Manual
Page 4
6
7
the battery may also result in loss of control while the
motor is running, as the voltage of the battery may drop
below the minimum operating voltage of the receiver and
other electronics.
Also, you should not fly to the soft LVC every time you fly.
Instead, you should be aware of the power level of the
battery/airplane throughout the flight, and if at any time
the airplane begins to require more throttle than typical to
maintain flight, you should land the airplane immediately.
Routinely discharging the battery to the soft LVC can still
cause permanent damage to the battery.
If you have any further questions or concerns regarding the
handling, charging and/or use of the included Li-Po battery,
please contact the Horizon Support Team at 877-504-0233,
Horizon Hobby UK at +44 (0) 1279 641 097 or Horizon
Technischer Service, Germany at +49 4121 46199 66.
It is important that you charge the included 1S 3.7V 120mAh
14C Li-Po Battery (PKZ1035) with the included 1S 3.7V DC Li-Po
Battery Charger (PKZ3240) or the E-flite Celectra 4-port Charger
(EFLC1004). Attempting to charge the battery using another
Li-Po charger or non-Li–Po compatible charger could result in
serious damage. Please familiarize
yourself thoroughly with the Battery Warnings and Guidelines
section before continuing. Follow these steps to charge the Li-Po
battery with the included charger.
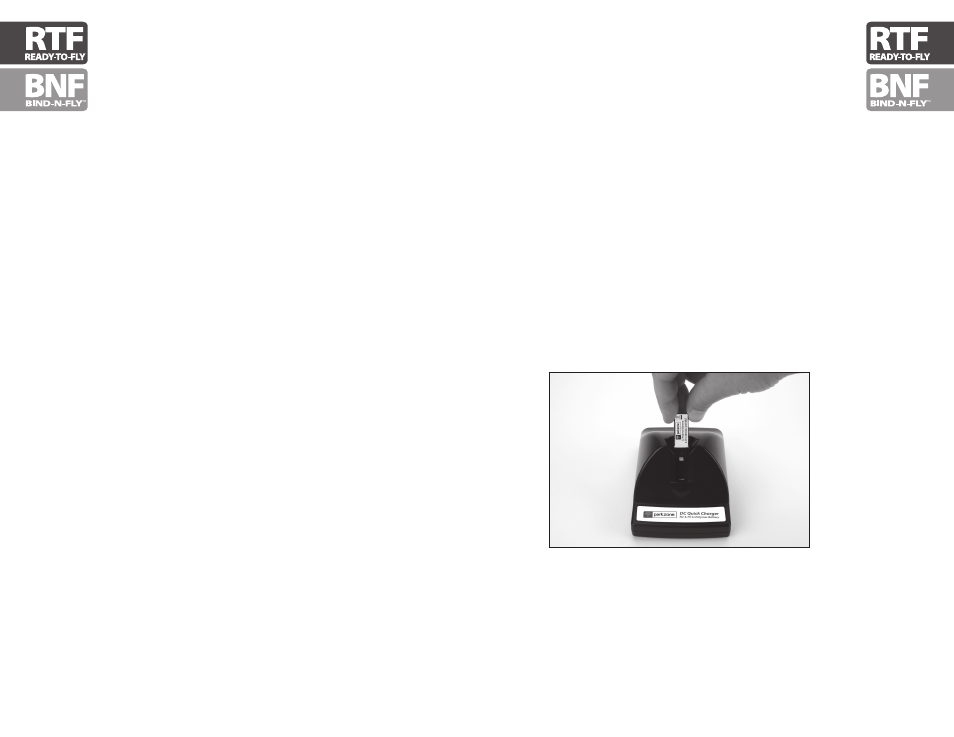
• Remove the cover on the bottom of the charger and install
four of the included AA batteries, noting proper polarity.
Replace the cover after the AA batteries are installed.
• Slide the battery into the slot on the charger. The end cap
of the battery has been specifically designed to allow the
battery to be slid into the slot easily one way (usually with
the label on the battery facing outward) to prevent reverse
polarity connection. However, please be sure to check for
proper alignment and polarity before proceeding to the
next step.
• Gently press the battery and its connector into the charge
jack/connector located at the bottom of the slot in the
charger. Again, be sure to check for and to achieve proper
polarity before making the connection.
• After you make the connection successfully, the LED light
on the charger will turn solid red, indicating that charging
has begun.
Battery Charging