Stock control throw choosing a flying area, Flying the j-3 cub – ParkZone PKZ3980 User Manual
Page 14
26
27
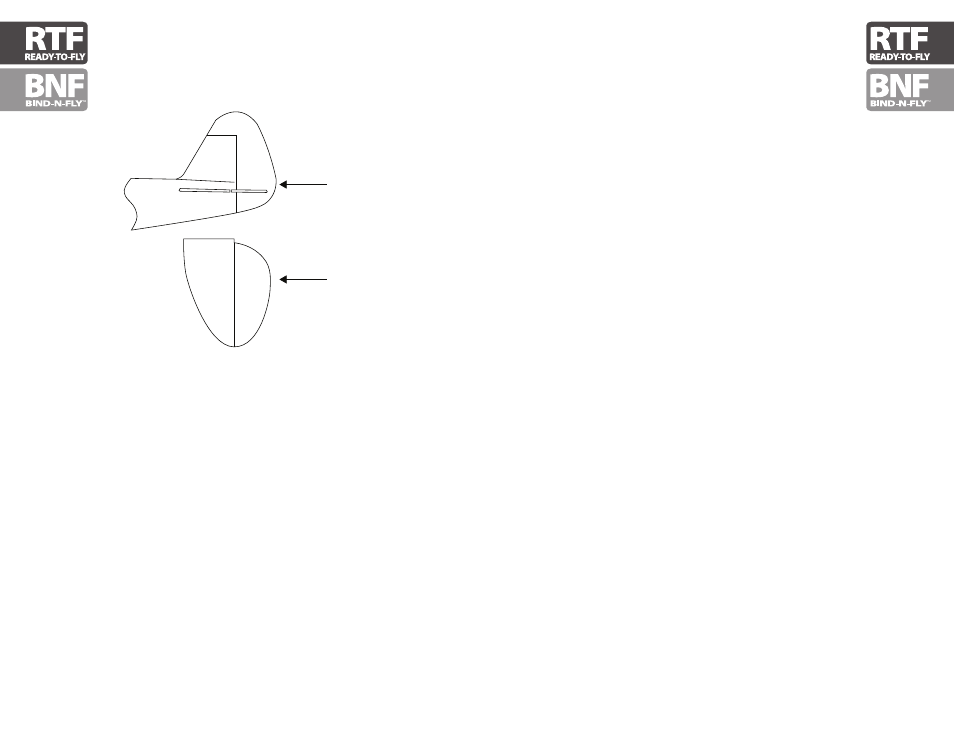
Stock Control Throw
Choosing a Flying Area
Out of the box, your J-3 should have the approximate control
throws. In production, this can vary by approximately 2mm
without any effect on flight performance.
Control surfaces are
measured at the
widest point.
High Rate
Low Rate
Elevator:
4mm up/down
3mm up/down
Rudder:
6mm left/right
4mm left/right
With the battery installed, the center of gravity is
approximately 22mm as measured back from the
leading edge of the wing. This can vary by approximately
1 to 2mm.
When you are ready for your first flight, you will want to select
a relatively open area, the size of a basketball court or larger,
that is free of people and obstructions with calm wind (if flown
outdoors). Once you have properly trimmed your airplane and
become familiar with its handling and capabilities, you will be
able to fly in other smaller, less open areas.
Flying the J-3 Cub
Start first flight using the low rate settings to become
familiar with the flying characteristics before increasing
the throw of the control surfaces.
Place the J-3 Cub in position for takeoff (facing into the wind
if flying outdoors). Gradually increase the throttle to ¾ to full,
and steer with the rudder. Pull back gently with the elevator and
climb to check trim. Once the plane is trimmed, you can begin
exploring the flight envelope of the J-3 Cub.
IN THE UNFORTUNATE EVENT OF A CRASH OR PROPELLER
STRIKE, NO MATTER HOW MINOR OR MAJOR, YOU MUST LOWER
THE THROTTLE STICK AND TRIM TO THEIR LOWEST POSSIBLE
POSITIONS AS QUICKLY AS POSSIBLE TO PREVENT DAMAGE TO
THE ESC OF THE RECEIVER UNIT.
Failure to lower the throttle stick and trim to the lowest possible
positions in the event of a crash could result in damage to the
ESC in the receiver unit, which may require replacement of the
receiver unit.
Note: Crash damage is not covered under
the warranty.