Camaro 160086 xa coilovers – Lingenfelter L500151410 Lingenfelter - Pedders Camaro SS Coil Over Shocks User Manual
Page 8
www.PeddersUSA.com
248.522.8021
Camaro 160086
Xa Coilovers
Like the front coil over assembly, the rear requires you to transfer the upper strut mount, and the 2 upper
strut bushing washers from the OE rear units to the new assembly. Also a hole must be drilled in the upper
plate to be able to install an adjusting cable to the side-mounted adjuster. Then you will have to install the
upper strut mount bracket, 2 large washers top and bottom, and then tighten the strut nut assembly,
keeping the upper strut shaft in line with the adjuster cable and hole that you drilled. You do not want to
have the cable kinked. Then you will have to set the coil spring preload, then make height adjustments.
There will be an approximate 2mm strut height change to a 1mm rear vehicle ride height change. This is
different than the front. Threading the strut body into the lower bracket, lowers height. There is a
maximum thread extension of the rear coil over strut shaft and an inspection hole to verify(30mm). You
will be able to adjust a maximum height of approximately ½ inch (13mm) height to a drop cover 2 inches.
Note the dampers may allow this, but you may reach the maximum drop to the 620mm with 20-inch
wheels. Aggressively large wheels and tires may not allow you to drop this low or tire to quarter panel, in
and out, may have contact.
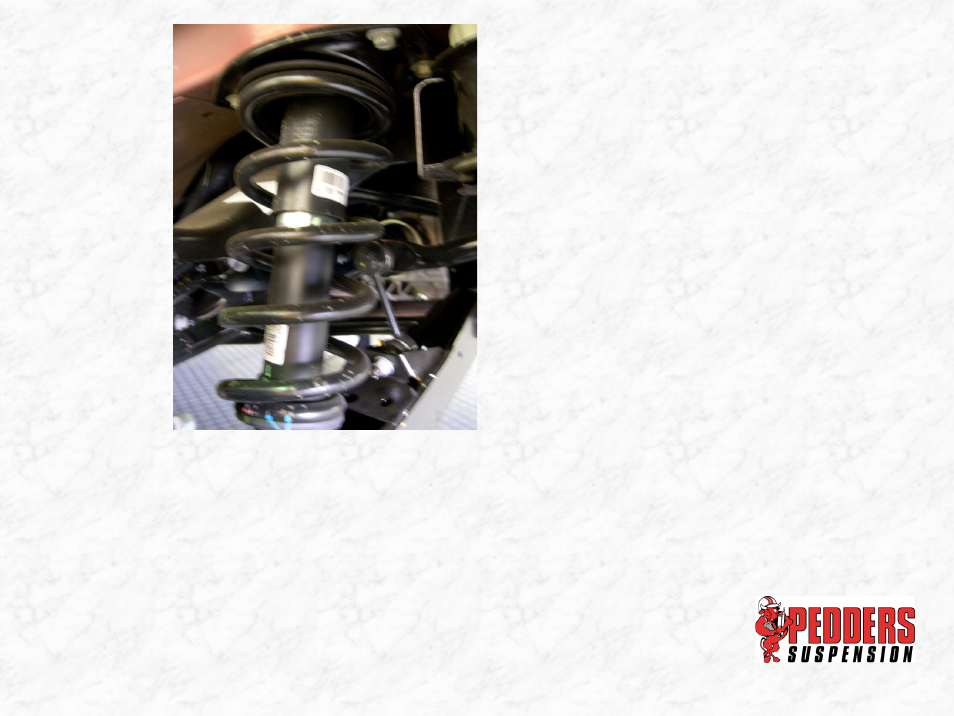
Removal of Rear Struts
1.
This method involves
disconnecting the lower
control arm from the knuckle
and disconnecting the sway
bar end link. To get the lower
shock mount out of the
control arm, this may cause
some cosmetic damage to
the lower cradle to inner
lower control arm mounting
area. It is cosmetic only. But
if you do not want to have
this, you will have to do
method 2.
2.
Disconnect the outer lower
control arm bolt at the
knuckle assembly.
3.
Disconnect the sway bar at
the lower control arm
4.
With a 15mm swivel socket
and long extension, remove
the 4 15mm bolts holding the
strut to the body.
5.
Pry down on the lower
control arm enough to get
the lower shock mount out
the hole where it mounts to
the control arm.