Laerdal SimJunior Standard User Manual
Page 3
1
Table of Contents
Introduction
2
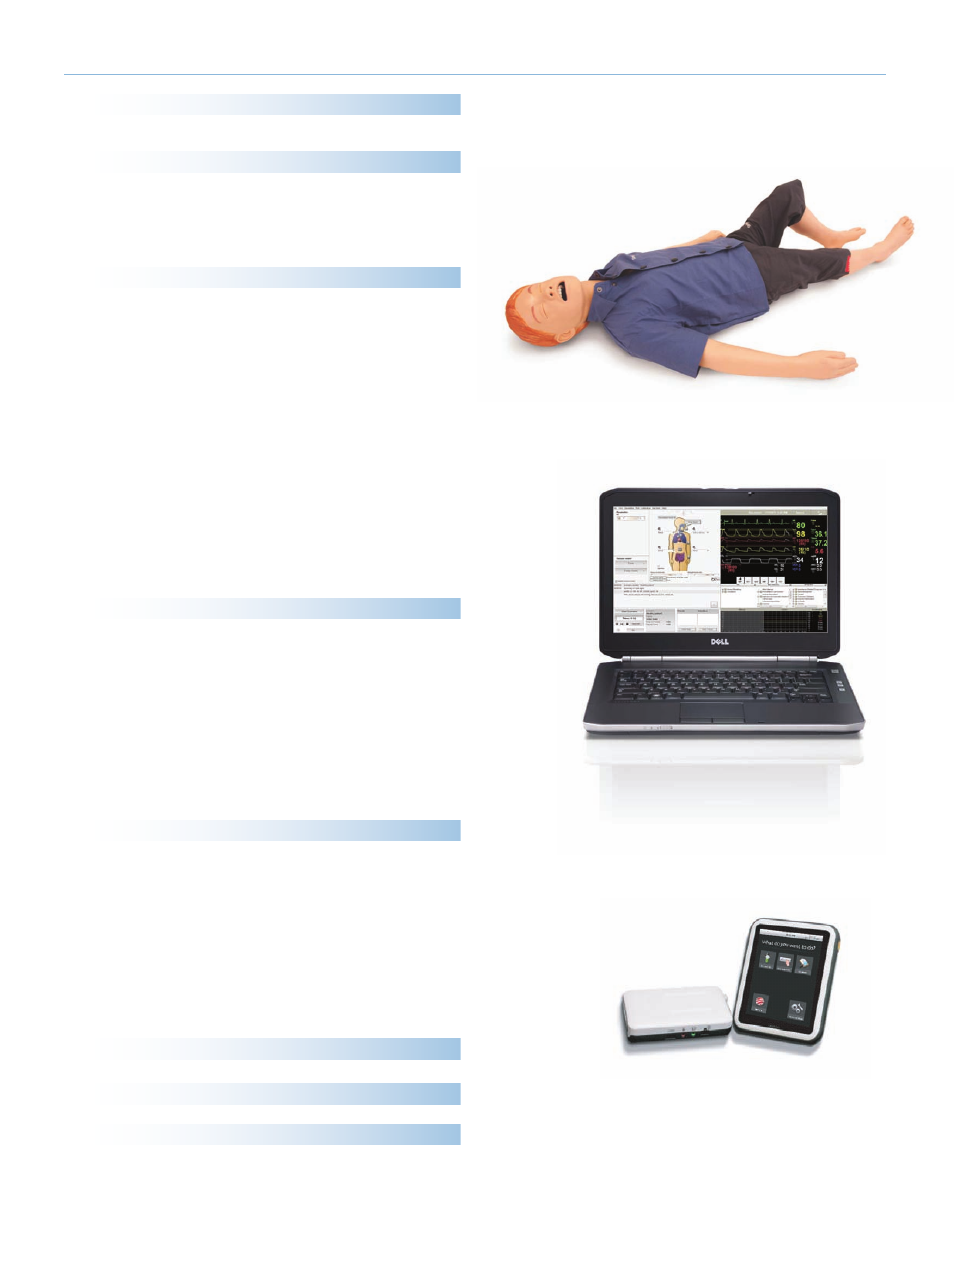
Standard System
8
– Introduction to SimJunior Standard
8
– Setup Summary
8
Advanced System
9
– Introduction to SimJunior Advanced
9
– Setup Summary
9
– Instructor Software License
10
– Instructor PC
10
– Instructor PC Application Screen Overview
10
– Running a Scenario
12
– Patient Monitor
12
– Patient Monitor Interface
12
– Importing and Adding Media Files
13
– The Laerdal Debrief Viewer
14
– The Laerdal Advanced Video System (AVS)
14
– Customizing Scenarios
14
– Turning the Internal Compressor Off
15
– Changing Settings During Simulation
15
– Changing Default Settings
15
– Help Files
15
Manikin Setup
16
– Preparing for Simulations
16
– Using an External Compressor
16
– Preparing the IO Leg
16
– Administering IV Fluids
16
– Draining Excess IV Fluid
17
– Cleaning the IV Arm
17
– Installing Defibrillation Adapter Plates
17
– Connecting the Blood Pressure Cuff
17
– Calibrating the Blood Pressure Cuff
17
– Changing the Pupils
18
Maintenance
19
– Maintenance after each Simulation Session
19
– Installing and Upgrading SimJunior software
19
– Opening the Torso
20
– Replacing the Manikin Battery
20
– Charging the Manikin Battery
21
– Replacing Chest Rise Bladder
21
– Replacing Lung Bladder
21
– Replacing Manikin Skins
22
– Replacing the Right Arm (IV Arm)
22
– Replacing the Right Leg (IO Leg)
22
Troubleshooting
23
Specifications
26
Spare Parts and Accessories
28