Maintenance – Laerdal SimJunior Standard User Manual
Page 23
21
Maintenance
Charging the Manikin Battery
The manikin battery charges itself as it is operated. If necessary, the
manikin battery can be charged using an optional external power
adapter.
1. Power down the manikin via the Link Box.
2. Remove the manikin battery from the manikin.
3. Connect an approved external battery charger (with a power
cord that meets local specifications) to the bottom of the
manikin battery. Connect the battery charger’s power cord into
a wall outlet .
4. When the battery has finished charging, replace the battery in
the manikin.
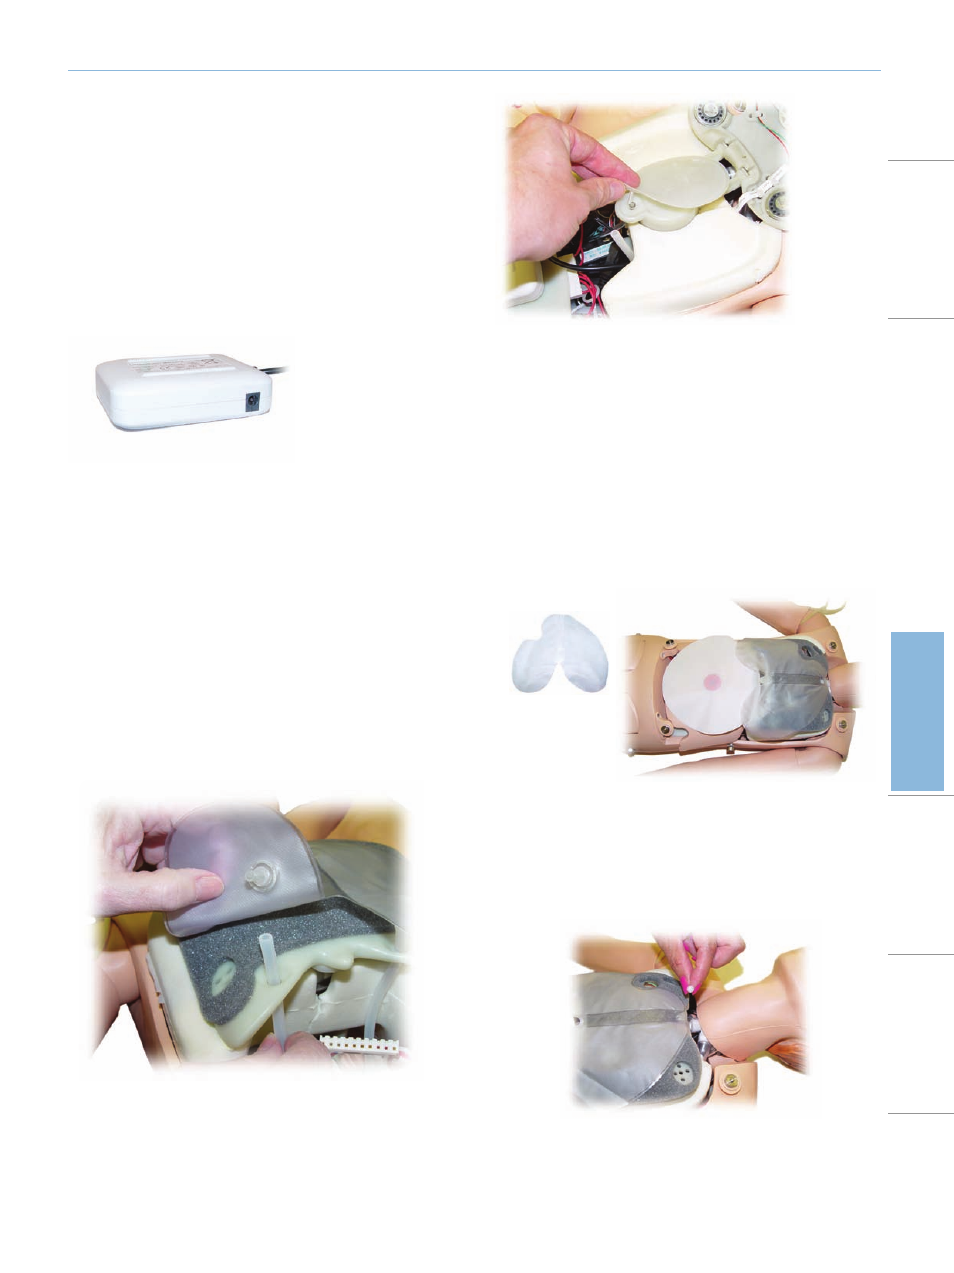
Replacing the Chest Rise Bladder
The chest rise bladder is located in the lower end of the chest
plate, centered under the lungs.
1. Open the torso skin to expose the chest plate. See the section:
Opening the Torso.
2. Disconnect the clear tubing from the lung bladder and remove
the lung bladder. For details on removing the lung bladder, see
the section: Replacing the Lung Bladder.
3. Disconnect the clear tubing from the chest rise bladder.
4. Discard the old bladder
5. Insert new bladder
6. Re-connect the tubing to the new bladder.
7. Close the torso and replace the torso skin.
Replacing the Lung Bladder
If leaking occurs, the lung bladder (in the chest cavity) should be
replaced.
1. Open the torso skin.
2. Disconnect the clear tubing from under each side of the lung
bladder. Refer to step 2 illustration in "Replacing the Chest Rise
Bladder."
3. Disconnect the lung bladder clip from the top center of the lung
bladder.
4. Gently pull the top center portion of the lung bladder up from
its socket.
5. Reverse process to install the new lung bladder.
Intr
oduction
Standar
d System
Advanced System
Manikin Setup
Maintenance
Spar
e Par
ts
Tr
oubleshooting
Specifications