Fly high with hitec – HITEC Sky Scout (KIT) User Manual
Page 17
17
Fly high with Hitec
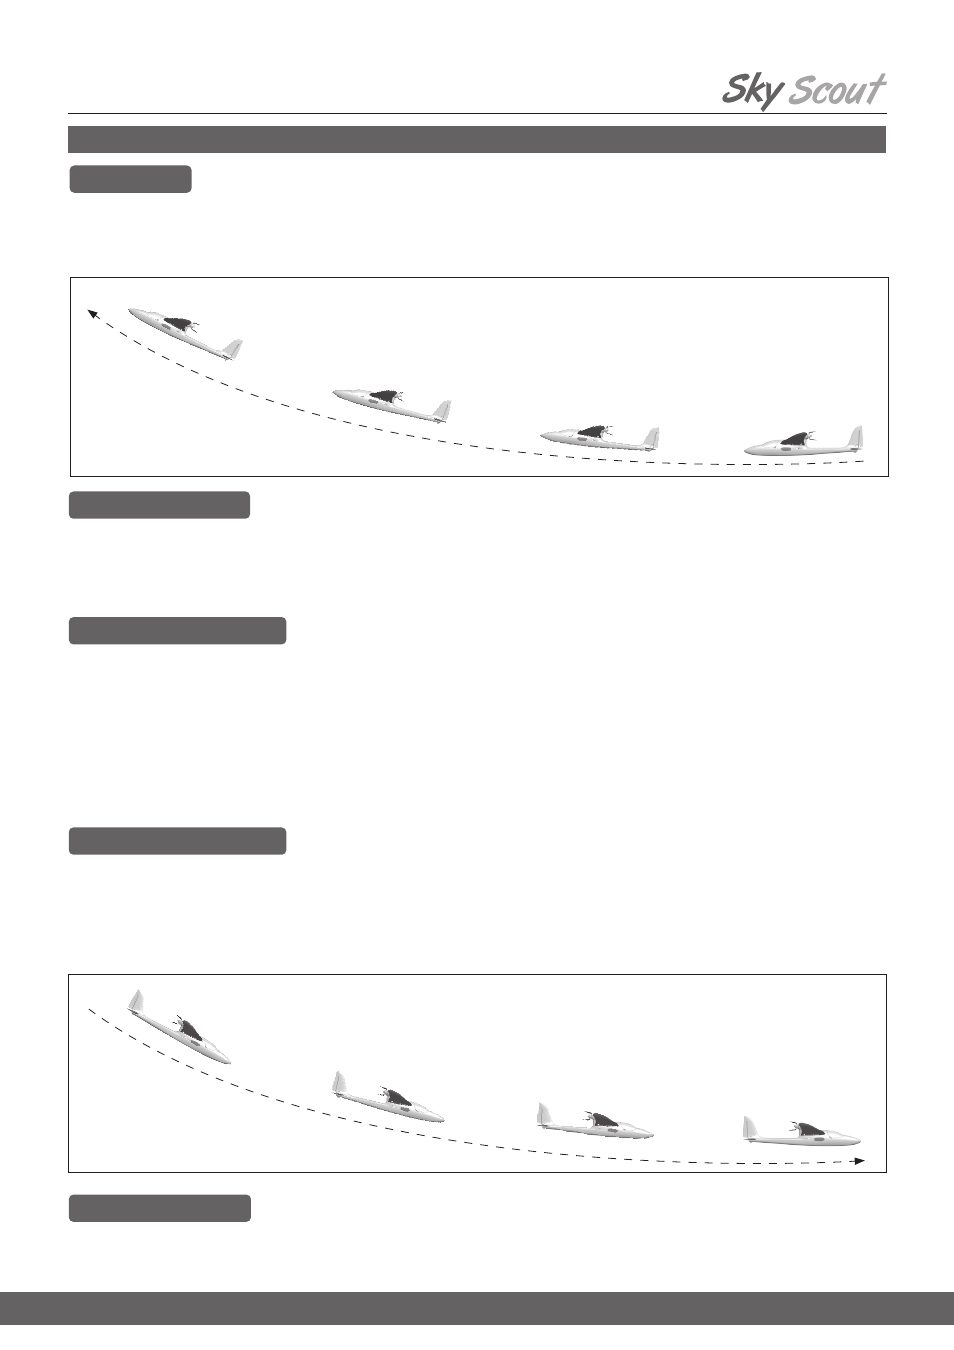
1. Taking Off
Hold the plane facing into the wind and keep it level as you apply the throttle. Now throw it smoothly forward with the nose level or angled up no more
than 30-degrees. After the take-off use the control sticks to keep the wings and fuselage level as the model gains altitude. If the battery isn’t fully
charged, the plane will not climb normally. Once you have climbed to an altitude of 100-130 feet (30-40 meters) high you can adjust the trim to make it
fly smoothly.
Section Four:
Flying Your Model
2. Adjusting the Trims
3. How to Control the Plane
4. How to Land the Plane
Even if you balance the plane properly on land, it may not fly horizontally due to the wind or weight shift. To check the trim, once you have reached your
initial climb altitude, set the throttle to about ¾ power and let go of the control sticks. If the plane turns to the right, adjust the rudder trim control on your
transmitter to the left. If the plane continues to climb, adjust the elevator trim up. Adjust the rudder and elevator trim controls so that the plane will fly
straight and level when you let go of the control sticks. Be sure to adjust the trim only after the plane has reached an altitude of more than 130 feet (40
meters). Adjusting the trim when the plane is flying too low could cause it to crash.
The most basic flight pattern for your new plane is an oval shape. Fly the plane in one direction at a safe altitude until you are familiar with the control
sticks. When moving in a straight line, slightly adjust the control sticks to keep the plane level.
To turn to the left, move the rudder stick slightly to the left and note the plane’s reaction. It should begin turning to the left while also losing a little bit of
altitude. To maintain its altitude in a turn a pull the elevator stick toward you slightly at the same time. To complete the turn let both sticks spring back to
their neutral position.
To turn to the right, move the rudder stick slightly to the right and pull the elevator stick toward you slightly at the same time. To complete the turn let
both sticks spring back to their neutral position.
With the aircraft flying at an adequate altitude, check how it responds when the motor is switched off, so that you are familiar with its behavior during the
gliding process.
Avoid flying tight turns at first, especially close to the ground, and in particular during the landing approach.
You must land the plane before the battery is too low. It is always better to land safely some distance away than to risk a crash by forcing the model
back to your feet.
In order to land the plane safely, have a friend first check for any obstacles or people around the intended landing area. With the model flying into the
wind reduce the power so the model starts descending. Use the control sticks to keep the wings and fuselage level until it touches down.
You could damage the plane if it lands too steeply on its nose or hits a wing tip first. Landing into the wind ensures the slowest possible landing and
least chance of damage.
5. After Your Flight
Immediately disconnect the flight battery and then turn off your transmitter. Inspect the model for any damage and realign the wings and tail if neces-
sary. Completely recharge your battery according to the manufacturer’s specifications before flying again.