Hanna Instruments HI 8633 User Manual
Page 7
7
• Each meter is supplied complete with a 9V battery. Remove the
battery compartment cover on the back of the meter (see
page 16). Install the battery while observing its polarity.
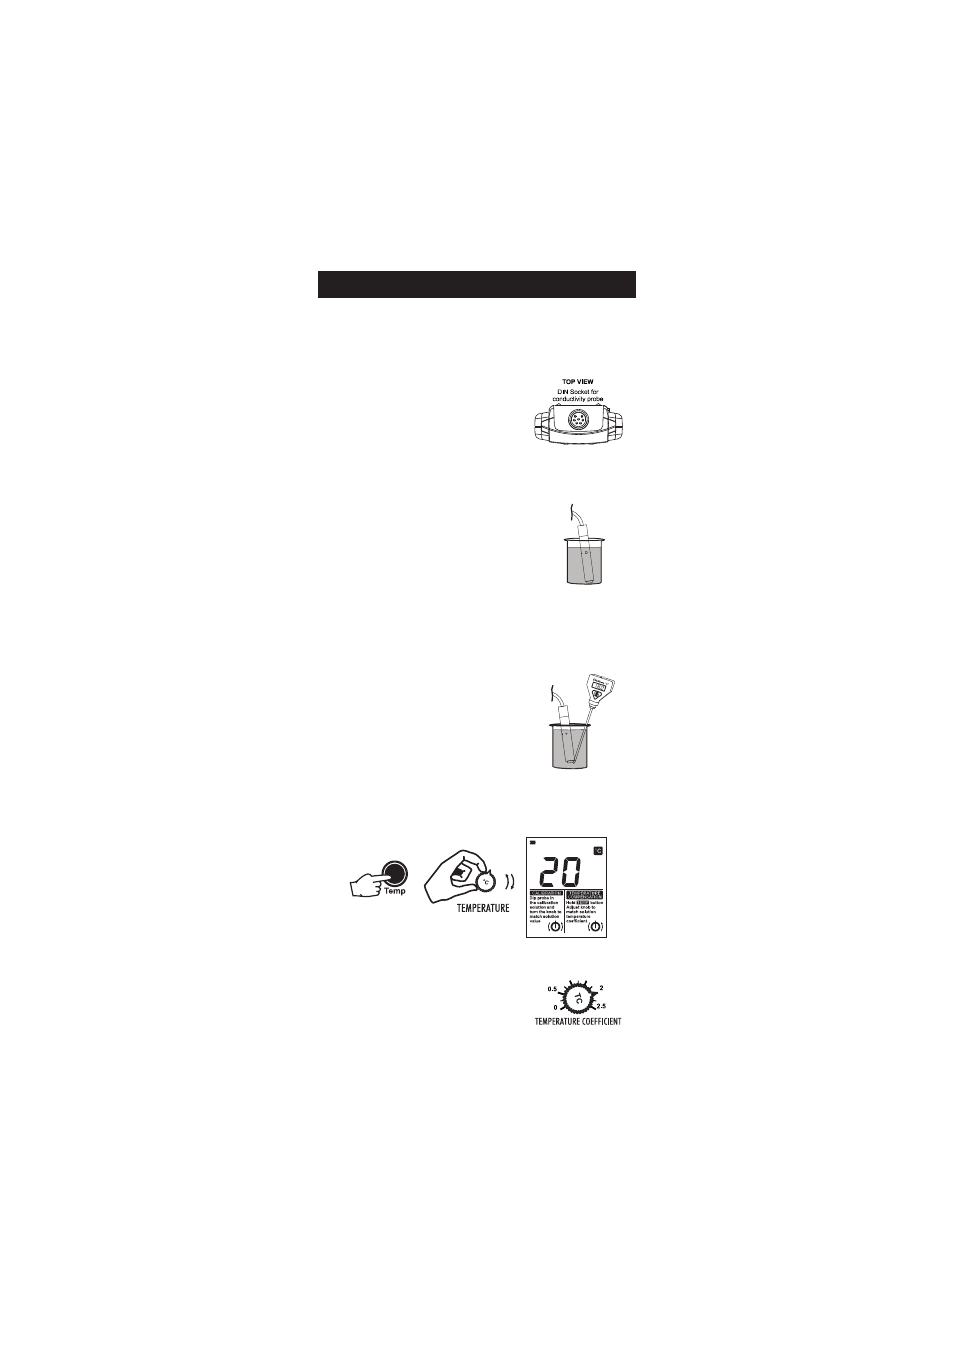
• Connect the probe to the meter securely
by aligning the pins with the socket
and pushing the plug in.
• Make sure that the meter has been
calibrated before taking any measurements (see “Calibration”
section).
• Immerse the conductivity probe into
the sample, with the holes on the
shaft completely submerged.
If possible, use plastic beakers or containers
to minimize any EMC interference.
• Tap the probe lightly on the bottom of the beaker to remove any
air bubbles which may be trapped inside the PVC sleeve.
• Turn the instrument on by pressing the
On/Off key.
For HI 8633 and HI 8734:
• Take the temperature of the solution
with a ChecktempC or another accurate
thermometer following LCD indication.
• Press and hold down the
Temp key to display the temperature
and adjust the temperature knob to that of the solution e.g.
20°C.
For HI 8733:
• Adjust the TEMPERATURE COEFFICIENT
knob to 2% to compensate for the
temperature effect of average solutions
(to determine exact value for a particular
solution, see page 15).
• Select the appropriate measurement range.
OPERATIONAL GUIDE