Hanna Instruments HI 2550 User Manual
Page 7
7
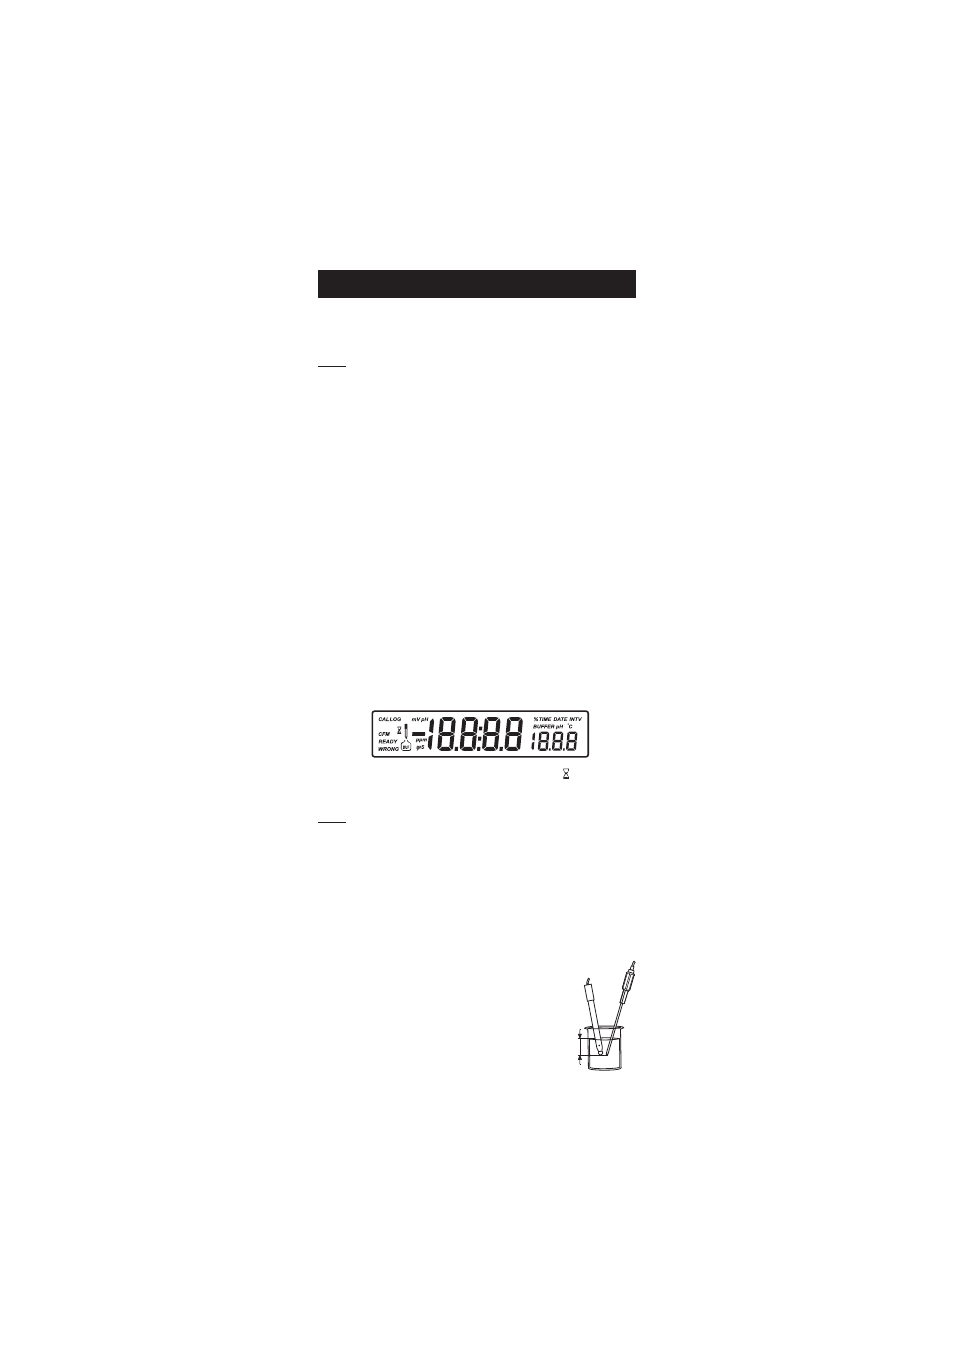
3 cm
(1¼")
OPERATIONAL GUIDE
OPERATIONAL GUIDE
OPERATIONAL GUIDE
OPERATIONAL GUIDE
OPERATIONAL GUIDE
POWER CONNECTION
POWER CONNECTION
POWER CONNECTION
POWER CONNECTION
POWER CONNECTION
Plug the 12 VDC adapter into the power supply socket.
Notes: • This instrument uses non volatile memory to retain the calibration
parameters and all other settings, even when unplugged.
• Make sure a fuse protects the main line.
ELECTRODE AND PROBE CONNECTIONS
ELECTRODE AND PROBE CONNECTIONS
ELECTRODE AND PROBE CONNECTIONS
ELECTRODE AND PROBE CONNECTIONS
ELECTRODE AND PROBE CONNECTIONS
For pH or ORP measurements connect an electrode with internal reference
to the BNC connector on the back of the instrument.
For electrodes with a separate reference connect the electrode’s BNC to the
BNC connector and the reference electrode plug to the reference socket.
For temperature measurements and automatic temperature compensation
connect the temperature probe to the appropriate socket.
For EC/TDS measurements connect the probe to the 7-pin connector.
Make sure the probe sleeve is properly inserted.
INSTRUMENT ST
INSTRUMENT ST
INSTRUMENT ST
INSTRUMENT ST
INSTRUMENT START
ART
ART
ART
ART-UP
-UP
-UP
-UP
-UP
• Turn the instrument on by pressing the ON/OFF switch located on
the rear panel.
• All LCD tags are displayed and a beep is sounded while the
instruments perform a self test.
• The instrument will display “LoAd” message and “ ” blinking until
initialization is complete.
Notes: • The instrument starts in the same range and mode as it was
at power off.
•
The ALT&MODE keys change the measuring modes:
- mV or Rel mV
- EC or TDS or NaCl
•
The RANGE key toggles between measurement ranges:
- pH, mV or Rel mV, EC or TDS or NaCl.
pH MEASUREMENTS
Make sure the instrument has been calibrated before
taking pH measurements.
• Submerse the electrode tip and the temperature
probe approximately 3 cm (1¼”) into the sample
to be tested and stir gently. Allow time for the
electrode to stabilize.