Hanna Instruments HI 8711 User Manual
Page 24
24
All instrument settings are made via front panel keys and trimmers.
When a key is pressed, the corresponding LED lights up to show the
operating function. If the LED blinks before pressing the key, it will
change the blinking style.
If using an asigned electrode, make sure that the meter is calibrated
before starting any operation (see "Calibration" section for details).
Be sure that the dosage switch is in AUTO position.
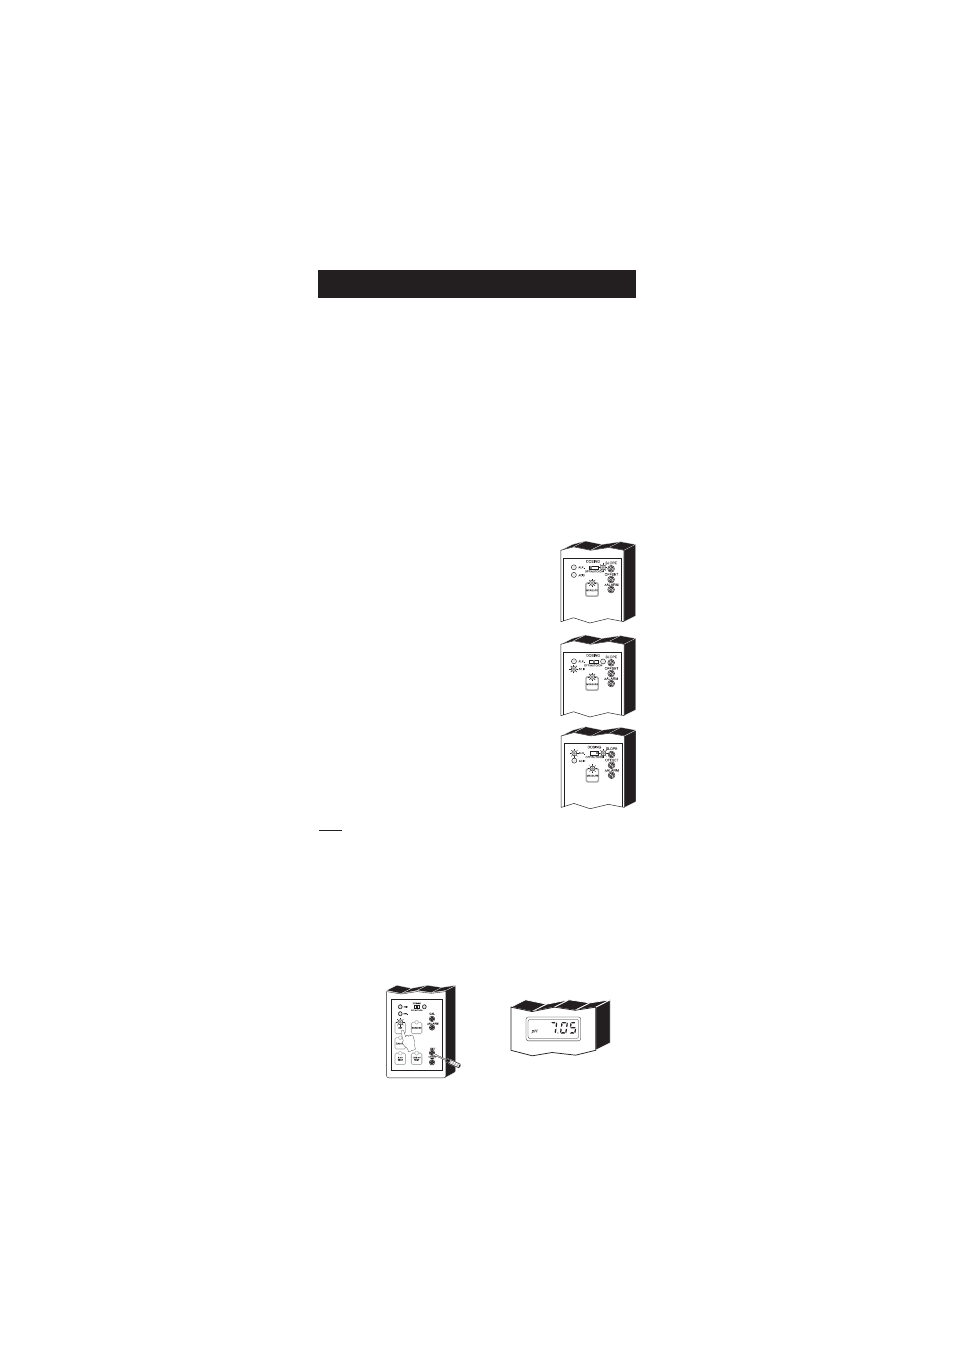
DOSING MODE SELECTION
The DOSAGE switch and the corresponding right side LED on the front
panel (one for HI 8710 & HI 8720; two for HI 8711) are used to
select and indicate the dosing mode.
OFF mode
The dosage is disabled. The corresponding
DOSAGE SWITCH LED blinks.
AUTO mode
The dosage is activated and deactivated according
with the selected setpoint. The corresponding
DOSAGE SWITCH LED is off.
Be sure that the DOSAGE switch is in AUTO
position when the meter is in normal operating
mode.
ON mode
The dosage is always activated. The corresponding
DOSAGE SWITCH LED blinks.
Note: Two switches are available for HI 8711, one for alkaline and the
other for acid dosage channel. By putting one of the switches in
OFF position, the corresponding dosage relay is deactivated. The
ALARM relay is deactivated but the ALARM LED will work in
accordance with the setpoint, alarm threshold and input reading.
SET POINTS (HI 8710 and HI 8720)
To set the working point for pH or ORP dosage, press SET and the
display will show the set value. The SET LED turns ON.
OPERATIONAL GUIDE
OPERATIONAL GUIDE
OPERATIONAL GUIDE
OPERATIONAL GUIDE
OPERATIONAL GUIDE