Hanna Instruments HI9126 User Manual
Page 6
10
11
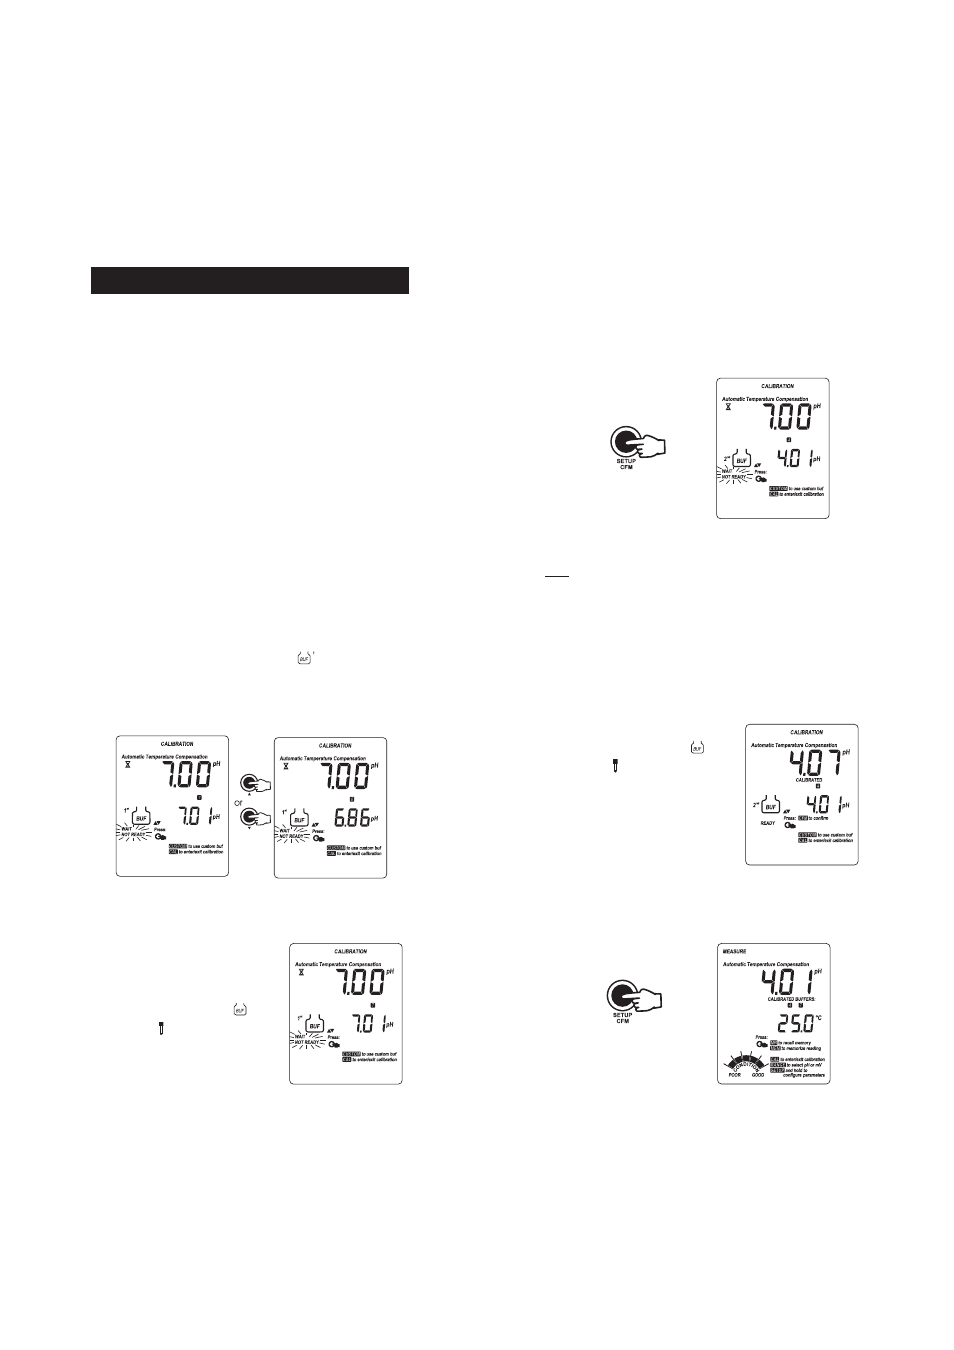
• Press the CFM key to confirm the calibration: the meter stores the
first calibration point; the primary LCD will show the calibrated
reading, while the secondary LCD will show the second buffer to be
used for calibration (“pH 4.01”).
If you’re going to calibrate with a different buffer, select the
desired value by pressing the arrow keys.
Note:
The meter automatically skips the buffer used for the first calibration
point to avoid erroneous procedure. A difference of at least 1.5 pH
unit is required between the two buffers: once calibrated at either
pH 7.01 or 6.86, the instrument automatically ignores the other
value for the second point (same for pH 10.01 and 9.18).
• Submerse the electrode approximately 3 cm (1¼”) into the
second buffer solution, place the temperature probe as close as
possible to the electrode and stir gently.
• The LCD will flash “WAIT NOT READY” for 12 seconds, then:
if the reading is not close to the
selected buffer, “WRONG “ and
“WRONG ” will blink alternatively;
if it is close to the selected buffer the meter
will advise the user with an audible
signal (if enabled) when the reading
becomes stable and the display will change
to “READY” and blinking “CFM”.
• Press the CFM key: the value is stored in memory and the meter
returns to measurement mode. The tags corresponding to the
buffers used for calibration and the “condition” bargraph (if
enabled) will be light up.
p
pp
pp H C A L I B R A T I O N
H C A L I B R A T I O N
H C A L I B R A T I O N
H C A L I B R A T I O N
H C A L I B R A T I O N
It is recommended to calibrate the instrument frequently, if high
accuracy is required.
The instrument should be recalibrated:
• Whenever the pH electrode is replaced.
• At least once a week.
• After testing aggressive chemicals.
• When extreme accuracy is required.
• When the calibration time-out is expired (if feature is enabled).
PROCEDURE
The meter offers a choice of 7 memorized buffers (1.68, 4.01, 6.86,
7.01, 9.18, 10.01 and 12.45 pH) and two user defined values, C1
and C2 (see “Custom Buffer Selection” section on page 12 for details).
• Pour a small quantity of selected buffer solutions into clean beakers.
For accurate calibration use two beakers for each buffer solution, the
first one for rinsing the electrode and the second one for calibration.
• Remove the protective cap and rinse the electrode with some of
the buffer solution to be used for the first calibration point.
TWO-POINT CALIBRATION
• Press the CAL key. The “CAL” and “
” indicators will be
displayed. The secondary LCD will display buffer “7.01”. If a
different calibration buffer is desired (e.g. “6.86”), use the
ARROW
keys to change the displayed value.
• Submerse the electrode approximately 3 cm (1¼”) into the
solution, place the temperature probe as close as possible to the
electrode and stir gently.
• The LCD will flash “WAIT NOT
READY
” for 12 seconds, then:
if the reading is not close to the
selected buffer, “WRONG “ and
“WRONG ” will blink alternatively;
if it is close to the selected buffer the
meter will advise the user with an
audible signal (if enabled) when the reading becomes stable and
the display will change to “READY” and blinking “CFM”.