Bullard Powerhouse User Manual
Page 2
Electrical Wiring
6
Electrical Wiring: The unit is provided with a plug-in
connector fitted with a pair of wires for attachment to the
power supply wiring in the vehicle. The wires are color
coded, with red signifying the positive (+) conductor and
black signifying the negative (–) conductor. Provide power
supply wiring to the mounting location from a 5 Ampere
fused power source with a voltage of 12-24 VDC. Connect
the power supply wires to the ends of the wires on the
provided connector by soldering or by using acceptable
electrical connection devices.
NOTE
For best results, the Powerhouse should be
connected to an unswitched circuit which
continues to provide power when the vehicle is
not in use. Wiring the Powerhouse to a switched
circuit may result in discharged imager
batteries if the vehicle is left idle for periods of
more than a few days at a time.
Marking and Drilling the Panel:
NOTE
For protection in shipping, the Powerhouse unit
is shipped with the back plate attached. Before
installation, remove the back plate by removing
the four screws that secure it to the plastic
housing. Retain these screws for reassembly.
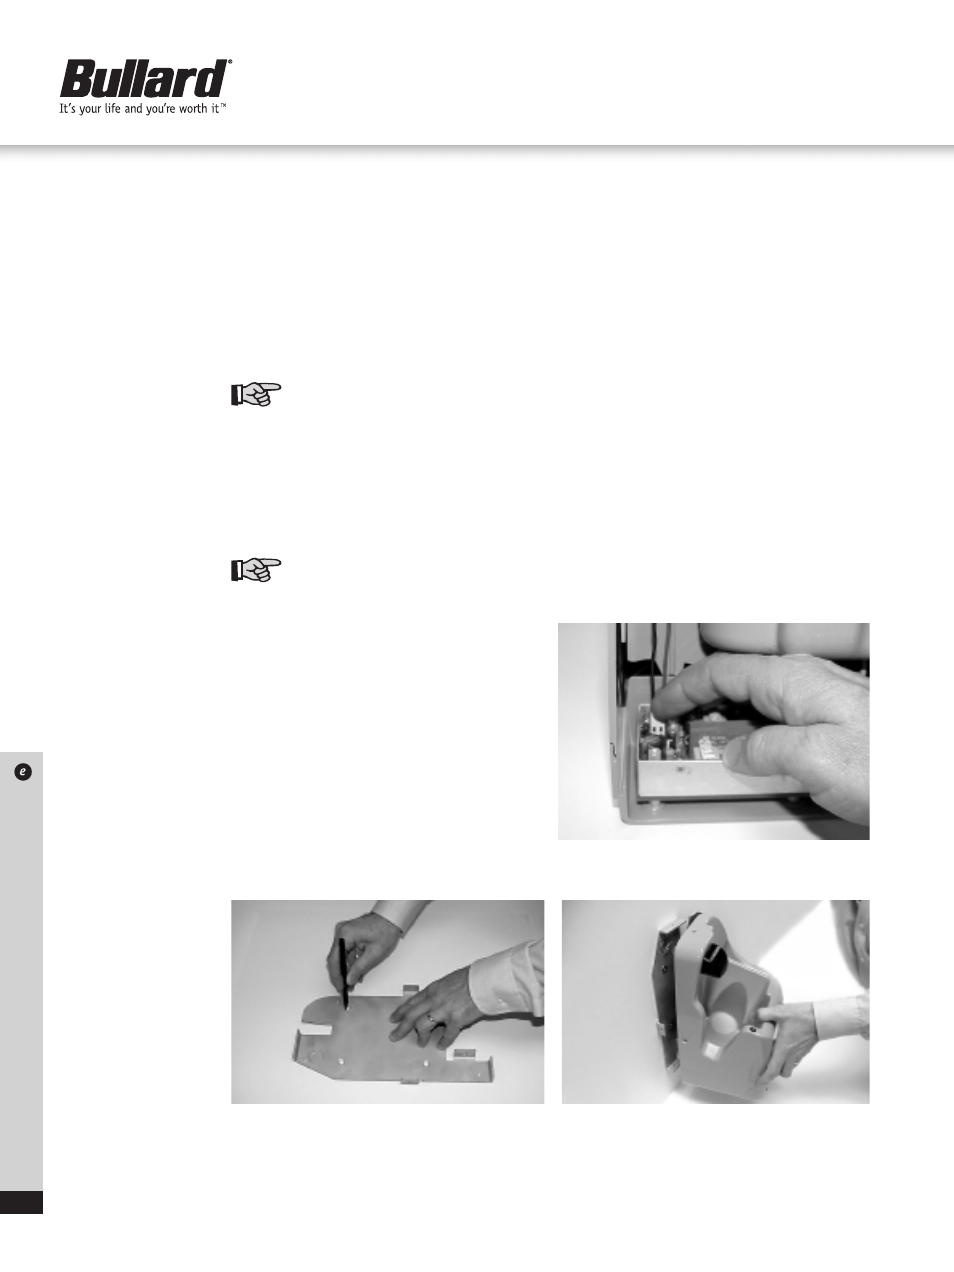
Place the aluminum back plate in the desired position on
the panel. Mark the locations of the four countersunk holes
onto the panel (Figure 3). The lower right hand corner (as
facing the panel) of the back plate is cut away to permit
passage of the wires from behind the panel into the unit.
Mark and drill a suitably sized hole in this area of the panel,
ensure that there are no sharp edges or burrs that could
harm the insulation, and pass the wiring through this hole.
Either drill and tap four (4) threaded holes at the previously
marked locations or drill four (4) 7.1437 mm diameter
clearance holes, depending on the desired mounting
method.
Mounting the back plate: Set the back plate in place
on the panel and attach it with the four (4) flat head screws
provided. Tighten all fasteners securely.
Preparing the Powerhouse unit for installation:
First, make sure that the power is disconnected from the
supply wiring. Plug the power supply connector into the
mating connector on the battery charger circuit board
(Figure 4). Place the latch spring firmly onto the
protruding spring seat on the back of the latch, near the
top of the unit. Set the unit in place on the back plate,
making sure that the free end of the latch spring seats into
the milled recess in the back plate and that the wiring is not
pinched or trapped (Figure 5). The Powerhouse™ unit is
a snug fit on the back plate, and it may be necessary to
spread the sides slightly as you set it into place. Once in
place, secure the unit to the back plate with the four (4)
stainless steel Phillips Head screws provided. Reconnect
the power supply wiring. Installation is now complete.
Figure 3
Figure 4
Figure 5