Mounting, 5 mounting – Aiphone TB-10M User Manual
Page 9
Attention! The text in this document has been recognized automatically. To view the original document, you can use the "Original mode".
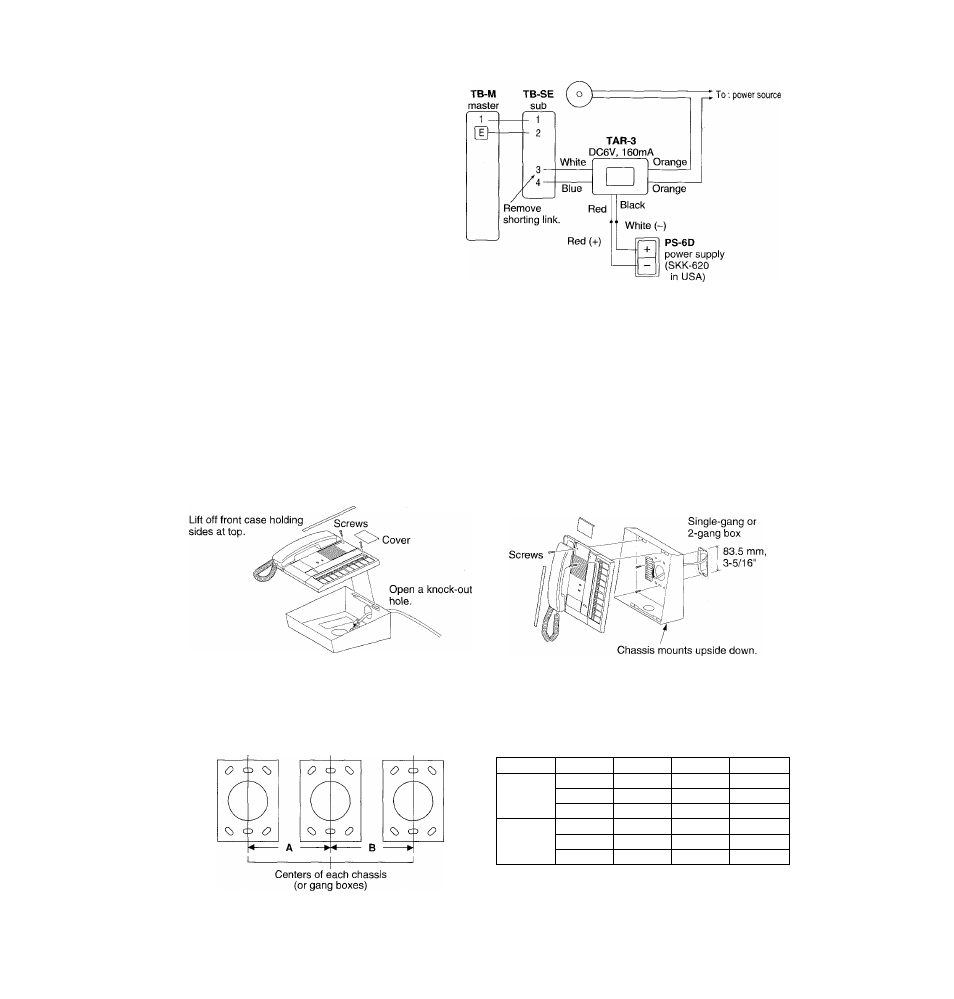
■ Connecting a buzzer at a TB-SE sub
When called by TB-M master, buzzer is
activated and on TB-SE sub, call tone sounds
at reduced volume.
TAR-3 relay activates an AC-operated buzzer:
AC 240V, 0.3A. DC-operated buzzer must be
mechanical type: DC 24V, 1 .OA.
Do not use DC electronic buzzer.
Buzzer
MOUNTING
■ TB-(10,20)MwithTB-(20,40)G
Remove 2 screws on front panel, removing the cover on upper end and area/section plate. Lift off front
case holding sides at top. Disconnect the intercom by unplugging the connector.
Open a cable inlet hole (rubber part) on bottom of chassis. Pull in cable(s), and make wire terminations.
Use attached cable clamps(s) for neat and secured connection. Reconnect and mount front case to
chassis, attaching the cover and plate in place.
When wall-mounting, separate the front panel from chassis, as explained above. Install the chassis
upside down on the wall, onto a single-gang or two-gang box.
Desk-top mounting
Area / section plate
Wall-mounting
Lift off front case holding sides
at top.
★ TB-M master wall-mounts with TB-G (and TB-AD10) attached.
Decide the exact location of TB-M master, and use the following measurements to mount the add-on components.
TB-M master
TB-G add-on
selector
TB-AD10door
adaptor
Wall-mounting guide
Master
Attached
Guide A
Attached
Guide B
TB-10M
TB-20G
202.5, 8"
TB-AD10
150.0, 6"
TB-40G
277.5, 11"
TB-AD10
225.0, 9"
TB-AD10
202.5, 8"
—
—
TB-20M
TB-20G
240.0, 9-1/2" TB-AD10
150.0, 6"
TB-40G
315.0, 12-1/2' TB-AD10
225.0, 9"
TB-AD10
240.0, 9-1/2"
—
—