Cleaning the furnace, Care and maintenance – Bryant Gas Air 393U User Manual
Page 12
Attention! The text in this document has been recognized automatically. To view the original document, you can use the "Original mode".
CLEANING THE FURNACE
L Disconnect gas tubing from pilot.
2.
Disconnect electrical lead from pilot. (In case
of 100% shut-off controls disconnect pilot thermo
couple lead from pilot relay).
3. Remove front plate from draft diverter (4 sheet
metal screws.)
4. Remove burners and pilot as follows.
a. Remove tinnerman clamp from burner holding
stud.
b. Lift burner off holding stud, twist and pull
forward.
c. Pilot is attached to one burner and is removed
with that burner. It is not necessary to detach pilot
before removing burner. See Figure 3 for photograph
of burner; also pilot attached.
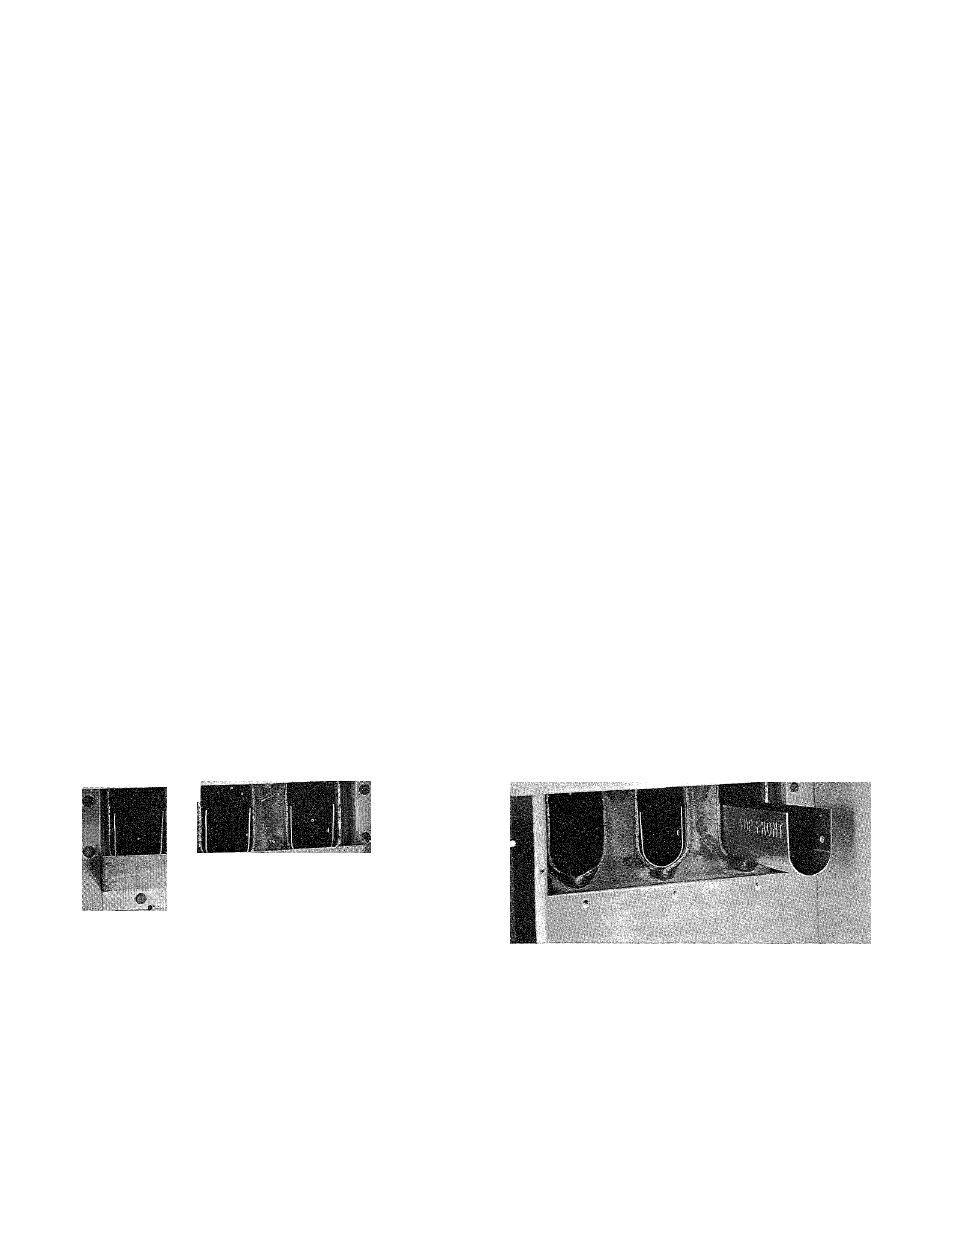
5. Remove metal angle strip holding flue baffles in
place. See Figure 8.
6. Remove flue baffles. See Figure 9.
7.
Use a flexible-handled steel cleaning brush to
loosen scale and soot. Remove these scrapings from
bottom of combustion chamber.
8. Re-assemble furnace by reversing the above pro
cedure. Note: There is a slot in the back of the
heat exchanger for the back tip of the burner to fit
into. When properly placed, the burner will fit into
this slot and will be level.
CARE AND MAINTENANCE
Care of Blowers.
All motors on the belt drive blow
ers are provided with oil cups and should be oiled
at least twice a year with a good grade of SAE 30
oil. The motors on the direct drive blowers are
sealed units and do not require the addition of oil.
Blower bearings are semi-permanently lubricated.
This lubrication is normally good for 3 to 5 years.
When necessary to add lubricant, use Plastic E,
obtainable from Bryant’s Service Parts Department.
Filters.
Filters should be examined frequently for
clogging due to dirt. The disposable filters should
be
replaced when they become dirty.
Permanent type
of filters may be cleaned using clear water. Be sure
to coat the filter with water soluble oil after clean
ing.
Cleaning.
The heat exchanger should be examined
periodically to see if there has been an accumula
tion of rust, soot, etc. Clean as required.
Figure 8 — Note metal angle strip held by 3 screws
Figure 9 — Remove baffles
393Ь
- 12 -