4 i|ytt 0 nh 0 le – SINGER W616 User Manual
Page 20
Attention! The text in this document has been recognized automatically. To view the original document, you can use the "Original mode".
2 1
I
i
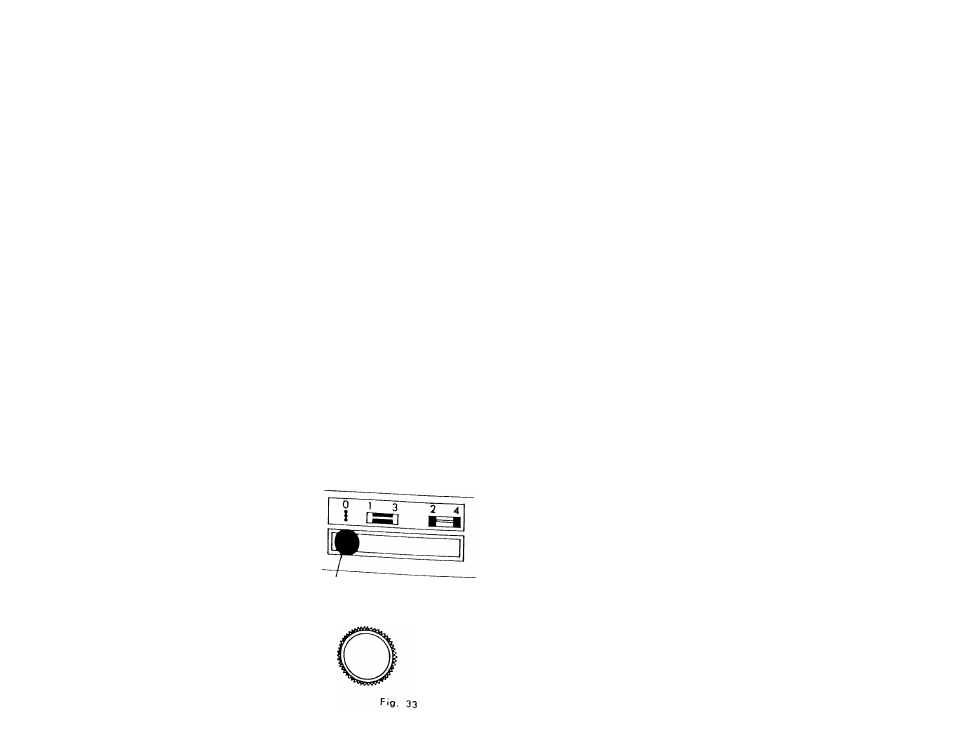
(6) Move buttonhole control os for to the right os possible. It will then latch into
position for bar tacking. Sew four or five stitches. Step 2.
( ) Push buttonhole control down slightly and manually move to position between
Numbers I and 3, being sure it is against the Slop.
will set the machine to sew in reverse. Sew right hand side of buttonhole.
(8) Move buttonhole control as far to the right as possible, it will then latch into
position for bar lack. Sew four or five stitches. Step 4.
ul onhole control at 0 position, extreme left, and lake two or three stitches to
fasten bar lack to prevent ravelling.
(10) Cut the buttonhole opening with seam ripper, being careful not to cut the stitching.
If
you
plan
to
make
buttonholes
on
sheer
or
soft
material,
place
tarlatan
or
paper
under
fabric
which
can
be
lorn
away after stitching.
When
making
additional
buttonholes,
be
sure
to
turn
the
buttonhole
control
knob
to
0 and
back to
the number I
position to pul the machine in lotwcitrl
stitching.
4i|yTT0NH0LE