Adjusting stitch balance – SINGER 6110 User Manual
Page 27
Attention! The text in this document has been recognized automatically. To view the original document, you can use the "Original mode".
When you are preparing to do pattern stitch
ing, make a test sampie with the fabric and
thread you plan to use so that you can adjust
the stitch length correctly.
Any sitch length setting from 1 to 4 will give
you an open stitch pattern of whichever de
corative stitch pattern you select, The higher
the number, the more open, or farther apart,
your stitch will be. The area between 0 and 1
of the selector is used for the fine adjust
ment of satin stitching (see page 21).
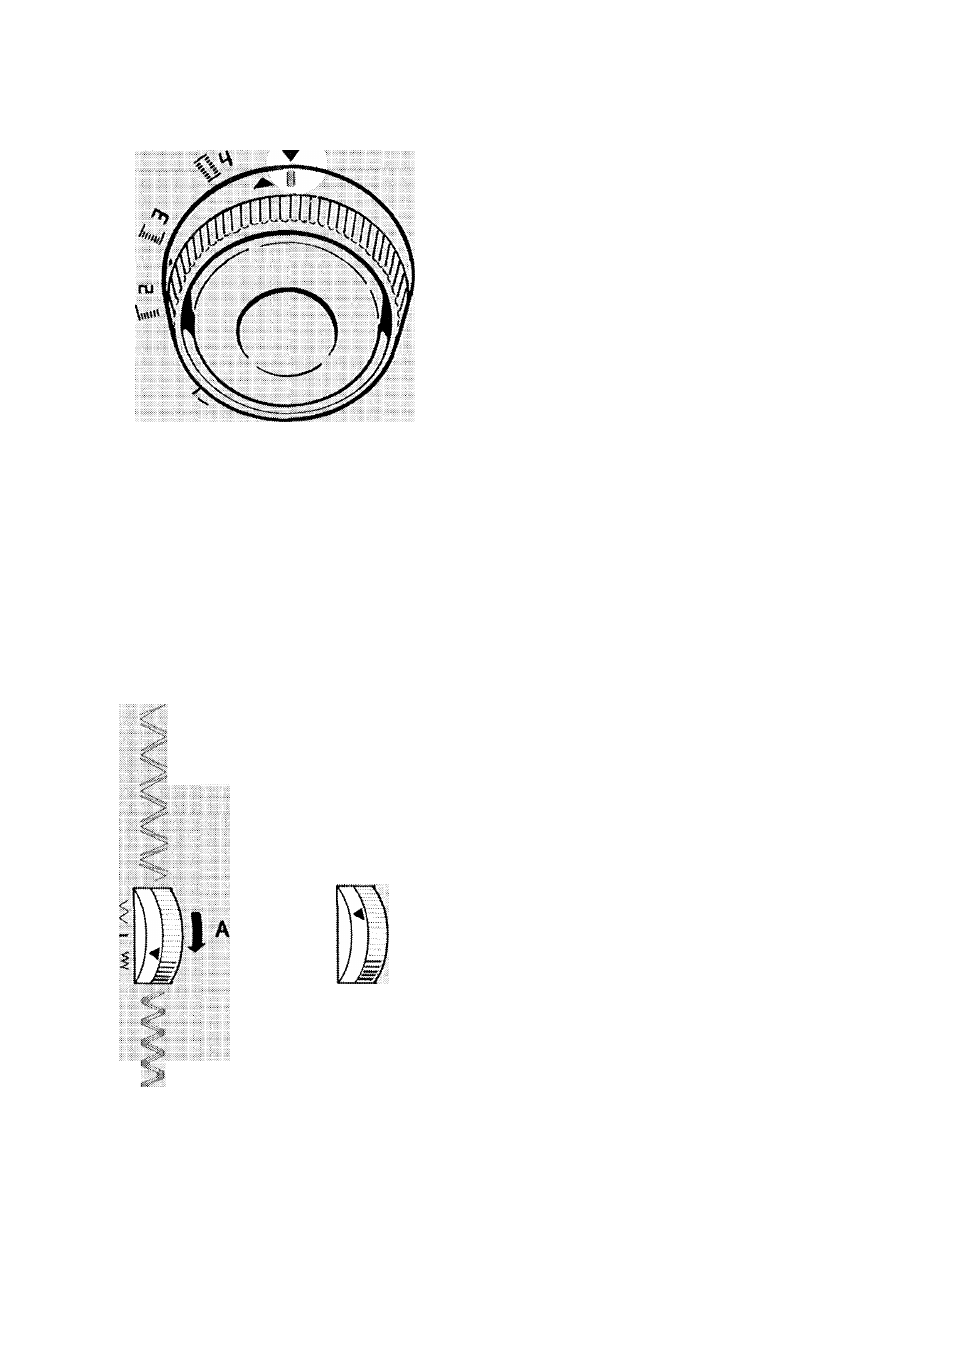
ADJUSTING STITCH LENGTH
For stretch stitch patterns, stitch length is
controlled with a single setting of the stitch
length selector. Simply rotate it until the co
loured bar M is under the Y symbol above
the dial.
Setting for Stretch SHlch Pattern
Incorrect
ADJUSTING STITCH BALANCE
When you are using stretch stitch patterns,
you may need to adjust the stit'ch balance dial
in order to correct the appearance of the
stitch.
Before you move the dial from its neutral po
sition { -4 symbol on dial aligned with line
— on panel), make a test sample. If adjust
ment is required stitch slowly and move the
dial as illustrated.
• Turn dial down to bring stitches of the pat
terns together (ill. A).
•
• Turn dial up to separate stitches of the pat
terns (ill. B).
Always return the dial to its neutral position
after sewing stretch stitch patterns.
26