Adjusting machine stitch to suit your fabric, How to set selectors, Pattern group selector – SINGER 6110 User Manual
Page 20: Needle position selector, Stitch width selector, Adjusting machine to suit your, Fabric
Attention! The text in this document has been recognized automatically. To view the original document, you can use the "Original mode".
;ic
adjusting machine stitch to suit your fabric
You can do functional as well as decorative
zig-zag stitching with your sewing machine.
How to set selectors
PATTERN GROUP SELECTOR
Before moving selector, make sure needle is
out of the fabric.
For plain zig-zag stitching:
• Set stitch width selector on | (straight stitch)
• Turn pattern group selector to
I
aligning
number under y mark
• Pattern Group Selector; /
• Needle Position:
J.., :X; J.
• Stitch Width; !
• Stitch Length:,5 -4 to suit fabric
• General Purpose Needle Plate
• General Purpose Foot
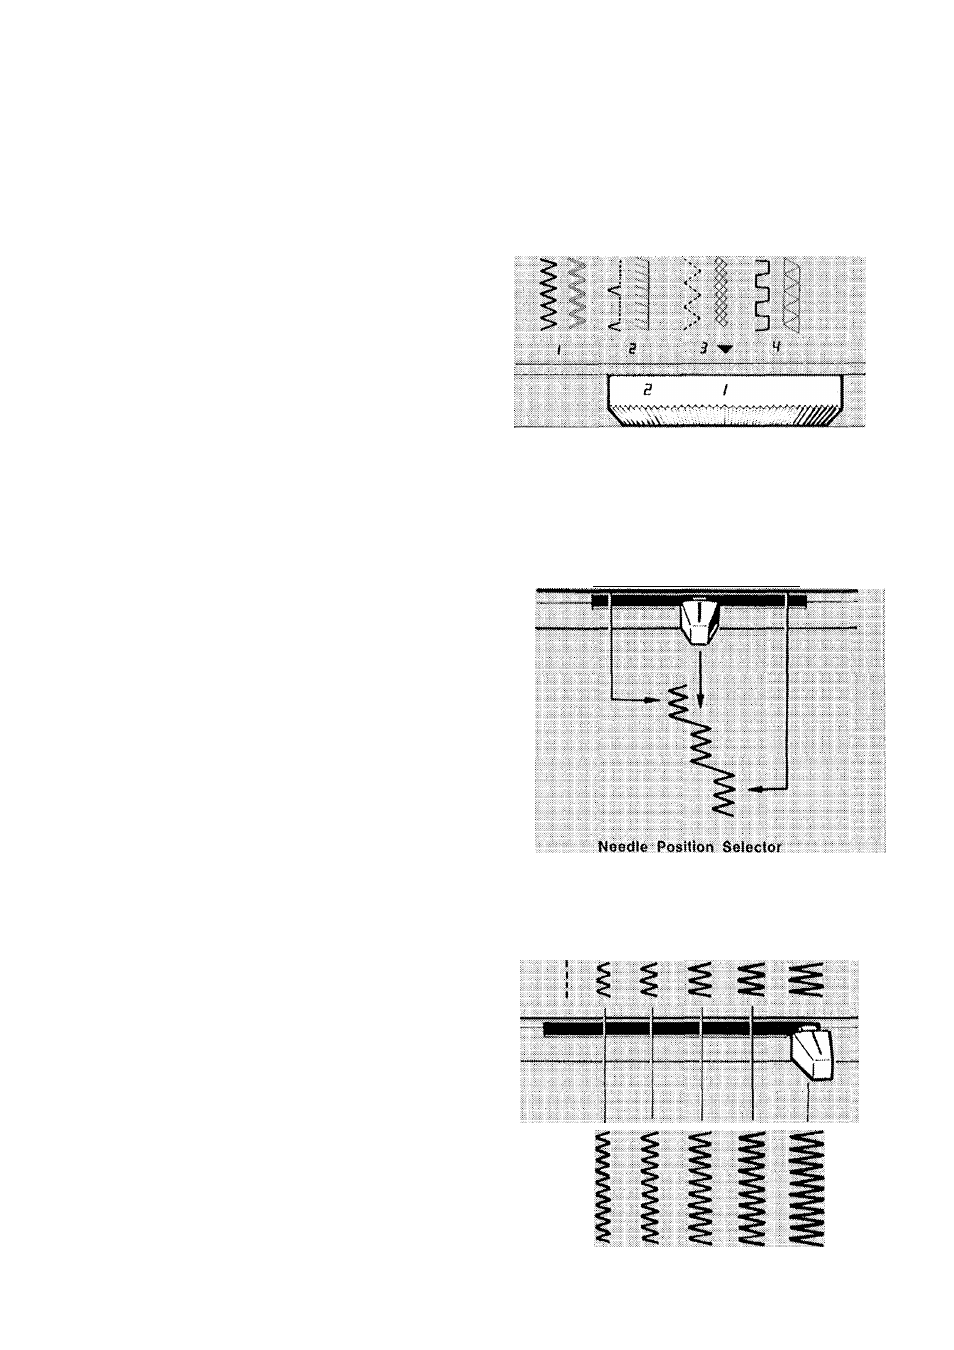
NEEDLE POSITION SELECTOR
Before moving selector, make sure needle is
out of the fabric.
Most of your zig-zag stitching will be done in
centre X needle position.
Left X and right X settings are used for
special stitch placement, as in button sewing.
STITCH WIDTH SELECTOR
Before moving selector, make sure needle is
out ol the fabric.
To
produce
a
plain
zig-zag
or
a
decorative
stitch, the stitch width selector is moved from
its
straight
stitch
position
!
to
any
of
its
other five positions. The further you move the
selector lever toward the right, the wider your
stitch wilt be.
Patlern Group Selector
Leit
n
Centre
n
Right
n
mlm
V
mm
4-
■
Stitch Width Selector
19