M” stitch, Elastic insertion recommended settings, Lace insertion – SINGER 6610 User Manual
Page 31: Recommended settings
Attention! The text in this document has been recognized automatically. To view the original document, you can use the "Original mode".
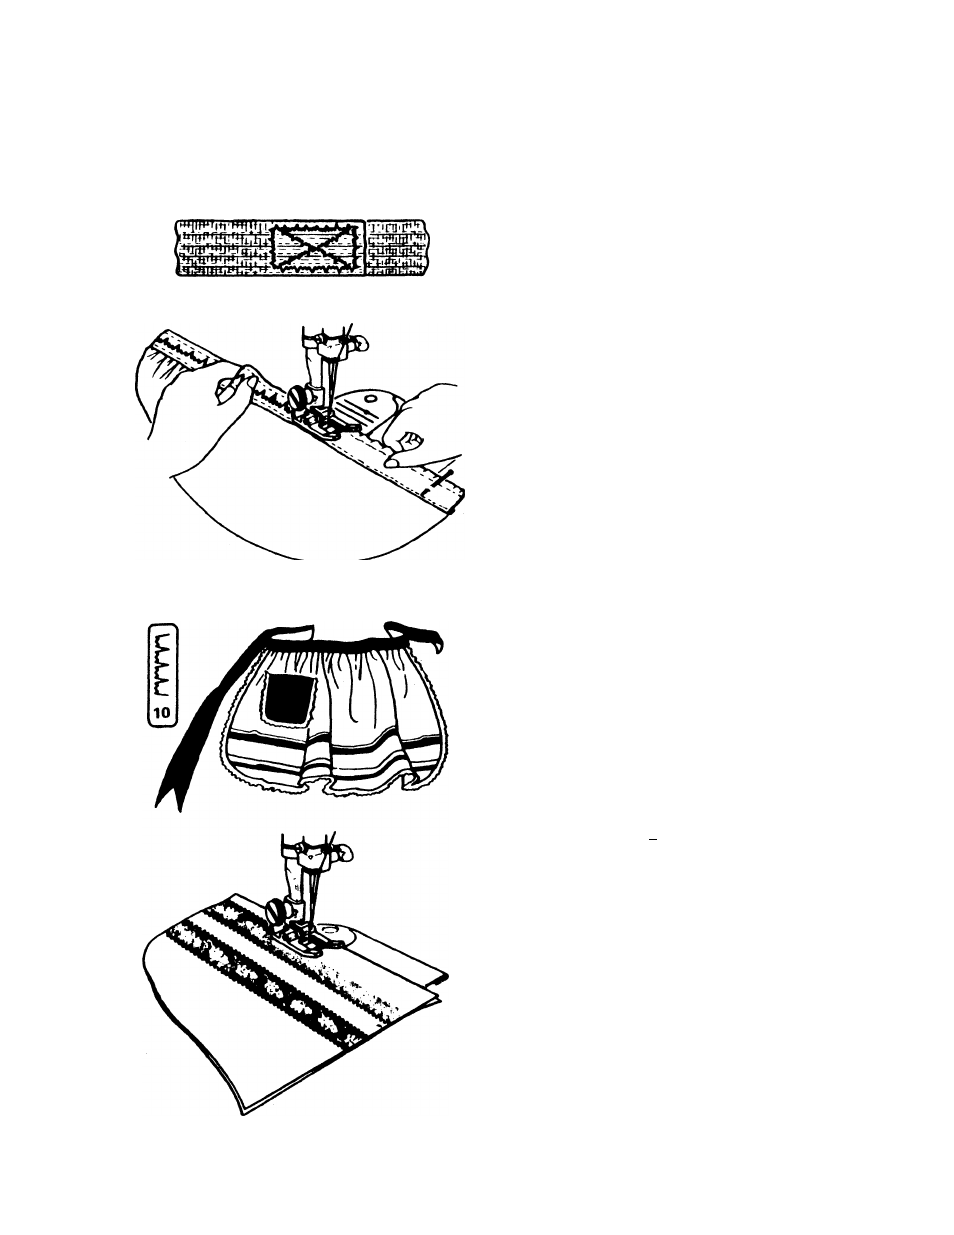
“M” STITCH
This stitch can be used for stretch seams
and decorative stitching.
Elastic insertion
RECOMMENDED SETTINGS
Stitch Selection: “M” Stitch No. 10
Needle Position: LQ*
Stitch Width:! I
Stitch Length: 1-2
Foot Special Purpose (J)
Needle Plate: General Purpose (A)
•
Fit eiactic for snugness and allow 1
Inch (25mm) for joining. Lap the two
ends and stitch.
•
Divide eiactic and garment into equal
quarters. Place elastic over the fabric
and pin the two together at these points
keeping top edges even.
•
Anchor the elastic to the fabric with
a
few
stitches.
Now
stretch
elastic
between the pins as you sew, using
both hands to hold elastic tight in
front and back of presser foot.
Lace insertion
Lace is inserted after fabric Is cut, but
before it Is sewn together.
RECOMMENDED SETTINGS
Stitch Selection: “M” Stitch No. 10
Needle Position: igu
stitch Width: 111||
Stitch Length: V
2-2
Foot: Special Purpose (J)
Needle Plate: General Purpose (A)
• Cut lace to desired size.
•
Position lace on right side of fabric
and pin in place.
•
Place the work under the preSser foot
so that the stitches fall over the lace
edges, as shown.
•
After both sides of lace are sewn, turn
fabric over to the back side and cut
the fabric on both sides close to the
stitching lines and remove.
26