SINGER W2031 User Manual
Page 6
Attention! The text in this document has been recognized automatically. To view the original document, you can use the "Original mode".
10. To Regulate the Thread Tension
For ordinary stitching the tension of the upper and lower threads should be
equal so as to lock both threads in the center of the material (Fig. 14.). If one tension
IS stronger than the other, imperfect stitching will result. Fine materials require
a light tension, while heavy materials require more tension to obtain a perfect stitch.
TO INCREASE the tension, turn the thread tension dial (Fig. 15) clockwise.
TO LESSEN the tesion, turn the thread
tension dial in the opposite direction. (When
regulating always have the presser foot down.)
As all machines are correctly adjusted before
leaving the factory and readjusted before the
dealer delivers them to yo, the lower tension
seldom needs to be altered, but, if this be
comes necessary, tighten the screw in the
tension spring on the outside of the bobbin
case for more tension, or loosen the screw
■slightly for lesser tension (Fig. 16).
Needle Thread Tension too strong
'У/^
Ь' - ■
Needle Thread Tension too weak
Rg,14
NOTE; Do not turn screw in either direction more than about one-quarter turn at
a time. Then check for results.
TENSION REGULATING
SCREW^
SLOT
Fig. 16
( 8 )
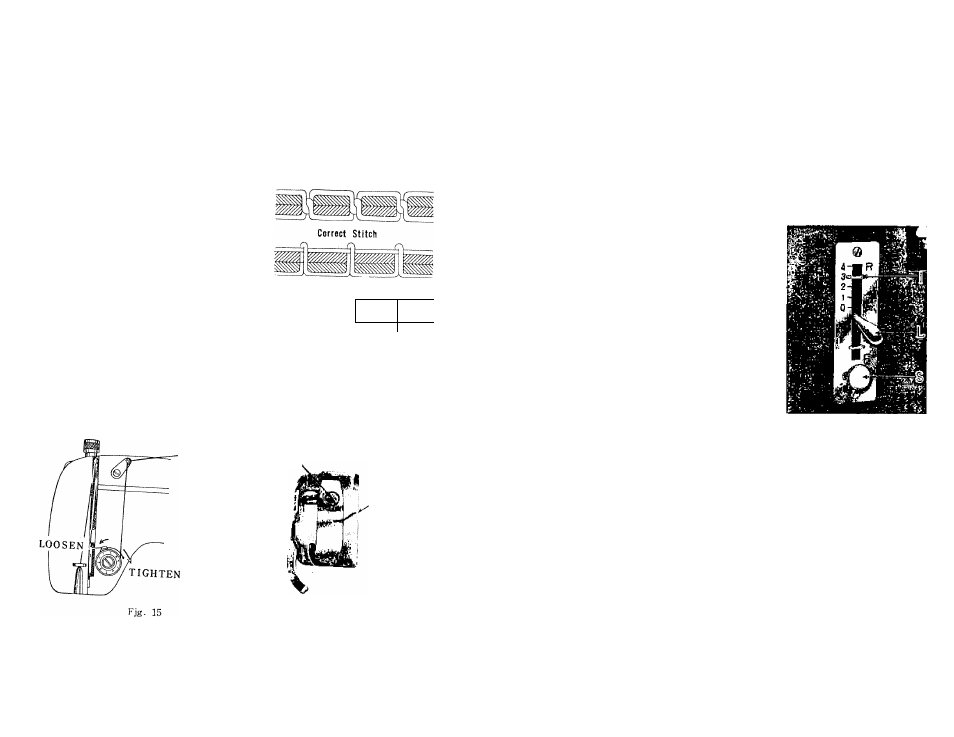
11. To Regulate the Stitch Length
The length of stitch can be changed by adjusting the stitch length regulating lever
“L” (Fig. 17).
When the lever is at O, the niiUcriai is not being fed througli the machine.
To change stitch length, loosen lock .screw “S” by turning n to the left.
Now move the lever gradually downward lo feed material forward and to lengthen
stitch.
The indicator “I" indicates the length of stitch. Set lever to desired length of stitch
and lock the screw by turning to the right.
To sew backward move stitch regulating
lever upw'ard past O until it stops.
Machine automatically maintain same length
of stitch forward and backwttrd.
Fig 1 /
12. To Regulate the pressure of the presser Foot
You can regulate the pressure of the presser foot by using the automatic darner.
To loosen the pressure for darning and embroidering, press release latch down as
shown in Fig. 18.
To increase the pressure push the cap down (Fig. 19).
While you are pushing the cap it can be set at whatever position required. For
sewing very light fabric light pressure is needed. For heavier material you must
have greater pressure on the fabric.
Make sure the prc.sscr foot is down when regulating pressure.
( 9 )