SINGER W2031 User Manual
Page 11
Attention! The text in this document has been recognized automatically. To view the original document, you can use the "Original mode".
2. Sew both both pieces of closh together, using thè hemmer foot like a regular
presser foot. Use the right edge of long toe of hemmer to guide the bottom
piece of material, while the left edge of the toe serves as a guide for the top
piece of material. Fig. 28 shows this detail.
3.
Open and spread out material and put back on machine right sides down
ward. Make sewn edges of material stand up.
4.
Fold over the edges to the left and insert them into the scroll ol the hemmer
foot. Sew as you would do ordinary hemming. Use left edge o( long toe of
the hemmer foot as guide, having original seam run alongside of it (Fig. 29).
23. To Sew Braid and Raised Applique stitches
1. Attach the Cording Foot.
2.
Set the Zigzag Lever at lor 2 according
to width of cord or gimp you are using.
3.
Insert the cord or gimp through the
hole of under foot.
4.
Sew slowly and follow the design care
fully (Fig. 30).
24. To do Quilting
The Quilter helps you to sew equidistant
lines on padded fabrics without any marking
them in advance.
1. Attach the Quilter.
j 2. Adjust the quilter to spacing desired and
1
let it touch the material.
3. Sew the material so that quilter follows
the previous stitching (Fig. 31).
( 18 )
Fig. 30
Fig. 31
25.
Cloth Guide & Thumb Screw
Fig. 32
This is an attachment designed as a guide for straight stitching when making
wide hems, deep tucks or seam widths which are greater than the presser foot
allows (Fig. 32).
It is attached to machine as illustrated.............. a very simple operation.
26.
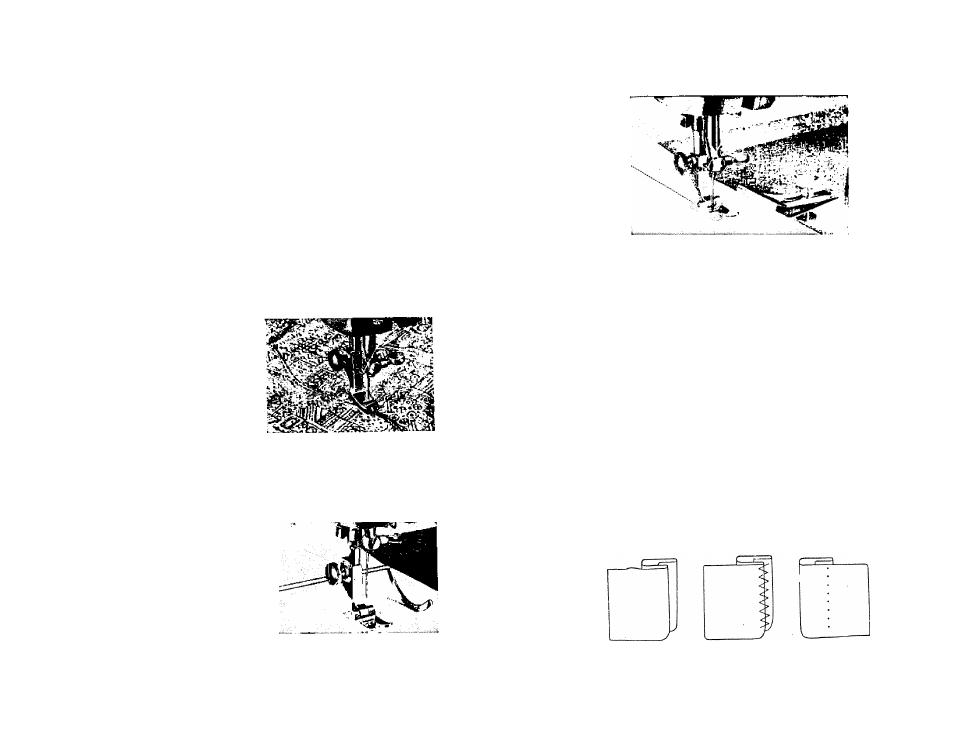
Hemming with the Zigzag Stitch
1.
Fold the material to the size of hem desired, with 1 16 operlap on tl >
bottom fold as shown in Fig. 33-A.
2.
Make the stitch as shown in Fig. 33-B.
3.
After stitch is finished, unfold the material as shown in Fig. 33-C. You will
have practically invisible stitching.
Fig. .33
B
( 19 )