Sewing curved seams, Darning – SINGER 9124 User Manual
Page 13
Attention! The text in this document has been recognized automatically. To view the original document, you can use the "Original mode".
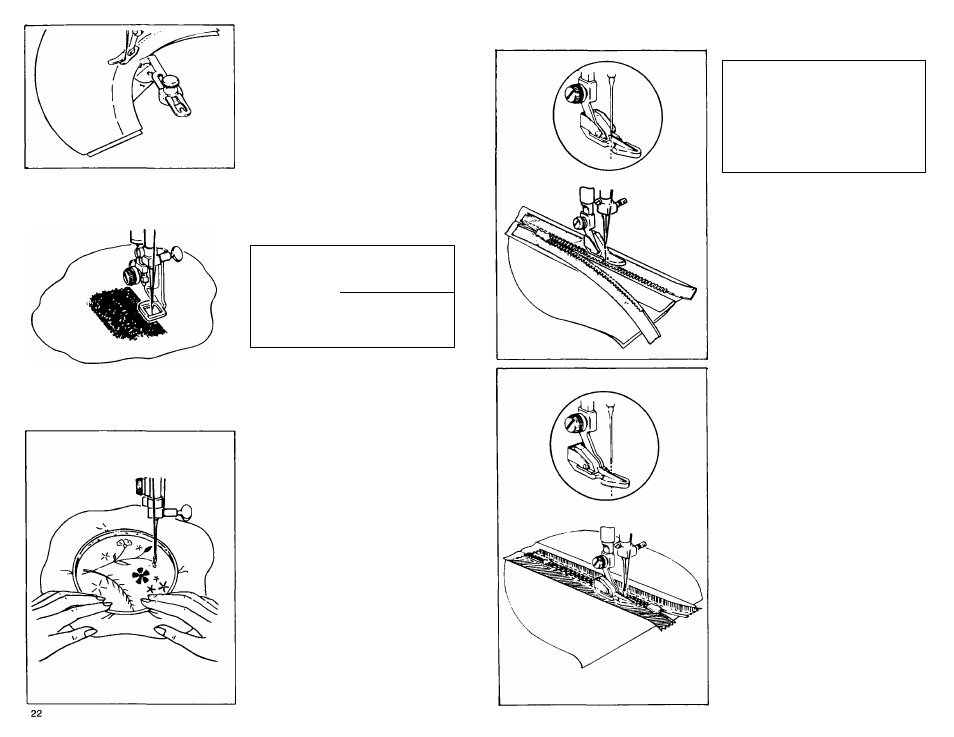
SEWING CURVED SEAMS
•
Baste seam line.
• Use a short stitch for elasticity and
strength.
• Guide fabric to follow curve.
• The seam guide may also be used
when sewing curved seams. Attach
seam guide at an angle so that the
edge closer to the needle acts as a
guide.
DARNING
Mend worn or torn areas using the
Darning and Embroidery Foot.
• Trim ragged edges and baste a backing
on wrong side of tear.
INSERTING A ZIPPER
The zipper package will provide complete instructions for inserting zippers.
RECOMMENDED SETTINGS
Stitch Selection:
Straight Stitch
Stitch Width:
li I! t! ■^
wav
AVA'A
1 ioJ ^
Stitch Length;
0
Foot: Darning and Embroidery (G)
Needle Plate:
General Purpose (A)
• Attach Feed Cover (F).
• Place area to be darned, right side up,
under presser foot; lower foot.
• Stitch, guiding fabric back and forth,
until entire area is filled in.
FREE MOTION EMBROIDERY
In free motion embroidery, you sew without
a presser foot, and control the fabric with
an embroidery hoop.
• Attach Feed Cover (F).
• Be sure to lower presser foot lifter.
•
When embroidering, as shown, use
straight stitches for stems, and zig-zag
stitches, at varying widths, for leaves
and petals. Lengthen stitches by mov
ing the hoop faster or slower.
NOTE: The Darning and Embroidery Foot
(G) may be used to help control fabric.
RECOMMENDED SETTINGS
Stitch Selection;
Straight Stitch
Stitch Width;
t i- H |^%
w
.
w
-‘A• *AW
: 1 ioi
i
II
Stitch Length:
1-1/2 to 4
Foot;
Zipper (E)
Needle Plate;
General Purpose (A)
When zipper is to the left of needle,
attach left side of zipper foot to shank.
The needle will enter left notch of foot,
sewing close along zipper teeth.
Attach right side of zipper foot to shank
when a zipper is to the right side of the
needle. The needle will enter right notch
of foot, sewing close along zipper teeth.
23