Keeping up appearances, Mending a tear, Blanket binding – SINGER 714 Graduate User Manual
Page 41
Attention! The text in this document has been recognized automatically. To view the original document, you can use the "Original mode".
keeping up appearances
Many zig-zag siiich patterns are Just as useful
for mending as they are for creative sewing.
The muiti-stitch zig-zag (a built-in pattern)
forms a firm, flexible bond that is ideal for re
pairing tears.
MENDING A TEAR
• Pattern: Muiti-Stitch Zig-Zag
• Needle Position:
A
• Stitch Width: 2 to S
• Stitch Control: Approximately 20 (1 to 1.5)
• Zig-Zag Throat Plate
• Zig-Zag Foot
1. Trim ragged edges.
2. Place underlay on the wrong side of tear for
reinforcement. (It is best not to baste or pin
the underlay, since you will be bringing the
edges together in the next step.)
3. Stitch on the right side, bringing the edges
of the tear together. Shorten stitch length at
ends and corners to give extra strength.
4. Trim underlay.
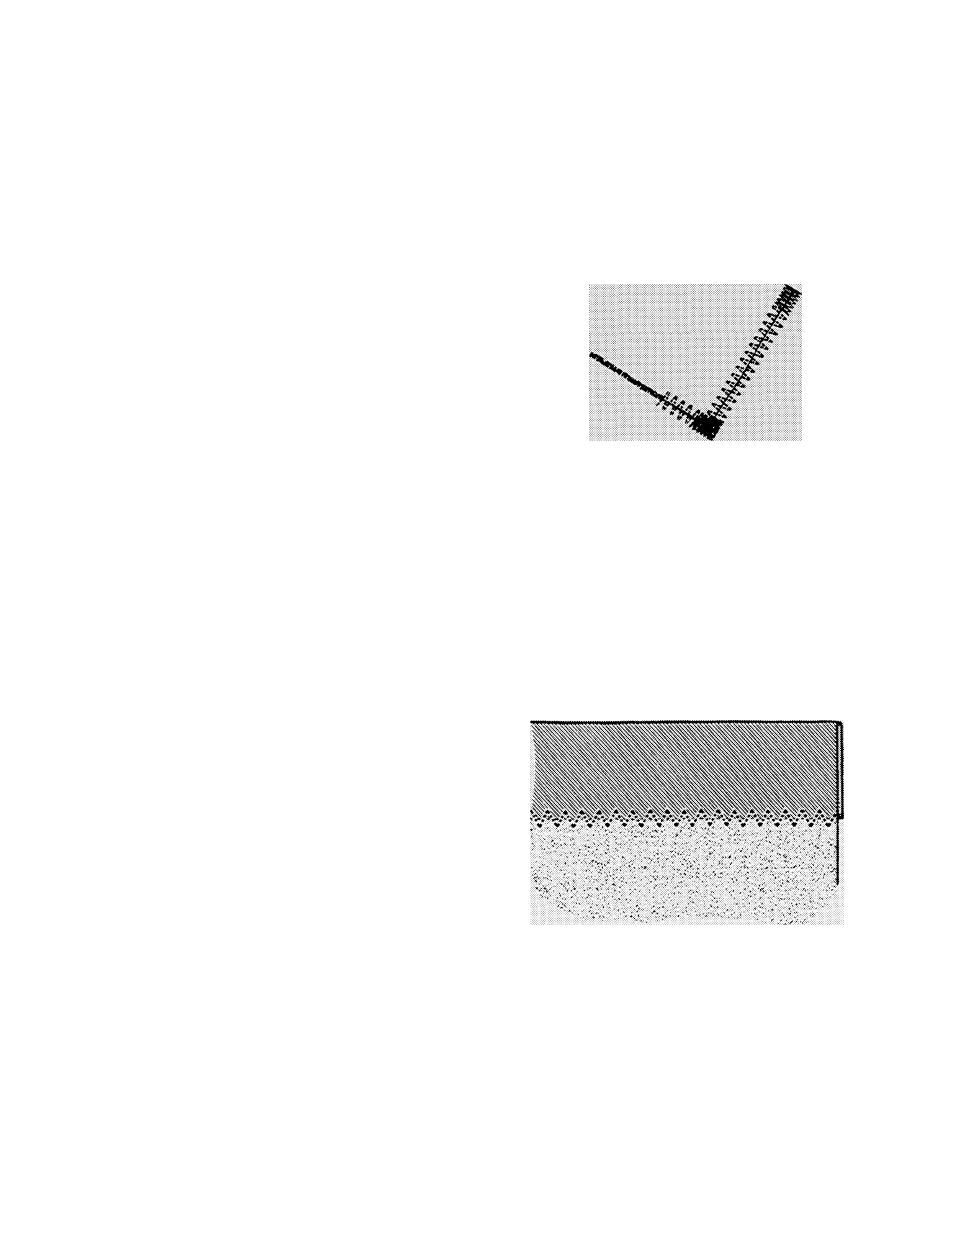
Tear amended with Multi-Stiteh Zig-Zag
BLANKET BINDING
Often you can make an old blanket look almost
new by replacing the binding.A zig-zag stitch
pattern such as the plain zig-zag or muiti-
stitch zig-zag or the semaphore Flexl-Stltch
pattern may be used.
• Pattern: Desired zig-zag stitch (see above)
♦ Stitch Width: 5
• Needle Position:
A
• Stitch Control:
STRETCH
for Flexi-Stitch pattern,
or approximately 15 to 20 (1.5), to suit stitch and
fabric
♦ Pressure: NORM or less
* Zig-Zag Throat Plate
♦ Zig-Zag Foot
1, Make a sample to determine correct dial
settings. Reduce pressure on fabric and
increase stitch length, if necessary, so that
blanket feeds freely.
2, Remove worn binding and baste new bind
ing securely in place.
3, Stitch, and remove basting.
Blanket Binding
39