SINGER 714 Graduate User Manual
Page 25
Attention! The text in this document has been recognized automatically. To view the original document, you can use the "Original mode".
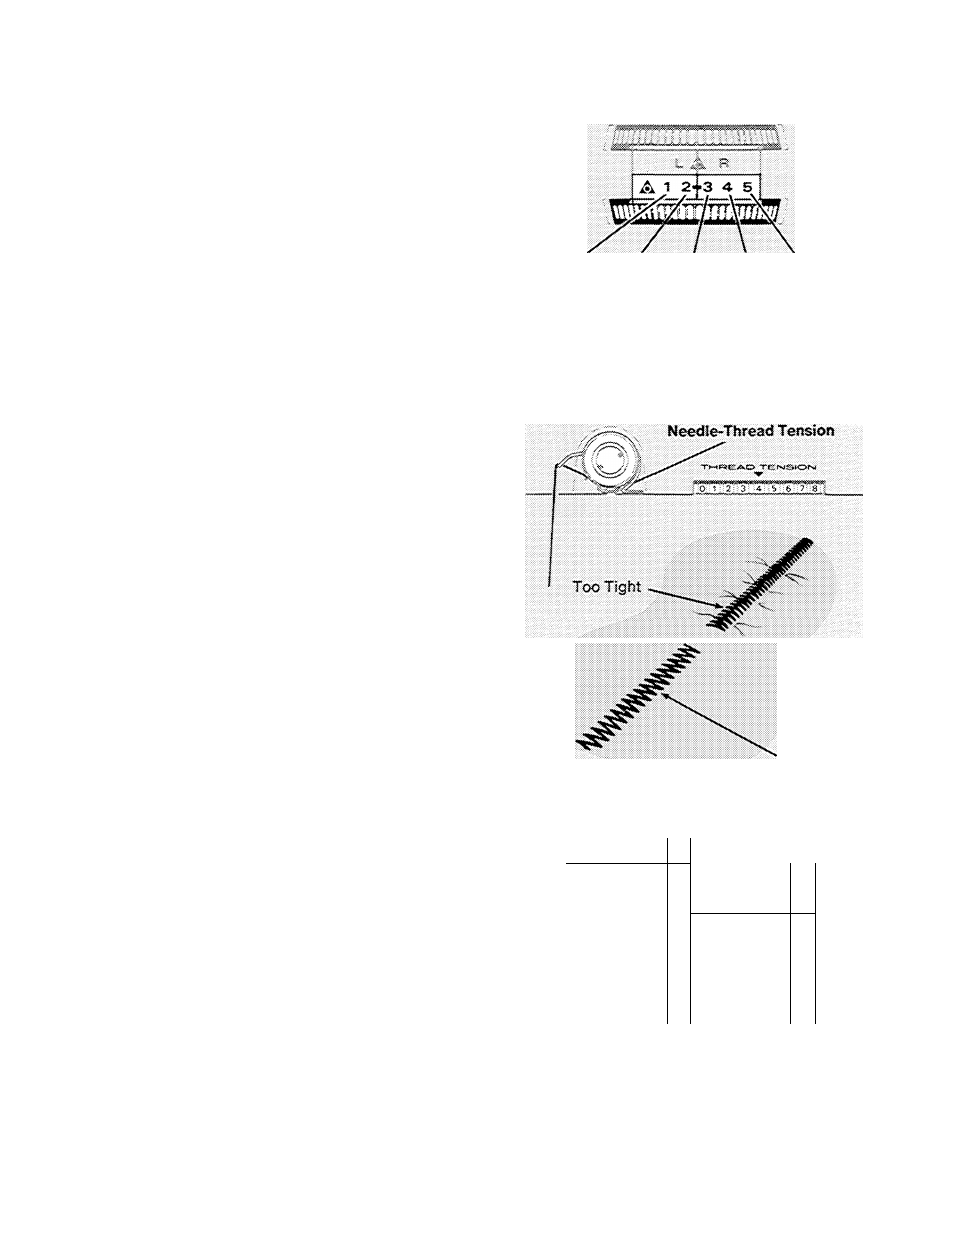
ADJUSTING WIDTH OF DESIGN
Before moving dial, make sure needle is above
the fabric.
To produce a zig-zag stitch, turn the stitch
width dial to any setting between 1 and 5. The
higher the number, the wider your stitch wiil
be. A stitch width setting of 2 or more is rec
ommended for Flexi-Stitch patterns.
Adjusting Width of Design
ADJUSTING NEEDLE-THREAD TENSION
Zig-zag stitching usually requires less needle-
thread tension than straight stitching. Make a
test sample with the fabric and thread you plan
to use so that you can adjust tension to suit the
stitch pattern you have chosen. The stitches
should lie flat against the fabric without causing
the fabric to pucker.
if the stitches are not flat and the fabric is
puckered, lower the needle-thread tension by
turning the dial to a lower number.
ADJUSTING STITCH LENGTH
Any stitch control setting in the numbered area
will give you an open zig-zag stitch of the pat
tern you select except Flexi-Stitch patterns.
The triangular symbol on the dial designates
the FINE stitch area and is used for the adjust
ment of zig-zag satin stitching (see page 24 for
specific instructions).
To produce the overedge stretch stitch or any
other Flexi-Stitch pattern (refer to stitch pat
tern chart), the stitch control dial must be set
on the STRETCH symbol. Simply turn the dial
downward until the symbol is centered under
the red line. No further adjustment is neces
sary.
V/hen using the STRETCH setting of the stitch
control, you cannot backstitch the stitch pat
tern.
Correct
Ц-
:! ;! ; \fi\t
1^ *
----
If
'..... i 20
i i i ’*
Emiim>«~v~
Stitch Control Dial
23