SINGER W1166 User Manual
Page 15
Attention! The text in this document has been recognized automatically. To view the original document, you can use the "Original mode".
14
Any
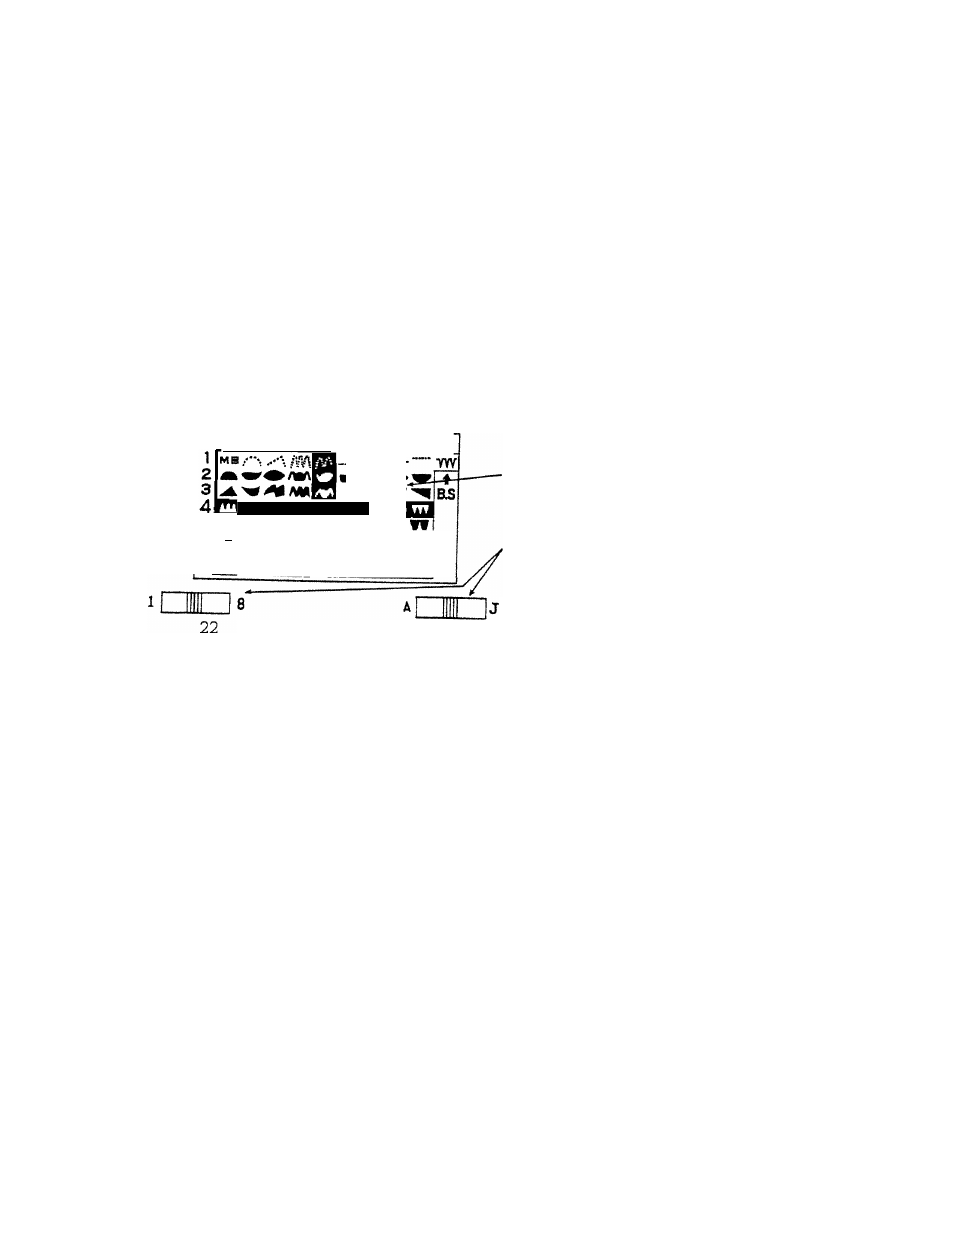
one of the stitch designs illustrated on the Decorative Stitch Dial (32 Fig.
24) can be made automatically. The pattern located in the black area where the
two lines cross is the one produced.
To select a pattern,
(
1
) move mechanism release lever to the right
as far as it will go
(
2
) turn pattern selector control
22
to place
horizontal black line over pattern desired
(3) turn pattern selector control 23 to place
vertical black line over pattern desired
(4)
release mechanism lever by raising it slightly so it wll spring back to its left
hand position
(5) set buttonhole control knob A at 0 (Fig-23)
(
6
) set zigzag width control knob B at 0 (Fig-23)
(7)
Set stitch length control as close to 0 as possible without stopping the feeding
for a very compact design. By increasing the feed the design will be longer
but not quite so compact.
Release lever
A B C P E F G H I
J
A ^ AAA /V\ .M,
w
iti ♦ ♦ ifV'M'
M
yiK
_______________ _ _
rfSi—
23
Decorative stitch dial plate 32
Pattern selector control Knob
Fig. 24