Service and adjustments – Sears 917.25559 User Manual
Page 21
Attention! The text in this document has been recognized automatically. To view the original document, you can use the "Original mode".
SERVICE AND ADJUSTMENTS
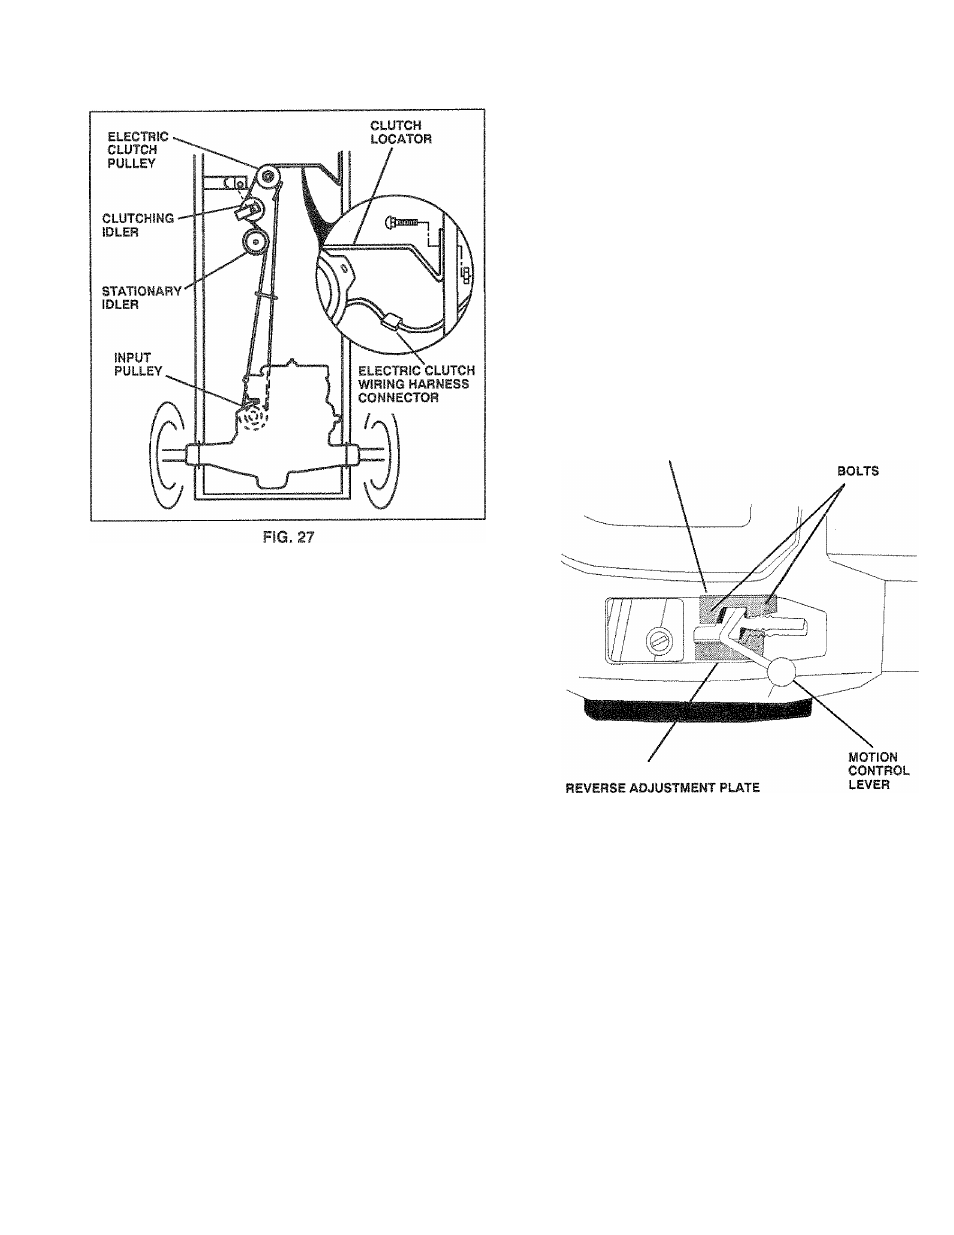
TO ADJUST MOTION CONTROL LEVER
(See Fig. 28)
"NEUTRAL" position of the motion control lever has been
preset at the factory and adjustment should not be nec
essary.
If your unit tends to "creep” when the motion control lever
is In “NEUTRAL" position, adjust the neutral lever position
as follows;
FORWARD ADJUSTMENT-
•
Drive unit forward on a level surface.
•
Move motion control lever to the left and back until
it stops against forward adjustment plate and release
lever,
•
If unit "creeps" lonward or backward, turn engine off
and set parking brake,
•
From underside of fender, loosen the two (2) bolts
securing forward adjustment plate and move plate
1/16" opposite the direction the unit "creeps":
-
Forward "creep", move plate backwards 1/16 inch.
-
Reverse "creep", move plate forward 1/16 inch.
•
Retighten bolts securely.
•
Repeat forward drive test and, if necessary, readjust
until "creep" is eiin^inated.
REVERSE ADJUSTMENT-
•
Drive unit in reverse on a level surface.
» Move motion control
lever
to the right and forward
until it stops against reverse adjustment plate and
release lever.
0
If unit "creeps" forward or backward, turn engine ofi
and set parking brake,
» Loosen and move reverse adjustment plate in the
same manner as forward adjustment plate described
above:
-
Forward "creep", move plate backwards 1/16 inch,
-
Reverse "creep", move plate forward 1/16 inch.
•
Retighten bolts securely.
•
Repeat reverse drive test and, if necessary, readjusi
until "creep" is eliminated,
If "creep" cannot be eliminated by the above adjustments,
contact your nearest Sears Service Center,
FORWARD ADJUSTMENT PLATE
F!G. 28
21