Sears 72671 User Manual
Gas range, Manual, Caution
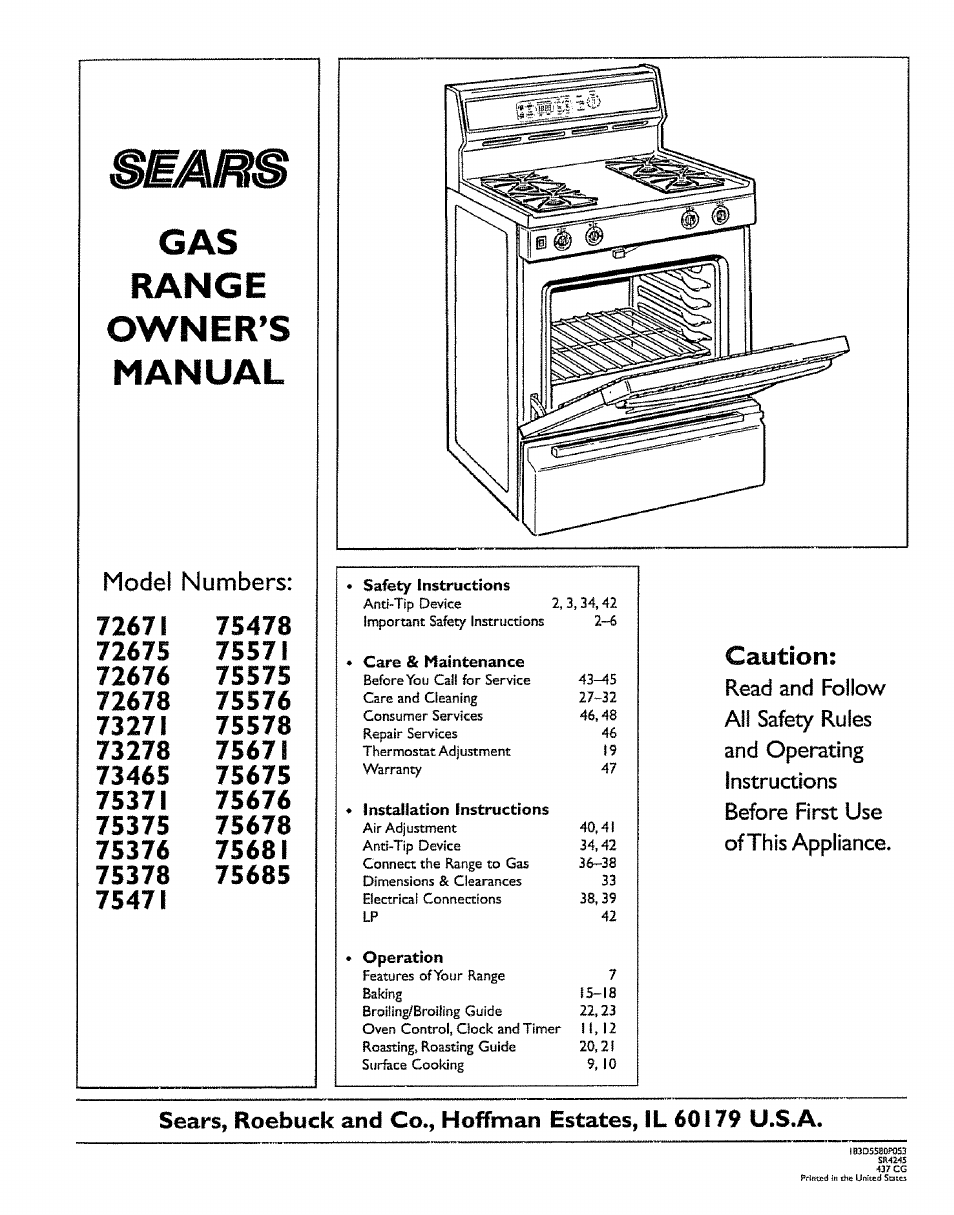
This manual is related to the following products:
Table of contents
Document Outline
- Important Safety Instructions
- aWARNING
- important Safety Instructions (con.nu=d)
- Important Safety Instructions (continued)
- SAVE THESE INSTRUCTIONS
- Features of Your Range
- How Does This Cooktop Compare to Your Oid One?
- Surface Cooking
- Oven Control, Clock and Timer {appearance may vary)
- Using Your Oven
- Adjust the Oven Thermostat—Do It Yourself!
- Roasting
- Roasting Guide
- Broiling Guide
- Care and Cleaning
- Sealed Burner Assemblies
- Burner Heads
- Bui*ri©t* Cstps
- Standard Twin Burners
- Lift-Up Cooktop
- Burner Grates
- Cooktop Surface
- Drip Pans
- Brushed Chrome Cooktop
- Broiler Pan and Grid
- Oven Bottom
- Surface Light and Starter
- Oven Light Replacement
- Lift-Off Oven Door
- Removable Kick Panel
- Removable Broiler Drawer
- Removable Storage Drawer
- Control Panel and Knobs
- Installation Instructions
- Important Safety Instructions
- WARNING
- GENERAL
- LOCATION
- HODEL AND SERIAL NUMBER LOCATION
- TOOLS YOU WILL NEED
- ADDITIONAL MATERIALS YOU MAY NEED
- PREPARATION
- STEP I
- Provide Adequate Gas Supply
- Connect the Range to Gas
- STEP 3
- Electrical Connections
- STEP 4
- Seal the Openings
- STEP 5
- Check Ignition of Surface Burners
- STEP 6
- Check Ignition of Oven Burner
- STEP 7
- Adjust Broil and Oven Burner Air Adjustment Shutters If Necessary
- STEPS
- Leveling the Range
- Installing the Anti-Tip Device
- Converting to LP gas
- Questions? Before You Call for Service...
- PROBLEM
- FULL ONE-YEAR WARRANTY ON THE FUNCTIONING OF ALL PARTS EXCEPT GLASS PARTS
- FULL 30-DAY WARRANTY ON GLASS PARTS AND FINISH OF PORCELAIN ENAMEL, PAINTED OR BRIGHT METAL FINISHED PARTS
- FULL 90-DAY WARRANTY ON MECHANICAL ADJUSTMENTS
- WARRANTY SERVICE IS AVAILABLE BY CONTACTING THE NEAREST SEARS SERVICE CENTER/DEPARTMENT IN THE UNITED STATES.
- ' — TO SERVICE WHAT WE SELL
- America’s Best Selling Appliance Brand