Sears 61118 User Manual
Gas range owner’s manual, Caution
Attention! The text in this document has been recognized automatically. To view the original document, you can use the "Original mode".
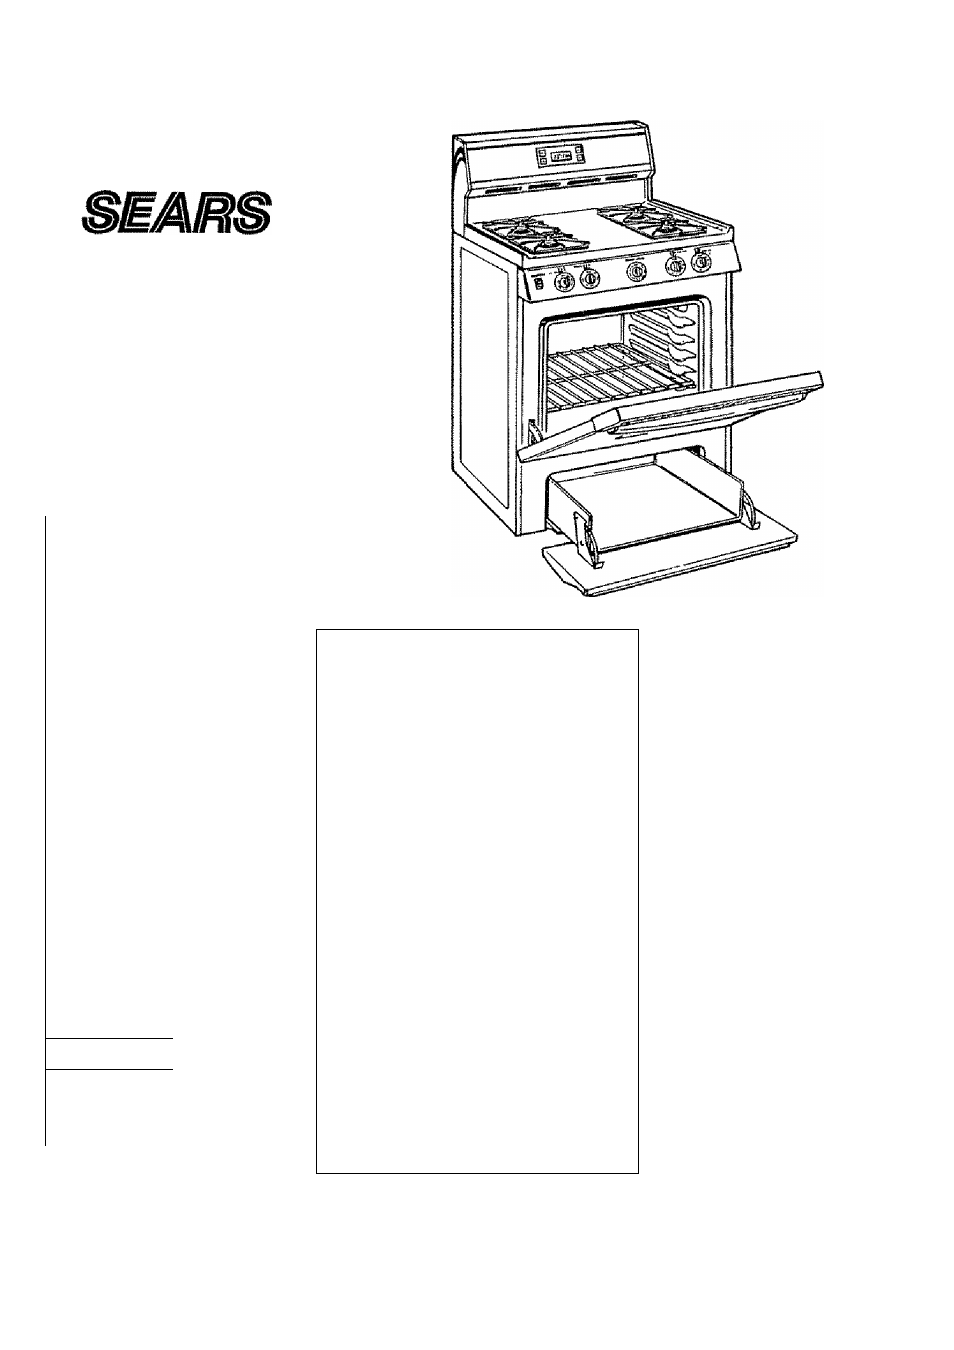
GAS
RANGE
OWNER’S
MANUAL
Model Numbers:
61011
72296
61018
72298
61061
72751
6 I I I I
72755
61118
72758
71061
75171
71068
75181
71 161
75188
71 168
75271
71351
75275
71358
75276
71661
75278
71665
75281
71668
75291
71751
75295
71758.
75296
72291
75298
72295
+ Safety lnstn"uctfons
Anri-Tip Device
2,3,31,39
Important Safety instructions
2-6
* Care & Maintenance
Before You Call for Service
40,41
Care and Cleaning
22““28
Consumer Services
42,44
Repair Services
42
Thermostat Adjustment
17
Warranty
43
♦ installation instructions
Air Adjustment
36,38
Anti-Tip Device
31,39
Connect the Range to Gas
32-34
Dimensions & Clearances
29
Electrical Connections
34,35
LP
39
* Operation
Features ofYour Range
7
Baking
15, 16
Broiling/Broilirtg Guide
20,21
Clock and Timer
12
Roasting, Roasting Guide
18, 19
Surface Cooking
8-11
Caution:
Read and Follow
All Safety Rules
and Operating
Instructions
Before First Use
OTI nis Appliance,
Sears, Roebuck and Co., Hoffman Estates, IL 60179 U.S.A.
mossmmi
SM244
437 CG
Priftte
Document Outline
- GAS
- RANGE
- OWNER’S
- MANUAL
- Important Safety instructions
- SAVE THESE INSTRUCTIONS
- Features of Your Range
- How Does This Cooktop Compare to Your Old One?
- Surface Cooking
- Surface Cooking
- Surface Burner Controls
- Before Lighting a Burner
- To Light a Surface Burner
- After Lighting a Burner
- How to Select Flame Size
- Top-of-Range Cooicware
- Wok This Way
- Stove Top Grills
- To Set the Clock
- To Set the Timer
- To Display the Clock While the Timer is Operating
- Conventional Clock and Timer
- The Clock
- Timer
- To Change or Cancel the Timer Setting
- Using Your Oven
- Adjust the Oven Thermostat—Do It Yourself.
- Roasting Guide
- Care and Cleaning
- WARNING
- PREPARATION
- STEP 2
- Connect the Range to Gas
- Gas Pipe and Electric Outlet Locations for Models Equipped with Sealed Burners
- Electrical Connections
- Adjust the Surface Burner Pilots If Necessary
- STEP 6
- Check Ignition of Surface Burners
- Check Ignition of Oven Burner
- STEP 8
- Adjusting the Air Adjustment Shutter
- If Necessary
- STEP 9
- Leveling the Pange
- STEP 10
- Installing the Anti-Tip Device
- Converting to LP gas
- Questions? Before You Call for Service..
- 1 -800-366-PART
- 1-800-4-MY-HOME"
- 1 -800-827-6655
- FULL ONE-YEAR WARRANTY ON THE FUNCTIONING OF ALL PARTS EXCEPT GLASS PARTS
- FULL 30-DAY WARRANTY ON GLASS PARTS AND FINISH OF PORCELAIN ENAMEL, PAINTED OR BRIGHT METAL FINISHED PARTS
- FULL 90-DAY WARRANTY ON MECHANICAL ADJUSTMENTS
- WARRANTY SERVICE IS AVAILABLE BY CONTACTING THE NEAREST SEARS SERVICE CENTER/DEPARTMENT IN THE UNITED STATES.
- America’s Best Selling Appliance Brand
- 1 -800-827-6655