Initial operation, Ready screens – Sonics GXT User Manual
Page 19
• • • • • • • • • • • • • • • • • • • • • • • • • • • • • • • • • • • • • • • • • • • • • • • • • • • • • • • • • • • • • • • • • • • • • • • • • • • • • • • • • • • • • • • • • • • • • • • • • • • • • • • • • • • •
I N S T R U C T I O N M A N U A L • M O D E L G X T P O W E R S U P P LY
18
INITIAL OPERATION
After the power supply is turned on (as described on previous page), follow
these steps:
1. Make sure that all necessary preparations have been made with regard to
the ultrasonic system and tooling, and that the items to be welded are in
position.
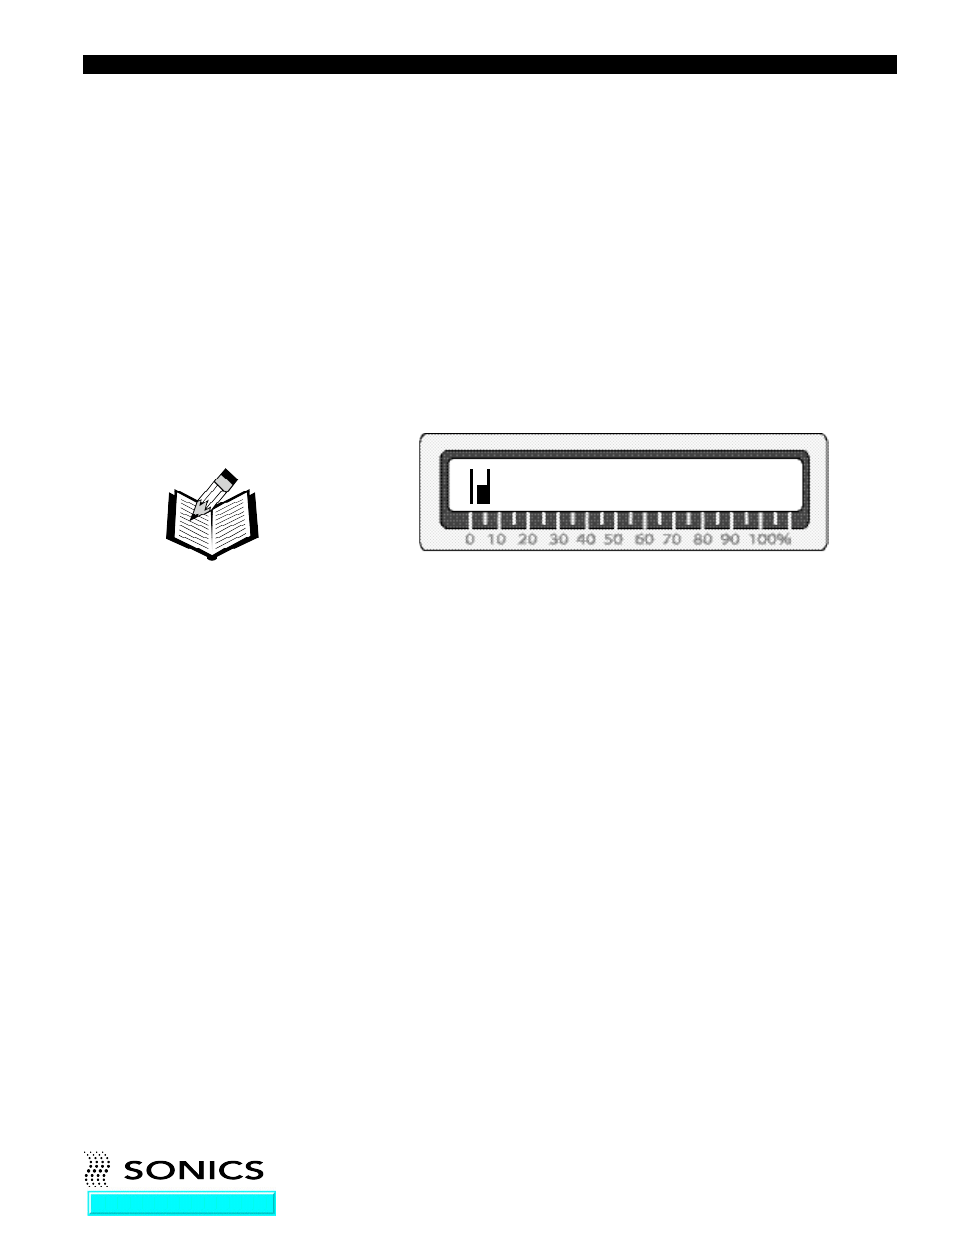
2. Press and hold the TEST button. While depressing the TEST button,
check the LCD display. Make sure the bar graph indicator on the LCD
display (a series of vertical lines that register to the 0 to 100% load meter
scale – see example below) does not exceed 20%.
During the testing process, keep in mind that the ultrasonics are only
activated as long as the TEST button is depressed – once you release the
TEST button, ultrasonics is terminated.
A bar graph indicator reading of above 20%, signals that there may be a
problem with the stack. Check your assembly and re-test.
3. The power supply is now ready for operation.
Frequency Display
The TEST key can also be used to display the running ultrasonic frequency
being used by the system. Refer to page 22 for more information.
READY SCREENS
In addition to the start-up ready screen (shown on page 16), there are 2 other
“ready” screens. The system must be displaying one of the 3 ready screens
in order for welding to commence. Welding cannot be initiated from any
other display. The other 2 ready screens are as follows:
0045 Watts
NOTE: The TEST and
Load Meter check
should always be done
for all cold start-ups,
and for any start-up after
the system has been idle
for 20 minutes or more.