Reznor R6GN Option - Installation - Support Leg (560258) User Manual
Page 2
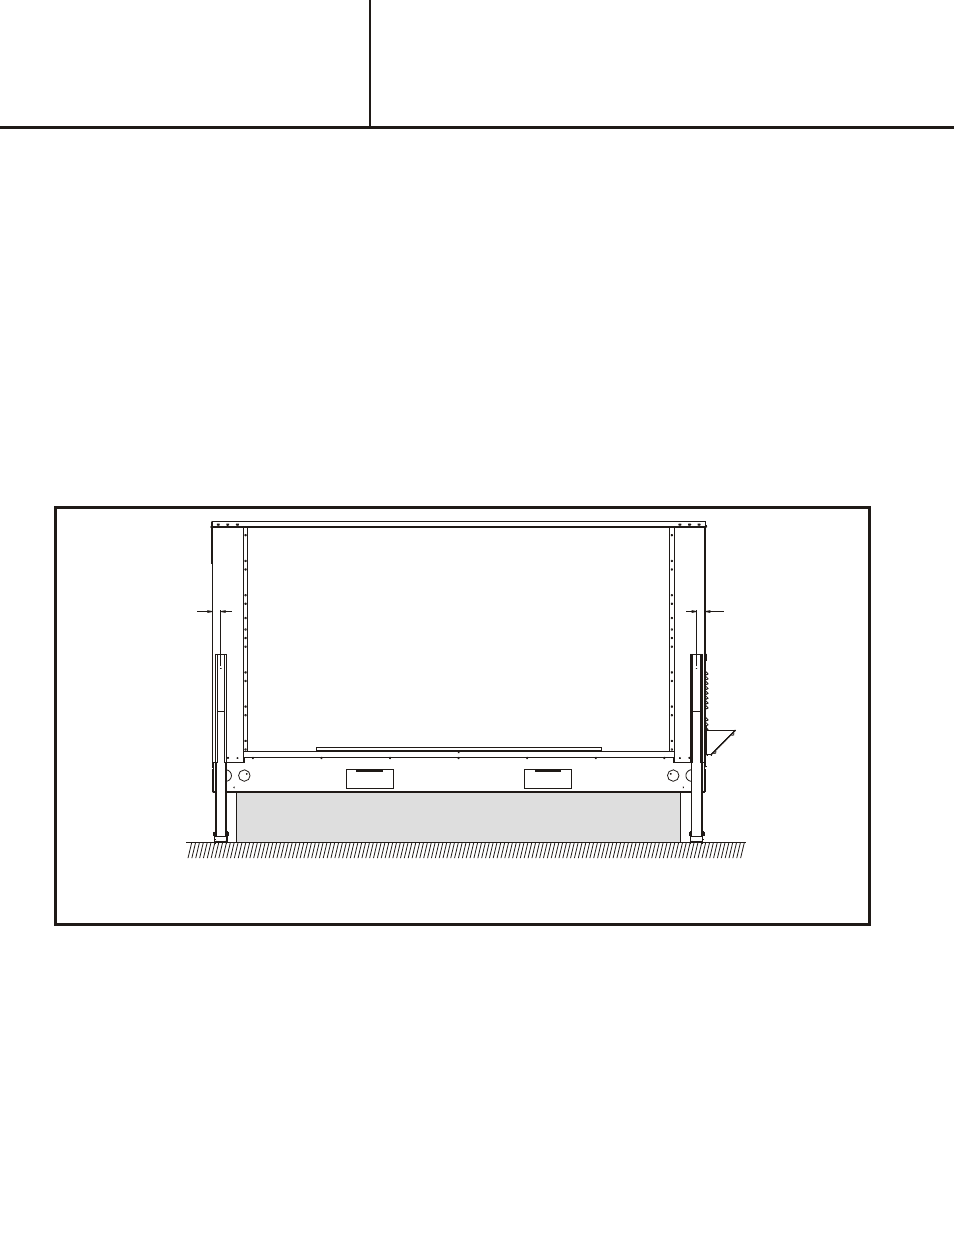
Front View
NEIES01
July 21, 2011
III - IN STAL LA TION
1.
DISCONNECT ALL POWER TO UNIT.
2. To avoid damage to the unit, prior to drilling holes in any cabinet inspect the areas behind where the support legs are to
be located for any wiring, tubing, or electrical items. Remove panels as necessary.
3. Ensure the unit or add on accessory to be supported is level and located in its intended final position.
4. Ensure area beneath support foot is clear of debris such as screws, rocks, etc.. Failure to properly apply the support
legs may cause damage to rubber, tar, or gravel roofing materials that may lead to leaks.
5. Remove the two carriage bolts securing the adjustable support leg assemblies together. Adjust legs to the required
height where support foot rests firmly on the ground or roof. Pass one of the carriage bolts back through the assembly
to ensure bolt holes are re-aligned. Mark top of support brace location on unit. Slide support legs apart and secure the
rear mounting leg to the unit using supplied self tapping screws through holes provided in the bracket. Add additional
mounting holes if necessary.
NOTE: Based on height of roof curb it may be necessary to temporarily remove the
support foot from the leg assembly and slide it down through the top.
6. Repeat Steps 2 through 5 for the other support leg assembly.
7. Replace any panels removed during installation of support legs before operating equipment.
8.
Reconnect power back to the unit.
IN STAL LA TION
IN STRUC TION
INSTALLATION INSTRUCTIONS FOR
560258
ADJUSTABLE SUPPORT LEG KIT
Roof Curb
1.50" MAX.
TO SCREW
E
N
I
L
R
E
T
N
E
C
1.50" MAX.
TO SCREW
E
N
I
L
R
E
T
N
E
C
Roof Line