Reznor LDAP Conversion Info - High Altitude Kit Installation (Option DJ20) User Manual
Application and kit components, Installation instructions, Components of option dj20, high altitude kits
Form RZ-NA I-LDAP-HA, P/N 208081, page 1
APPLIES TO:
Model LDAP
High Altitude Kit
for Elevations above
6000Ft/1830M, Option DJ20
Installation Form RZ-NA I-LDAP-HA
®
If a Model LDAP heater is being installed above 2000 ft (610M), the input rate
must be derated. This is done by adjusting the valve outlet pressure as ex-
plained in the heater installation manual. In addition, if the heater is being
installed at an altitude above 6000 ft (1830 M), the pressure switch must be
changed.
Application and
Kit Components
•
Option DJ20 is required
above 6000 ft (1830M)
Installation
Instructions
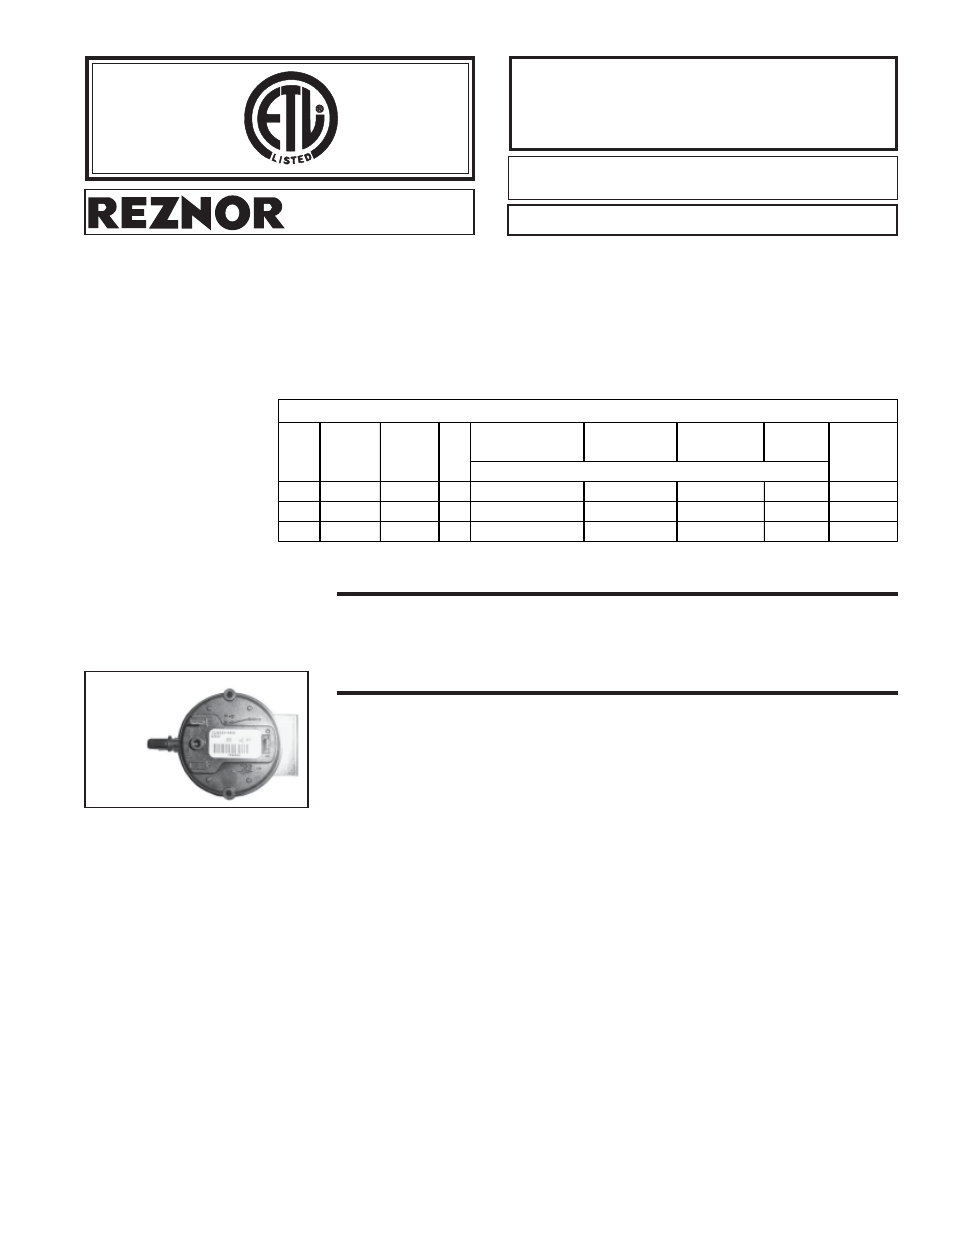
FIGURE 1 -
Pressure
Switch
The high altitude kit is to be selected and installed by a qualified service person in
accordance with these instructions and in compliance with all codes and require-
ments of authorities having jurisdiction. The qualified agency performing this work
assumes responsibility for this installation.
WARNING: The instructions in this sheet are designed to prepare
a heater for high altitude operation prior to installation. If your
heater is installed, for your safety, turn off the gas and the electric
before servicing.
Start-up Cold
Equilibrium
Hot
Setpoint
OFF
Setpoint
ON
400 208078 197029
1
1.75 to 1.45
1.00 to 0.80
0.60
0.78
Lt. Blue
800 208892 197029
2
1.85 to 1.55
1.05 to 0.85
0.60
0.78
Lt. Blue
1200 208893 197029
3
2.35 to 1.85
1.50 to 0.95
0.60
0.78
Lt. Blue
Label
Color
Switch
Part No.
Differential Pressure (in. w.c.)
Optional High Altitude Unit Pressure Switch Kits
Qty
Size Kit P/N
1.
Remove the control compartment door from the first unit and locate the
pressure switch (See FIGURE 1 and FIGURE 2, page 2).
2.
Mark and disconnect the two wires attached to the pressure switch.
3.
Mark and disconnect the sensing tubes from the pressure switch.
4.
Locate the two screws holding the switch mounting bracket. Remove the
screws (save screws) and the pressure switch.
5.
Using the same screws, install the high altitude pressure switch. Attach the
sensing tubes and wires.
6.
If installing a Size 400, replace the control compartment door and follow
the instructions in the heater installation manual to continue with the
installation. If installing a Size 800, repeat Steps 1-5 on the second unit. If
installing a Size 1200, repeat Steps 1-5 on the second and third units.
IMPORTANT NOTE:
Do not change the main pressure switch located on the
top of a Model LDAP 800 and LDAP 1200. The main pressure switch is the
same for all elevations.
Components of
Option DJ20,
High Altitude
Kits