2 setup of master i/o box 11, Chapter 2.3.2 “setup of master i/o box”, and c, 2 setup of master i/o box – Casio IT-2000 User Manual
Page 11
11
2.3.2 Setup of Master I/O Box
Note that the DIP switch settings of the Master I/O Box differ depending on whether the
system configuration is consisted of only single Master I/O Box or of multiple Master I/O Boxes that
are followed by Satellite I/O Boxes.
Make sure that the POWER switch of the I/O Box is set to OFF. Set the DIP switch at the rear
of the unit as follows:
1
2
3
4
5
6
7
8
9
10
ON
OFF
OFF
OFF
ON
OFF
OFF
OFF
ON
ON
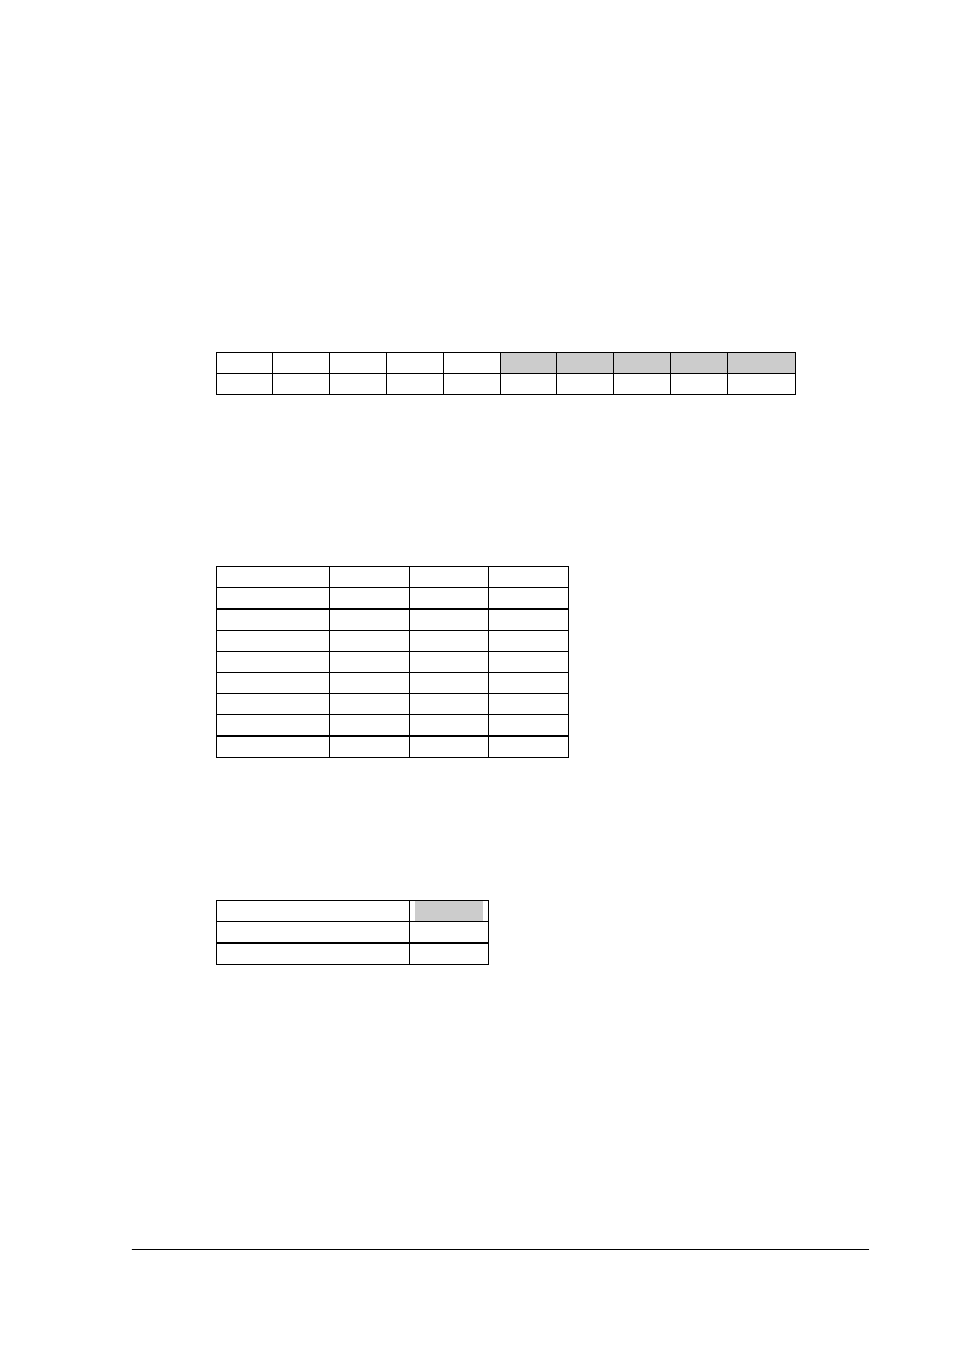
Setup for the SCSI ID (DIP switches nos. 6, 7, and 8)
This SCSI ID must be different from that of other I/O Boxes or the PC.
Since generally the SCSI ID of the PC is set to 7, set the SCSI ID of the I/O Box to a number
between 0 and 6.
SCSI-ID
6
7
8
ID0
OFF
OFF
OFF
ID1
ON
OFF
OFF
ID2
OFF
ON
OFF
ID3
ON
ON
OFF
ID4
OFF
OFF
ON
ID5
ON
OFF
ON
ID6
OFF
ON
ON
ID7
ON
ON
ON
Setup termination for SCSI interface (no. 9)
Set DIP switch no.9 of the I/O Box, which is the farthest from the PC, to ON.
This setting is the same if only one I/O Box is connected.
SCSI termination setup
9
Termination
ON
Non-termination
OFF
Power setup for termination of SCSI interface (no.10)
If the SCSI board in the PC cannot supply power to the SCSI interface, set DIP switch no.10 of
the I/O Box, which is the nearest to the PC, to ON. However, DIP switch no. 10 is usually set
to OFF, since a general SCSI board can supply power to the SCSI interface.