Charging and installing the battery, Installing the sd memory card – Milwaukee Tool 2260-21NST User Manual
Page 10
8
M12 160x120 Thermal Imager Operator’s Manual
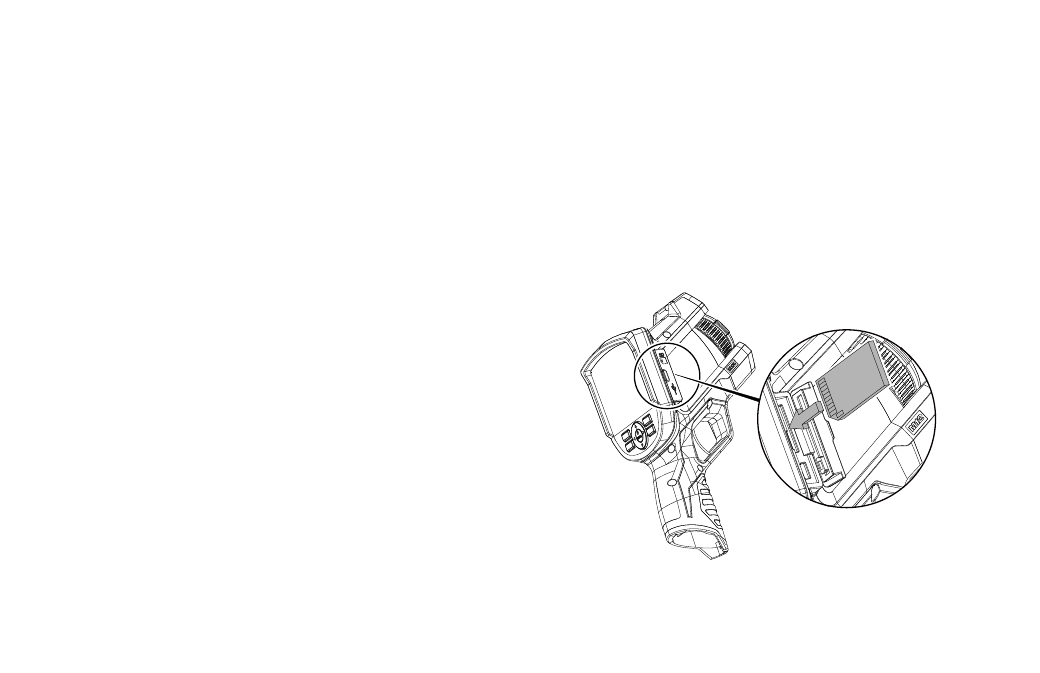
3. To remove it, press it in gently and it releases so you
can pull it out.
4. If an SD card is not installed, insert the SD card with
the label facing the front of the Thermal Imager (the
side with the lens). It fits only one way. Do not use
excessive force.
5. Gently press it until the SD card clicks and locks in
place. Press it again to release it. Leave it locked into
place and close the rubber dust and water cover.
Figure 3. Installing the SD Card
Charging and Installing the Battery
Read and understand the warnings and instructions in the
Battery Charger Operator’s Manual. Charge the battery
until the green indicator on the Battery Charger appears. It
takes approximately 30 minutes to reach a full charge with
the supplied M12 battery. Any MILWAUKEE M12 Series
battery will work with the Thermal Imager.
To avoid damage or injury, use only a genuine
MILWAUKEE M12 battery and charger, and follow the
charging and handling instructions supplied with the Battery
Charger. Snap the battery into place until it locks into the
Thermal Imager’s hand grip as shown in Figure 4.
Accessing the SD Memory Card
The SD card is installed in the Thermal Imager at the
factory. The Thermal Imager does not store any images
without one installed.
To remove and re-install the SD card, refer to Figure 3 and
proceed as follows:
1. Flip open the rubber dust and water cover toward the
front of the Thermal Imager.
2. If an SD card is already installed, you will see it in the
upper half of the area under the rubber cover.