MF Digital Windows 7 - Drive Alignment Guide User Manual
Page 4
Printer and Drive Alignment Guide
REV 3 : 12.30.10
2100 / 9100 / 3100 – 2600 / 9600 Series
PicoJet – Prism Plus – P-55
Page 3
Now that you have an idea, let’s try a few
commands that will align your drives.
Let’s make sure you have a connection,
pressing the letter “C”, will calibrate the Loader.
When calibration is complete, an “X” appears
indicating status is OK. You can also use the
“C” command to clear an error if you make a
mistake.
Put a few discs in the right side hopper. And
open the right top drive in your machine.
Pressing the letter “I” for insert, will instruct the
machine to retrieve a disc, and place it into the
open tray. For each successful command that is
executed, an “X” will be displayed on the screen.
Should an “E” appear, indicating an error, you
can clear the error easily by pressing “C” again.
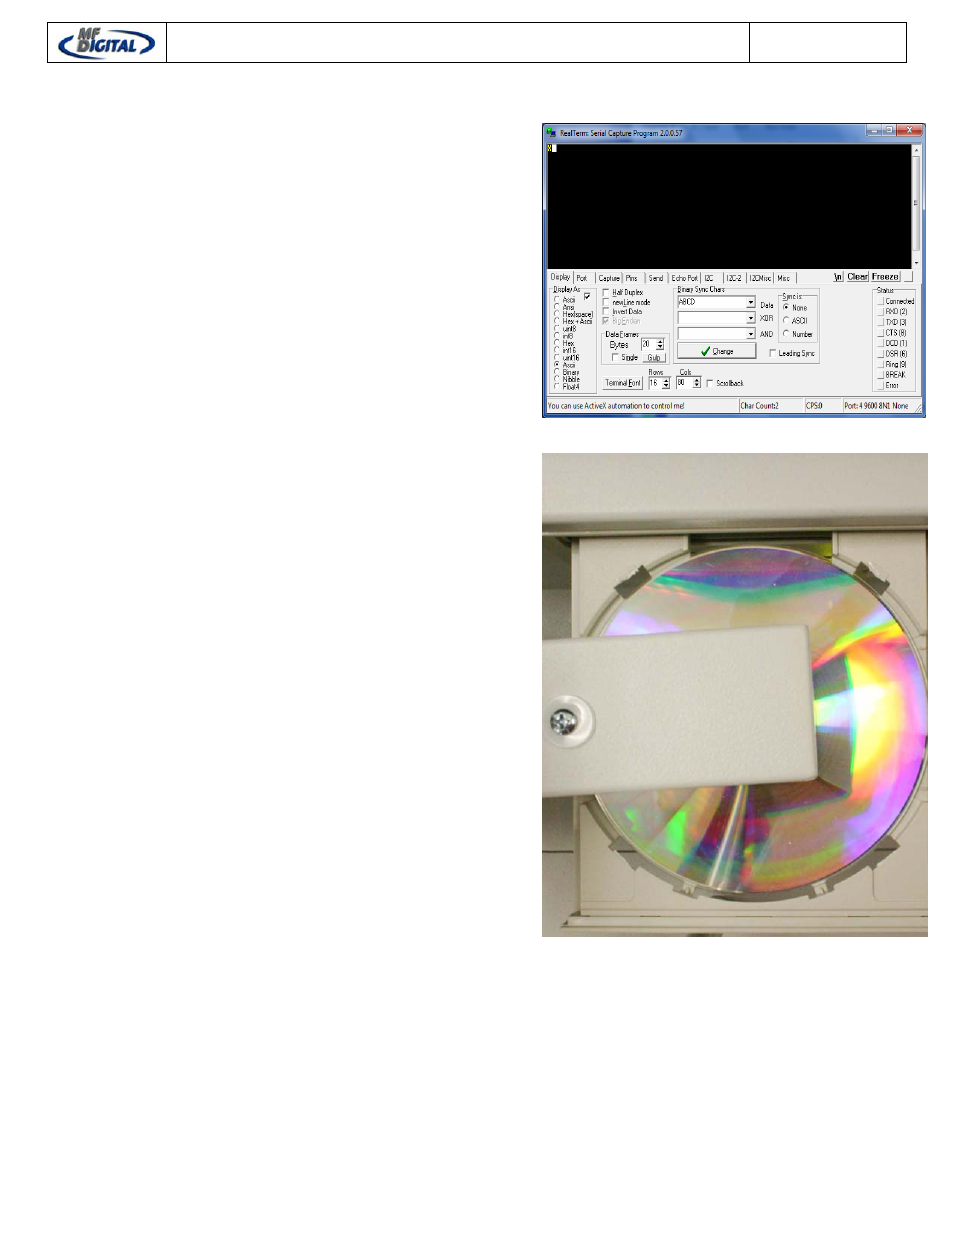
As shown to the right, the pick arm has placed
the disc into the open tray. At this time you want
to note the physical position of the disc in the
tray. This picture shows the disc in the correct
position.
Should your disc be placed, for example, to far
forward (front of the drive). You would need to
use the command CTRL-S. This is a two key
combination. To execute this command, hold
down the CTRL key and press “S”. This
command instructs the Loader to make a step
towards the rear of the machine. The steps are
small increments, therefore depending on how
off the placement is, it may be necessary to
repeat the same command.
Alternatively, if the disc was too far to the rear of
the drive, the command CTRL-R should then be
used. This would step the loader towards the
front of the drive.