Getting started with max-ide – Maxim Integrated MAX-IDE MAXQ Microcontrollers User Manual
Page 2
6. DallasAssembler.dll: This is the DLL file for the MAXQ assembler.
7. ROM files
a. romq10.hex: This is the Utility ROM file for MAXQ10.
b. romq20.hex: This is the Utility ROM file for MAXQ20.
c. romq30.hex: This is the Utility ROM file for MAXQ30.
8. SFR (special function register) configuration files:
a. maxq2000.xml: This is the SFR file for MAXQ2000.
b. maxq3120.xml: This is the SFR file for MAXQ3120.
c. maxq3210.xml: This is the SFR file for MAXQ3210.
d. maxq765x.xml: This is the SFR file for a MAXQ765x device.
Getting Started with MAX-IDE
This section will help you build a simple assembly-language program using the
(ZIP). Follow
these instructions to complete your first application for the MAXQ and simulate it using the MAX-IDE
simulator. For future reference, see the Appendix for a helpful list of MAX-IDE commands.
Project Manager
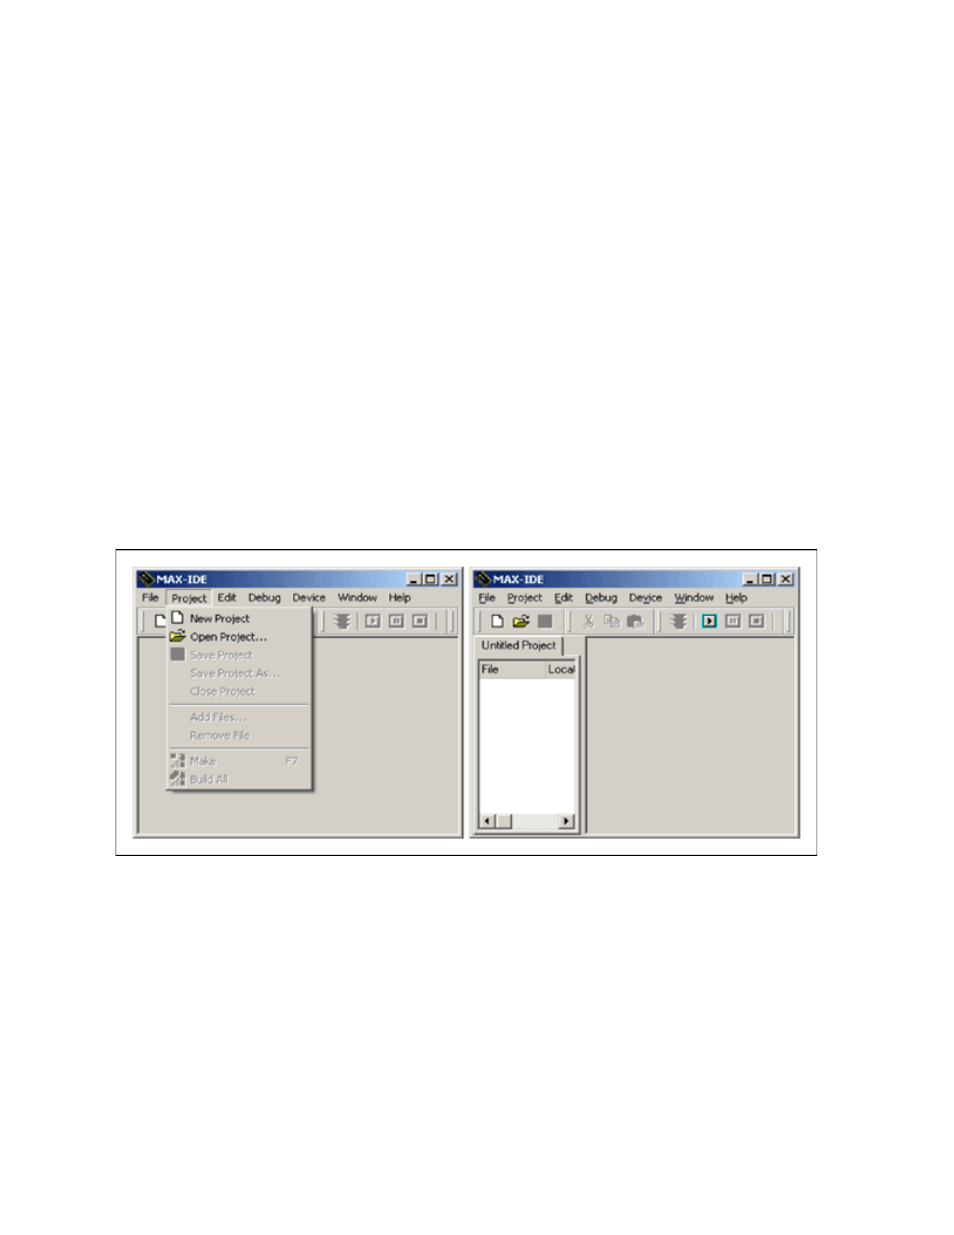
Step 1: Choose
Project→New Project from the menu. A new tab will open in the left side of the MAX-
IDE's main window. This tab will be empty as there are no files in the project at present. Figure 1 shows
the MAX-IDE main menu with project menu open.
Figure 1. MAX-IDE's initial screens used to create a project.
Step 2: Before proceeding with the project menu, you need to add files to this project. From the main
menu create a new source file by choosing
File→New File from the menu. This will open a new editor
window with the title "Untitled 1." Enter the assembly code shown in Table 1 below. Alternatively, you
can
and add this file to the project, as explained in Step 4 below. Figure 2
shows the MAX-IDE with the project manager and editor windows open.
Page 2 of 11