ILY FORTRESS CD/DVD Duplicator System User Manual
Page 6
12.4 Image Info.
Displays the image file information such as image order, name, file size and
type of image.
12.5 Rename Image
Renames the HDD image partition name up to 8 characters.
12.6 Delete Image
Deletes an image file in HDD.
Note: A file selected as the source file cannot be
deleted until a different image is selected. See 12.1.
12.7 HDD Info.
Displays the information in HDD, such as the number of discs stored on the
HDD and the amount of space left in the HDD.
12.8 Format HDD
Formats the HDD, erasing ALL data stored on the HDD.
12.9 Load & Copy
Allows an image to be loaded onto the HDD from a master CD or DVD and
automatically copied on to the target disc(s). Select from 3 modes:
Synchronous, Load First and Off.
Functions:
1.
Copy – This command will copy the master disc placed in the designated Source Drive to all target discs
in the Writer Drives. This process burns all information contained on the master disc to the target discs so
the copies are exact duplicates of the master disc.
To Start the Copy Process:
1. Power on the duplicator (if not already on).
2. Eject disc tray of the Source Drive and place the master disc in the designated Source Drive (usually
the top). The “master disc” is the original of which copies are made.
3. Eject disc tray(s) of the Writer Drives and place blank disc(s) on the tray(s). Number of drives used
depends on number of copies desired. It is not necessary to always use all drives.
4. Use the scroll buttons to select the command “1. Copy” and press the ENT button. The drives will
automatically close trays and begin the copy process.
5. Once the copy process is completed, the disc trays will eject and the display will read “Copy Result:
Pass X, Fail Y,” with X being the number of successful copies, and Y being the number of failed
copies. To reduce copy failure, please refer to the troubleshooting section of the manual.
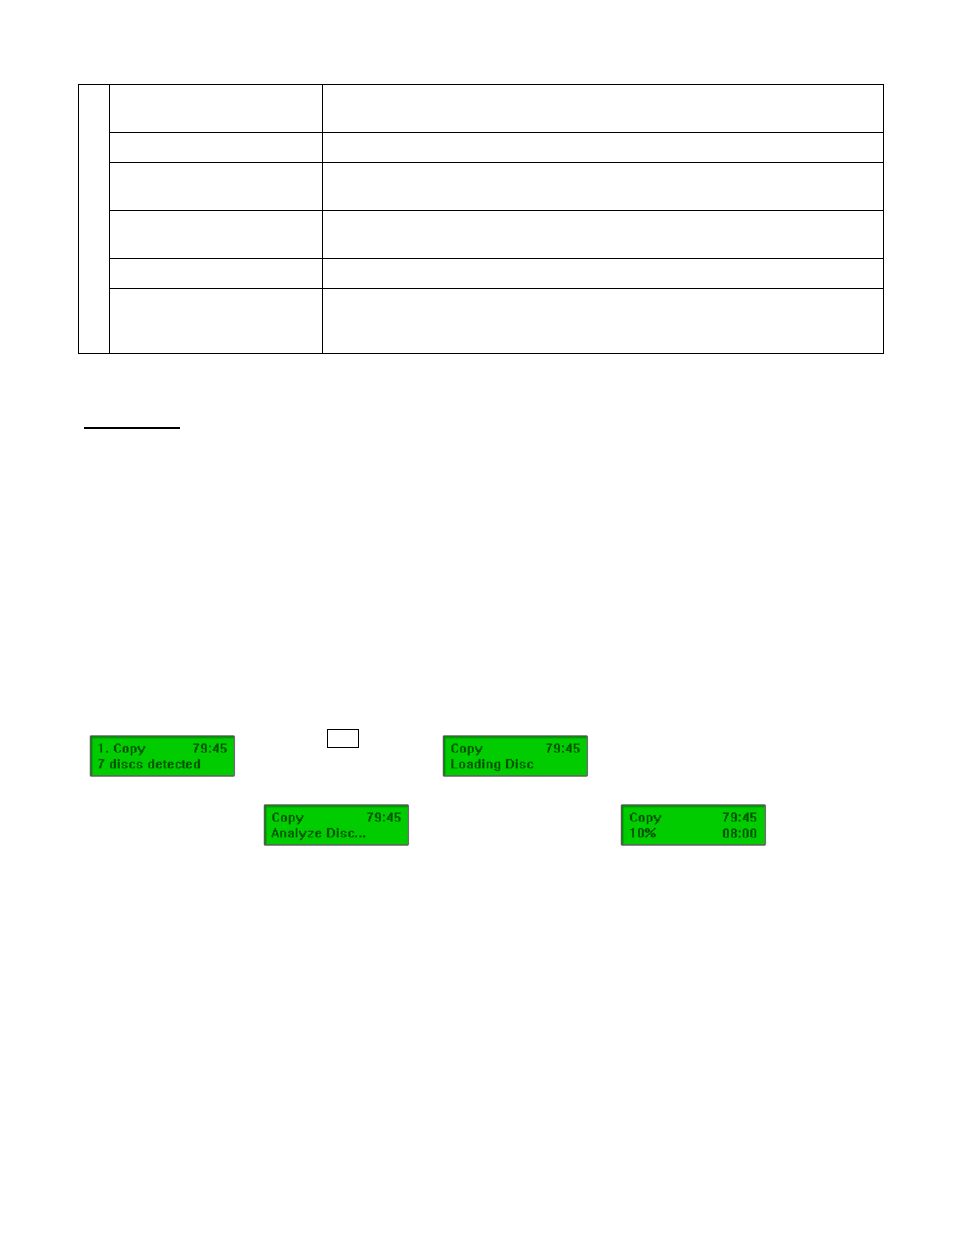
Î Press
ENT to load
disc and execute Copy
О
О Analyze master disc О
О
О Start copying О
О Finish
and eject
discs
2.
Test – This command will simulate the copy process and make sure all target discs are usable. The test
process does NOT burn anything to the blank disc(s). A built-in diagnostic algorism is used to verify the
chance of successful copy for each target disc.
To start the Test Process:
1. Power on the duplicator (if not already on).
2. Eject disc tray of the Source Drive and place the master disc in the designated Source Drive (usually
the top). The “master disc” is the original of which copies are made.
3. Eject disc tray(s) of the Writer Drives and place blank disc(s) on the tray(s). Number of drives used
depends on number of discs to be tested. It is not necessary to always use all drives.
4. Use the scroll buttons to select the command “2. Test” and press the ENT button. The drives will
automatically close trays and begin the test process.
4