Heli-Max HMXE7459 User Manual
Page 2
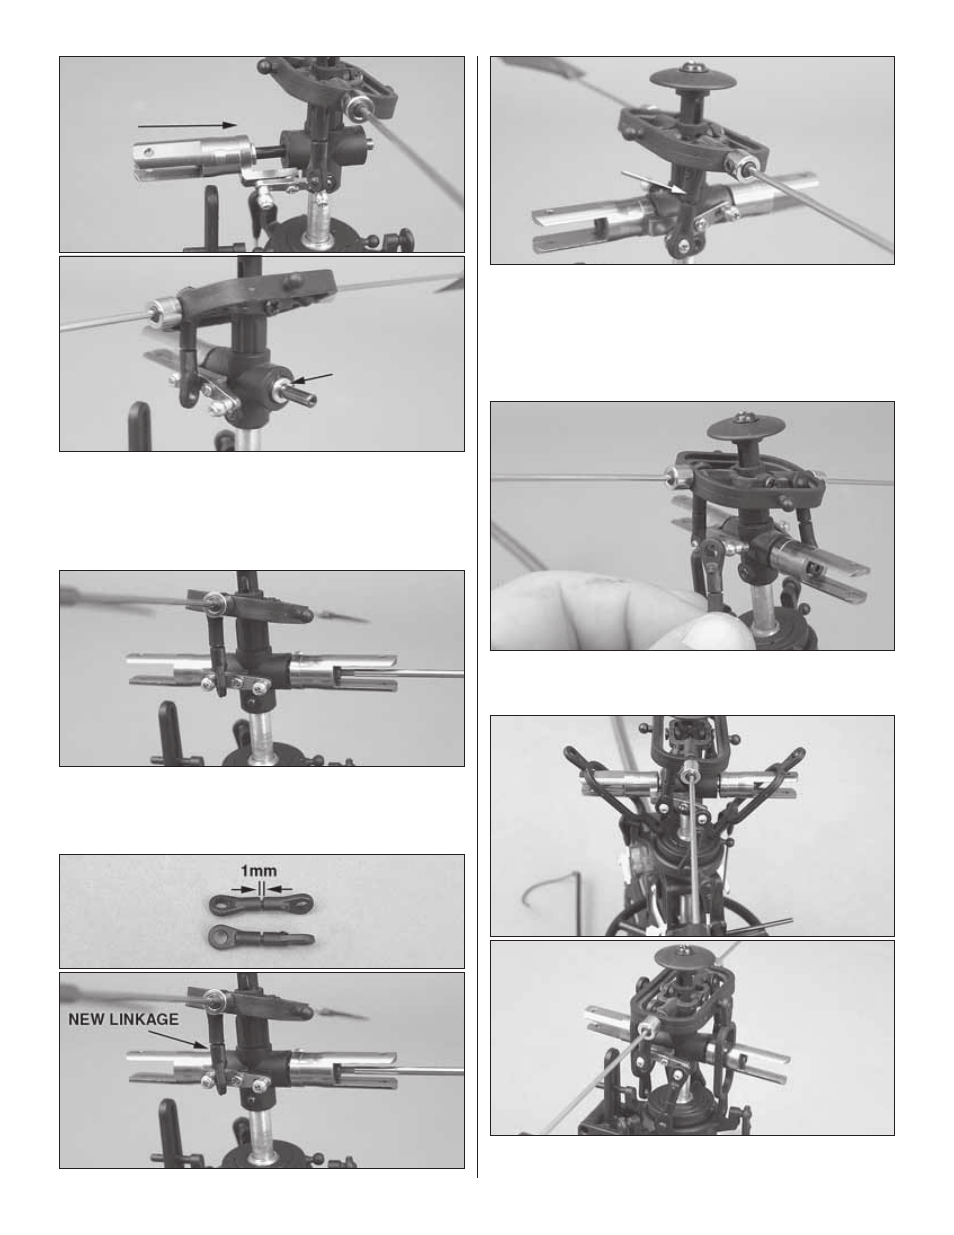
2
❏
6. Using a 1.5mm allen key, push the new blade grip and spindle
through the dampeners. Install the other thin dampening spacer
onto the spindle as shown.
❏
7. Place the remaining blade grip onto the spindle. Apply threadlocking
compound to the 2mm spindle bolt and re-install into the spindle.
Attention: The following step is very critical!
❏
8. Remove all of the control links from the rotor head. Verify the
new linkages are the same length and have a 1mm gap between
the ball links. Please note there is a dimple on one side of the ball
link. The dimple must be on the outside as you snap the linkage
onto the ball. Install the new control linkage between the fl ybar
seesaw and the blade grip mixer arm as shown above. Repeat this
for the opposite blade grip.
❏
9. Install the control linkage between the blade grip mixer arm
inner ball and the swashplate.
❏
10. Slide the oval links over the blade grips and re-install them
onto the fl ybar control arm and the swashplate.