Finishing – Great Planes Ultra Sport 1000 Kit - GPMA0425 User Manual
Page 48
FINISHING
ADDITIONAL FUELPROOFING
If you have not already done so, make sure
the entire engine compartment is completely fuelproof.
Also fuelproof any wood that will not be covered and
which may be exposed to glow fuel residue, such as
the landing gear block slots and the wing saddle Use
epoxy thinned with alcohol, polyester finishing resin or
fuelproof paint.
SEAL OFF COCKPIT
If you leave any openings through the fuse top
into the cockpit area, there is the possibility of getting
dust on the inside of the canopy, which will be nearly
impossible to remove after the canopy has been
installed Therefore, you should seal all openings to
the inside of the cockpit, and paint all exposed balsa
to prevent loose wood particles
Cut out the instrument panel decal
(US10D01), trim it to fit, and apply it to the instrument
panel.
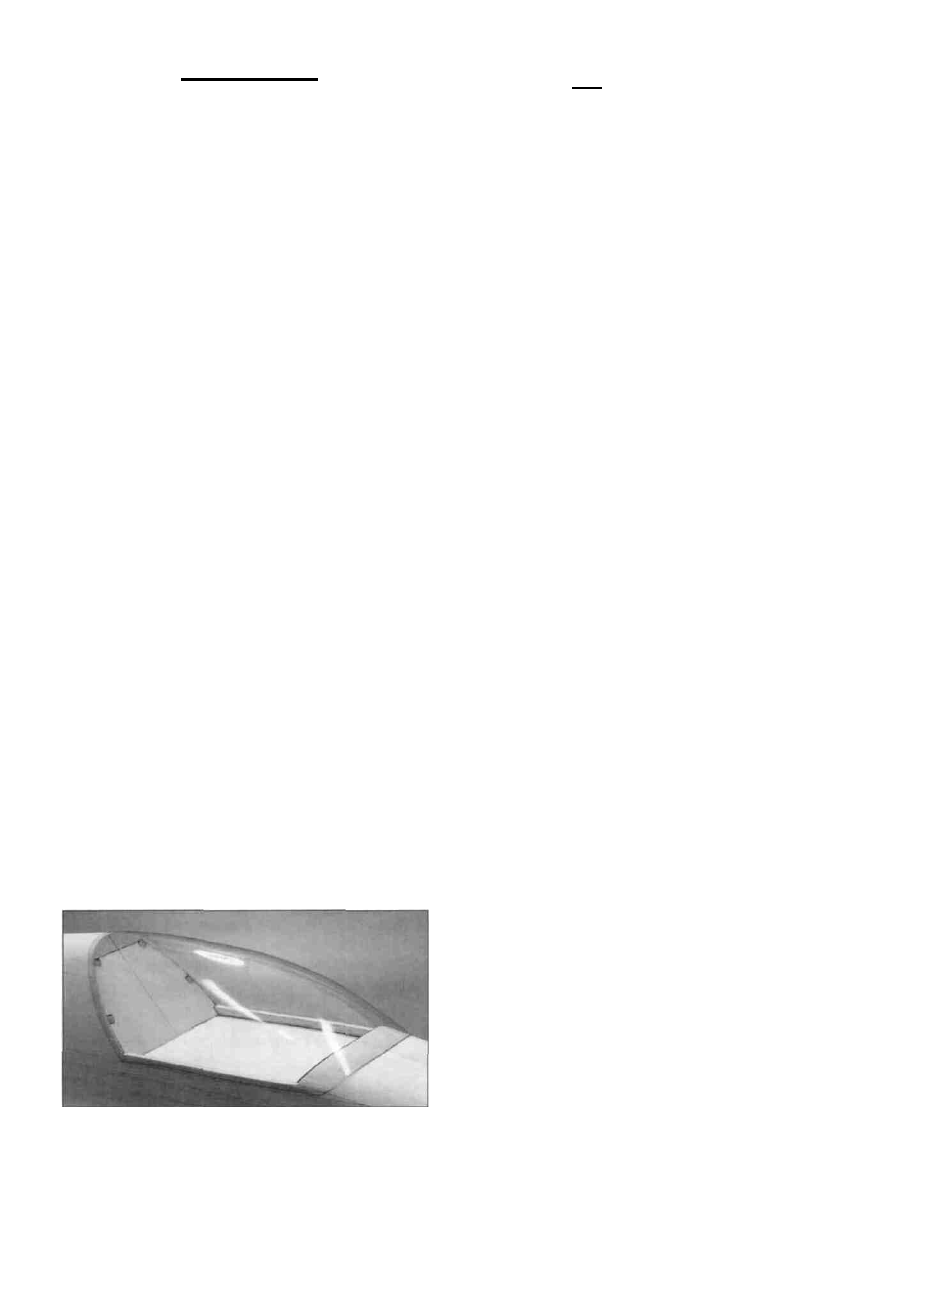
PREPARE THE CANOPY
NOTE: Some modelers prefer to tint their canopies
for a more subtle and realistic effect You may tint
your canopy by immersing it in a concentrated mixture
of Rit Liquid Dye and hot tap water The colors blue,
black, brown and dark green work well Powdered
dye will produce a darker tint than liquid dye Remove
the canopy after 5 minutes and rinse it off to check the
amount of tint The hotter the water and the longer
you leave it in the dye solution, the darker it will tint.
CAUTION: Do not heat the dye water above tap
water temperature, as this could deform the canopy.
1. Using a scissors, carefully cut the clear plastic
canopy (CANPY051) just below the trim line.
curved "Lexan Scissors" (available from your hobby
shop) is a very handy tool for trimming the canopy
NOTE: The trim line on the canopy is approximate.
Your canopy trim will vary, depending on how you
sanded the fuselage It may be necessary to do some
additional sanding of the fuse near the front of the
canopy, if the canopy does not fit properly
3. Sand the edges of the canopy with 320 grit
sandpaper It is important that the canopy does not
have any cracks along the edges, as the engine
vibration could cause them to spread.
NOTE: Do not glue the canopy in place until after
you have covered your model
BALANCE THE AIRPLANE LATERALLY
SPECIAL NOTE: Do not confuse this procedure
with "checking the C.G." or "balancing the
airplane fore and aft". That very important step
will be covered later in the manual.
Now that you have the basic airframe nearly
completed, this is a good time to balance the airplane
laterally (side-to-side). Here is how to do it.
1. Temporarily attach the wing and engine (with
muffler) to the fuselage.
2. With the wing level, lift the model by the engine
propeller shaft and the bottom of the fuselage at the
aft end (this may require two people) Do this several
times
3. If one wing tip always drops when you lift, it means
that side is heavy Balance the airplane by gluing
weight to the other wing tip NOTE: An airplane that
has been laterally balanced will track better in
loops and other maneuvers
2 Trial fit the canopy onto the fuse, pressing into
place Trim as necessary for a good fit A small,
FINAL SANDING
Check over the entire structure carefully,
inspecting for any poorly glued joints, gaps and dents
Small dents can often be swelled out by simply
applying a drop of water or saliva Apply additional
glue and/or balsa filler as necessary, then sand the
entire fuselage and wing smooth using progressively
finer grades of sandpaper
48