Great Planes Super Chipmunk ARF - GPMA1303 User Manual
Page 9
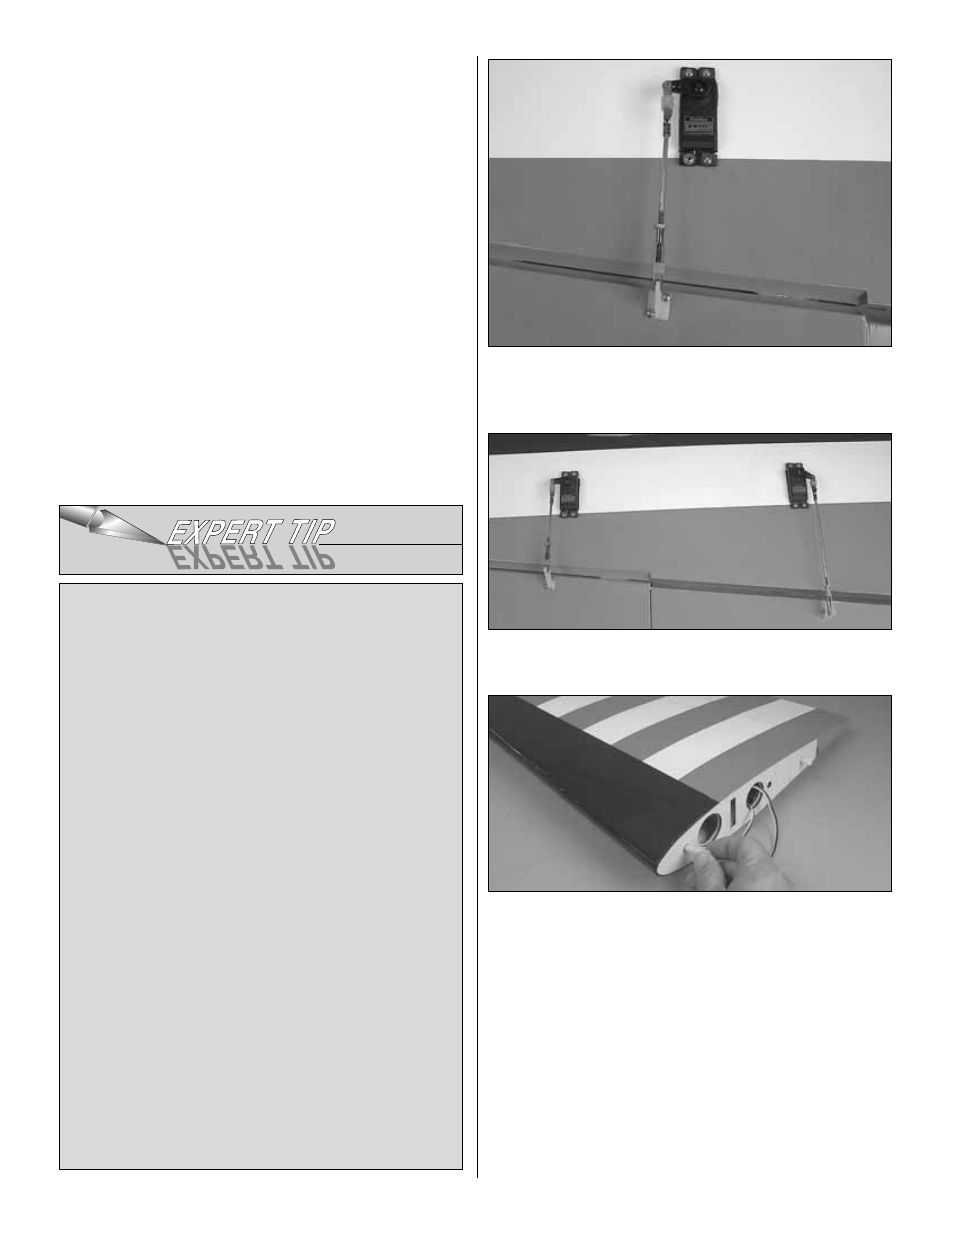
clevis retainer onto a threaded 4-40 metal clevis and then
screw the clevis onto the rod, tightening it against the nut.
Install the clevis onto the nylon control horn. Install an
unthreaded clevis onto the servo arm. Center the aileron.
Then, mark the threaded rod where it should be cut to fit the
clevis. Remove all of the pushrod components from the
servo and control horn. Read the
Expert Tip that follows.
Then, silver solder the clevis to the pushrod.
❏ ❏
8. After the rod has cooled, install a clevis retainer
onto the clevis you have just soldered. Then, install the
pushrod onto the aileron and servo.
❏ ❏
9. Using the same method, install the pushrod linkage
to the flap.
❏ ❏
10. Using 6-minute epoxy, glue two nylon anti-rotation
pins into the holes in the root of the wing. Each one should
extend from the wing approximately 1/2" [13mm].
❏
11. Repeat steps 1-9 for the left wing panel.
HOW TO SOLDER
1. Use denatured alcohol or other solvent to thoroughly
clean the pushrod. Use coarse sandpaper to roughen the
end of the pushrod where it is to be soldered.
2. Apply a few drops of soldering flux to the end of the
pushrod, then use a soldering iron or a torch to heat it. Tin
the heated area with silver solder (GPMR8070) by
applying the solder to the end. The heat of the pushrod
should melt the solder-not the flame of the torch or
soldering iron-thus allowing the solder to flow. The end of
the wire should be coated with solder all the way around.
3. Place the clevis on the end of the pushrod. Add another
drop of flux, then simultaneously heat the clevis and
pushrod. Slide the clevis the rest of the way onto the
pushrod as the solder melts. Apply another small amount
of solder while the pushrod and clevis are still hot. The
same as before, the heat of the parts being soldered
should melt the solder, thus allowing it to flow. Allow the
joint to cool naturally without disturbing. Avoid excess
blobs, but make certain the joint is thoroughly soldered.
The solder should be shiny, not rough. If necessary,
reheat the joint and allow to cool.
4. Immediately after the solder has solidified, but while it
is still hot, carefully use a cloth to quickly wipe off the flux
before it hardens. Important: After the joint cools, coat
with oil to prevent rust. Note: Do not use the acid flux that
comes with silver solder for electrical soldering.
9