Great Planes Giant U-Can-Do 3D - GPMA1271 User Manual
Page 12
❏
2. Remove steering arm and tailwheel from the wire. File
flat spots on the wire for the set screws. Note: DO NOT file
a flat spot for the wheel collar shown on the wire as this will
weaken the wire at a high stress point.
❏
3. Re-assemble the tail gear.
❏
4. Place the tail gear on the bottom of the fuse, aligning
the bend of the gear with the aft end of the fuse. Drill two
1/16" [1.6mm] pilot holes for the #4 x 5/8" [16mm] screws.
Turn the screws into the holes. Remove the screws and
harden the threads in the wood with thin CA. Remount the
tail gear.
❏
5. Remove the covering from the four landing gear bolt
holes. Mount the landing gear to the fuse with four 8-32 x
3/4" [19mm] SHCS, #8 flat washers and #8 lock washers.
Be sure to add a drop of Threadlocker to each screw and
securely tighten.
❏
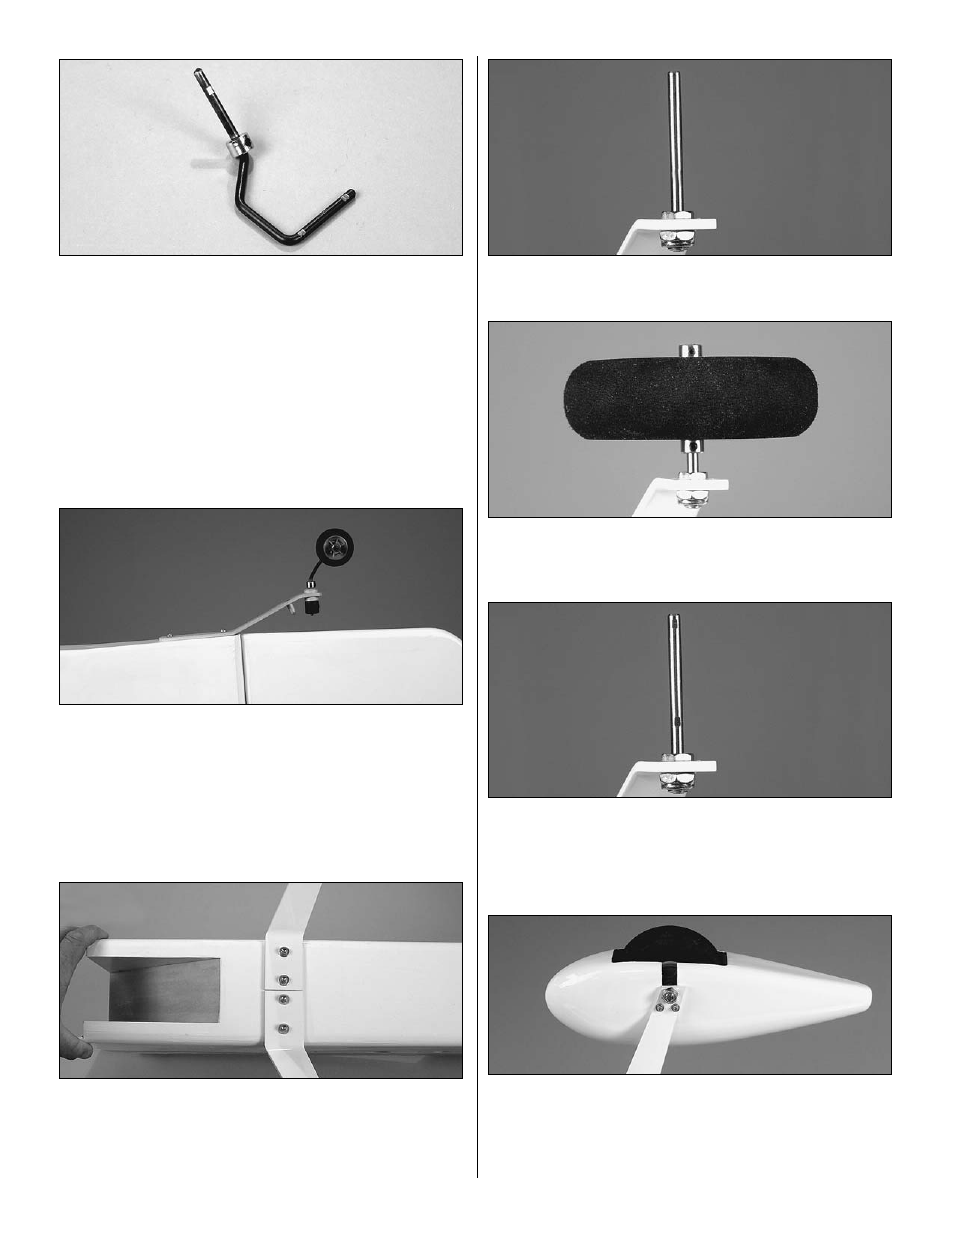
6. Mount the 3/16" x 2" [4.8 x 50mm] axles to the landing
gear with the 5/16-24 nuts.
❏ ❏
7. Temporarily mount a wheel to one axle with two
3/16" [4.8mm] wheel collars aligning the outer wheel collar
with the end of the axle.
❏ ❏
8. Remove the wheel collars from the axle and file flat
spots on the axle for the set screws.
❏ ❏
9. Add a drop of Threadlocker to the set screw. Install
the wheel collars and wheels.
❏ ❏
10. Fasten the wheel pant to the landing gear with two
4-40 x 1/2" [13mm] screws.
❏
11. Return to step 7 and mount the other wheel and pant
to the left landing gear the same way.
12