Great Planes Christen Eagle ARF - GPMA1217 User Manual
Page 26
❏
4. Relieve the inside of the balsa cover where screw
heads made their indentations. Set the cover aside.
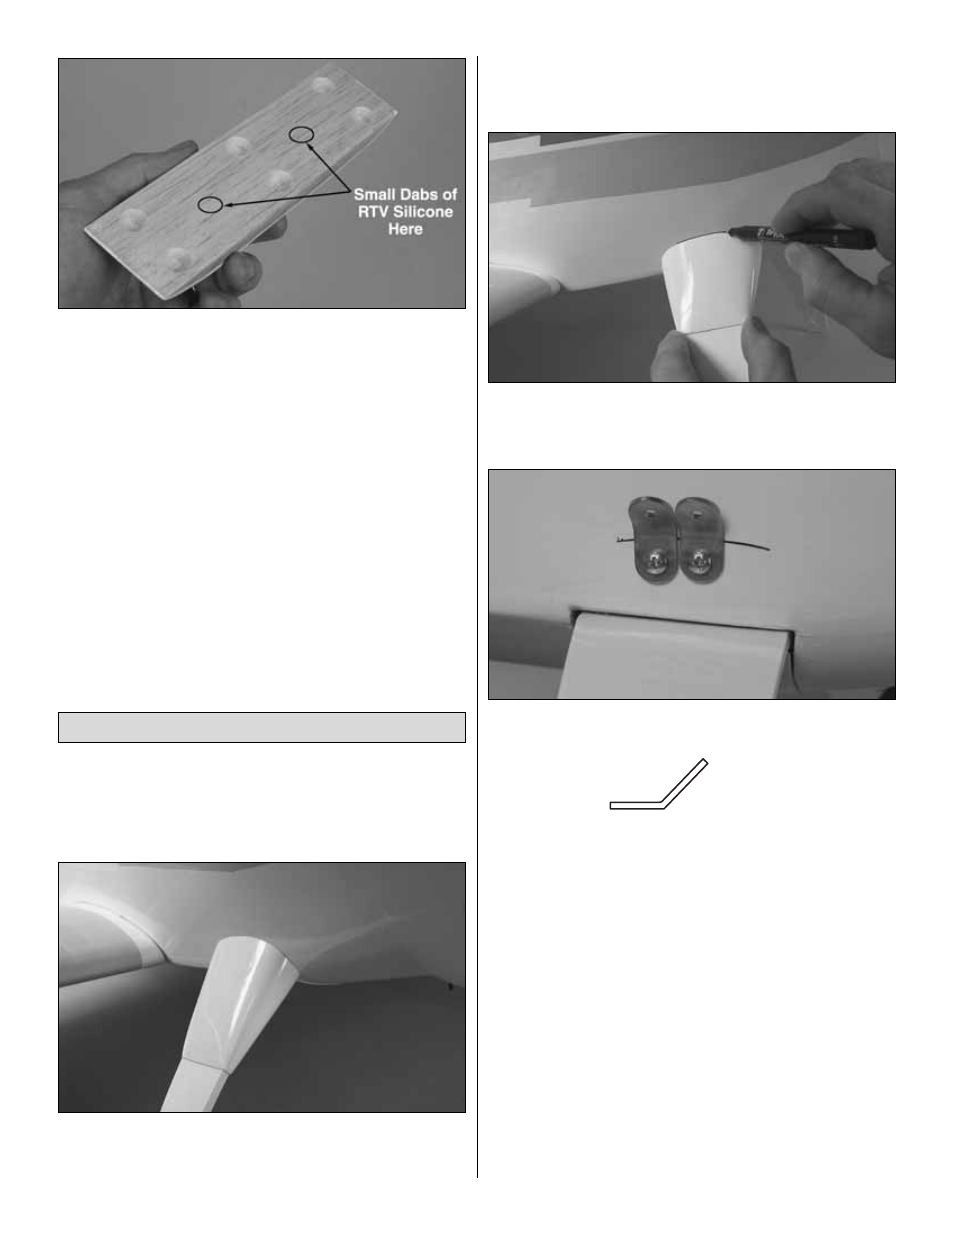
❏
5. Use RTV silicone or thin, double-sided foam mounting
tape to mount the landing gear cover to the landing gear. If
using RTV silicone, only two small dabs are required to
securely hold the cover to the gear. (If too much adhesive is
used it will be extremely difficult to remove the landing gear
cover if the landing gear ever needs to be removed.)
❏
1. Test fit the molded fiberglass landing gear fairings to
the fuselage over the landing gear. If necessary, use a small
file to enlarge the slots so the fairings will go all the way on.
❏
2. Sand the edges of the fairings as necessary to get
them to fit the fuselage. A soft, lead pencil may be used for
marking the “high spots” so you’ll know where to sand.
Perform the following four steps only if you will be
mounting the optional flying wires on the wings.
❏
3. Use a fine-point felt-tip pen to mark the outline of the
top of the landing gear fairings onto fuselage.
❏
4. Remove the fairings. Position one of the B3 metal
brackets on the fuselage so the bend in the bracket is even
with the line and centered over the landing gear. Holding the
bracket in position, mark the hole in the bracket onto the
fuselage. Drill a 3/32" [2.4mm] hole through the fuselage at
the mark.
❏
5. Mount the bracket with a #4 x 1/2" [13mm] screw. Hold
the other bracket next to the first and mark and drill another
hole. Mount the second bracket. Mount two more brackets
on the other side of the fuselage the same way.
❏
6. Temporarily remove the brackets and screws. Wipe
away the ink lines. Add a few drops of thin CA to each screw
hole to harden the threads. Allow the CA to harden, then
permanently mount the brackets and tighten the screws.
B3
Mount the Landing Gear Fairings
26