Cover the model with monokote – Great Planes T-Craft 20 Kit - GPMA0155 User Manual
Page 41
❏ ❏
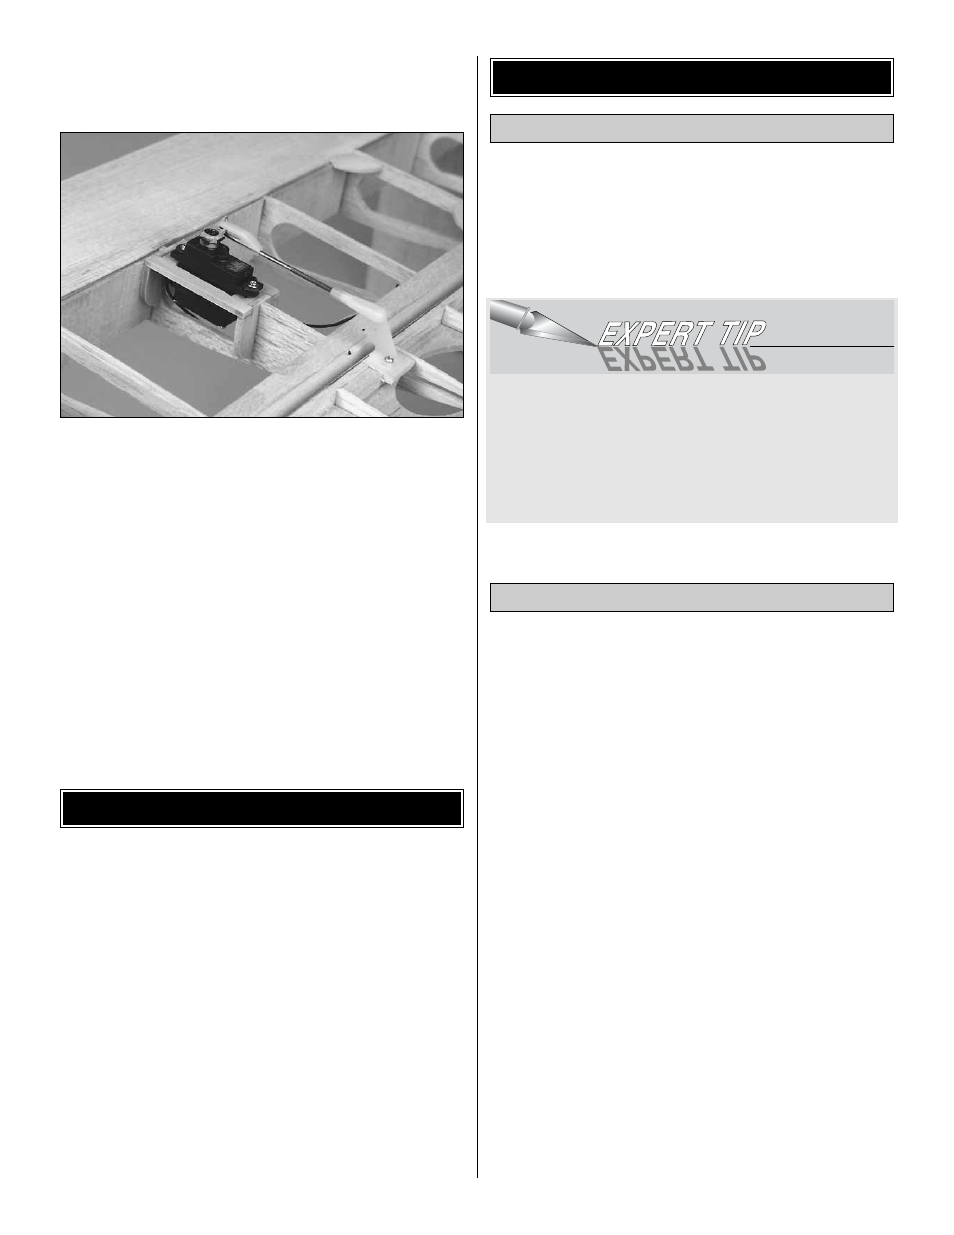
4. With the aileron servo centered and the aileron in the
neutral position, use a felt-tip pen to mark where the aileron
pushrod crosses the mounting holes in the servo arm.
❏ ❏
5. Make a 90 degree bend at the mark you made.
Temporarily install a nylon FasLink on the pushrod and cut
the wire so it slightly protrudes out of the FasLink.
❏ ❏
6. Remove the two #2 x 3/8" sheet metal screws from
the control horn. Put a couple of drops of thin CA into both
screw holes in the aileron to strengthen the wood. After the
CA cures, reattach the control horn.
❏
7. Return to step 1 of
Install the Aileron Pushrods and
install the other aileron servo and pushrod.
SPECIAL NOTE: Do not confuse this procedure with
“checking the C.G.” or “balancing the airplane fore and
aft.”That very important step will be covered later in the
manual. Now that you have the basic airframe nearly
completed, this is a good time to balance the airplane
laterally (side-to-side). Here is how to do it:
❏
1. Temporarily attach the wing and engine to the fuselage.
❏
2. With the wing level, lift the model by the propeller shaft
and the bottom of the rudder (this may require two people).
Do this several times.
❏
3. If one wing tip consistently drops when you lift the
plane, it means that side is heavy. Balance the airplane by
gluing weight to the inside of the other wing tip. Note: An
airplane that has been laterally balanced will track better in
loops and other maneuvers.
Fill any scuffs and dings with balsa filler or by “expansion.” See
Expert Tip below. After the filler has dried, use progressively
finer grades of sandpaper to even and smooth all the edges,
seams and surfaces. Sand a radius along the bottom edge of
the fuse. Remove all the balsa dust from the model with
compressed air, a tack cloth or a vacuum with a brush.
Many surface blemishes on a framed model are caused by
bumps and balsa chips on the work surface. This type of
“ding” is best repaired by applying a drop or two of tap
water to the blemish, then running a hot sealing iron over
the spot to expand the wood fibers. After the surface has
dried, sand the expanded area smooth.
The T-Craft does not require much painting to obtain the
scheme shown on the box, as most of the finish is done with
Top Flite MonoKote covering. The only painting required is
the cowl, windshield frame and wheel pants.
The technique we will describe here is how the model
pictured on the box was finished. Remove the engine,
landing gear, windshield and control horns.
Cover the model with Top Flite MonoKote film, using the
sequence that follows. The use of a Top Flite MonoKote Hot
Sock
™
on your covering iron will prevent scratching the
MonoKote film.
Before you cover the fuselage, first apply 1/4" wide strips of
white MonoKote film in the corners where the stab and fin
meet the fuselage. Proceed to cover the stab with pre-cut
pieces that meet in the corners and overlap the 1/4" strips.
Do not, under any circumstances, attempt to cut the
covering on the stab after it has been applied except
around the leading and trailing edges and the tips.
Modelers who do this may cut through the covering and into
the stab. This will weaken the structure to a point where it
may fail during flight.
Some modelers prefer to cover the top and bottom of the
ailerons with one strip of MonoKote film. This is done by
covering the bottom first, then wrapping the MonoKote film
up over the leading edge.
Cover the Model with MonoKote
®
Film
Final Sanding
FINISHING
BALANCE THE AIRPLANE LATERALLY
41