Great Planes T-Craft 20 Kit - GPMA0155 User Manual
Page 16
❏
13. After the glue has cured, switch the tip crutch to the
other wing panel and repeat the sheeting process.
❏
14. Sheet the center section using a 1/16" x 3" x 30"
balsa sheet.
❏
15. Trim and sand the sub LE, top wing sheeting, main
spars and TE sheeting flush with the W-6 rib. Trim the wing
sheeting flush with the forward joiner.
❏
16. Sand the balsa sub LE flush with the bottom of the
ribs and remove the bottom jig tabs from the bottom of all
the ribs. Note: The sub LE tapers at rib W-6.
❏
17. Remove the crutch feet from the wing tip crutch and
install them on the die-cut 1/8" plywood center crutch (CC).
❏
18. Position the wing upside down on your building board,
supported by the jig tabs on ribs W-6 and the center crutch
at the center of the wing. The “F” on the center crutch goes
to the front.
❏
19. Locate the 1/4" x 2-1/4" hardwood wing dowel. Round
both ends of the dowel for ease of insertion. Test fit the 1/4"
dowel in the forward wing joiner and rib W-1A. Use a 1/4" drill
bit to clean out the hole if needed. Use epoxy to glue the dowel
in the forward wing joiner and W-1A as shown on the plans.
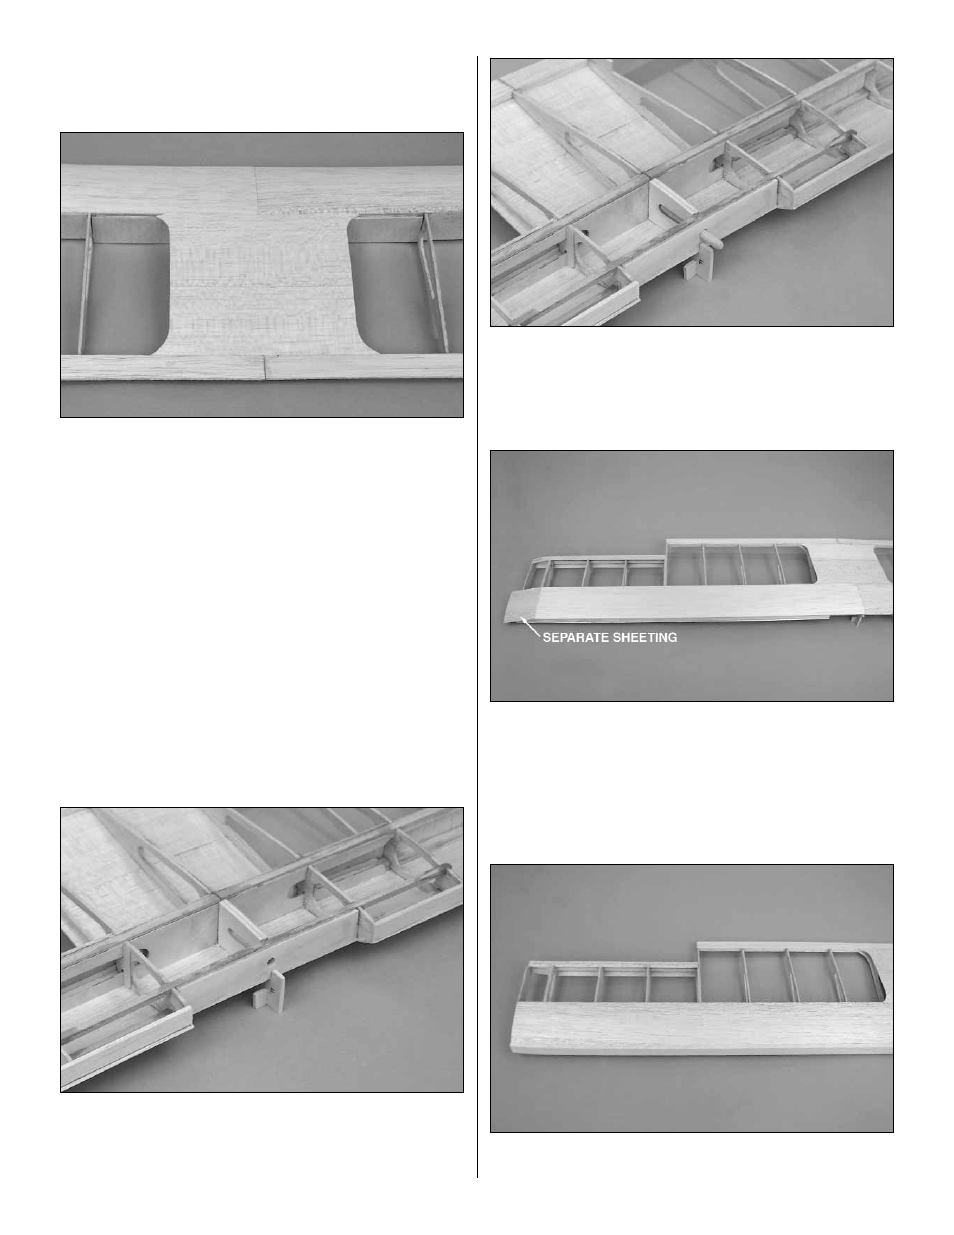
❏
20. Sheet the bottom of the wing following the same
procedure used to sheet the top of the wing. Note: A
separate piece of 1/16" balsa sheeting is used to sheet
between the double W-4 ribs and rib W-6.
❏
21. Trim and sand the 1/16" bottom wing sheeting flush
with rib W-6, the forward wing joiner and the sub TE.
❏
22. Glue the 1/4" x 3/4" x 30" balsa leading edge to the
sub LE and wing sheeting.
16