Great Planes Spitfire 25 GP/EP ARF - GPMA1478 User Manual
Page 23
❏
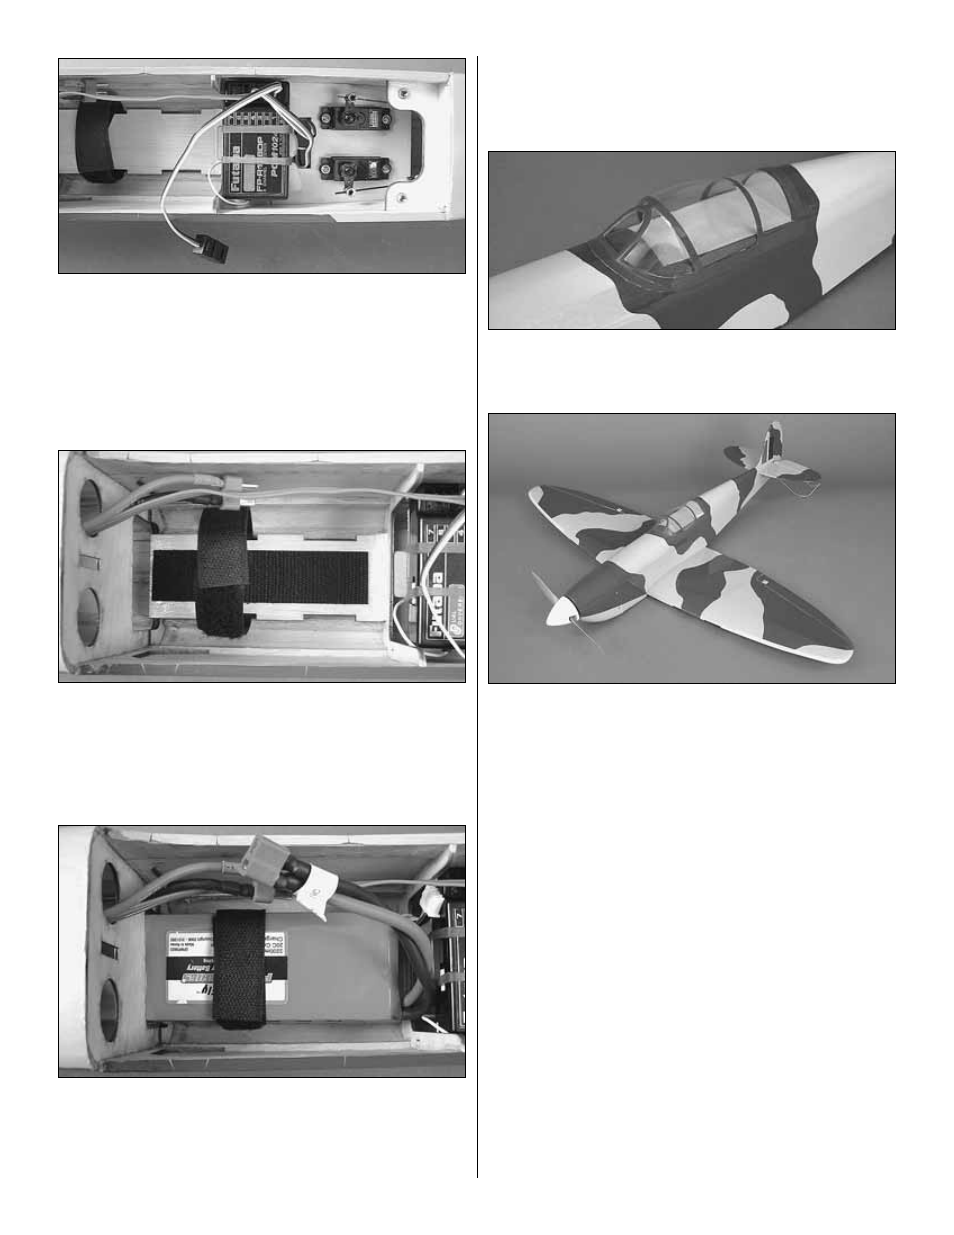
2. If you have not done so already, connect the elevator and
rudder servos to the receiver. If you are using a transmitter that
does not support mixing, you will also need a dual servo
extension or Y-harness to join the aileron servos together. If
you have installed a glow engine, an optional switch and
charge jack (not included) can be installed onto the side of the
fuse wherever there is free space. Make sure that it does not
interfere with any of the pushrods.
❏
3. If you have installed a brushless motor, mix up a small
batch of epoxy and brush a thin coating onto the battery tray.
This will improve the adhesion of the self-adhesive hook and
loop material. When the epoxy has cured, apply the hook
side of the included self-adhesive hook and loop material to
the battery tray (cut to length as needed).
❏
4. Install the loop side of the included self-adhesive hook
and loop material onto the battery pack. Some packs may be
able to be moved forward or aft to minimize additional weight
added to the plane for balancing purposes. Longer NiMH
packs may have little room to move along the battery tray for
balancing purposes. After the plane is completely
assembled, experiment with the position of the pack if
possible when balancing the plane and mark the optimum
position of the pack onto the battery tray for future reference.
❏
5. Attach the canopy to the fuse with R/C 56 canopy
glue. Use masking tape to hold the canopy in place while the
glue dries.
❏
6. Install your propeller and the included spinner onto the
motor shaft. Prepare the model for balancing by installing the
wing using two 3mm x 25mm Phillips machine screws and two
3mm flat washers.
23