Installation – Philips VR6293 User Manual
Page 8
Attention! The text in this document has been recognized automatically. To view the original document, you can use the "Original mode".
INSTALLATION
3
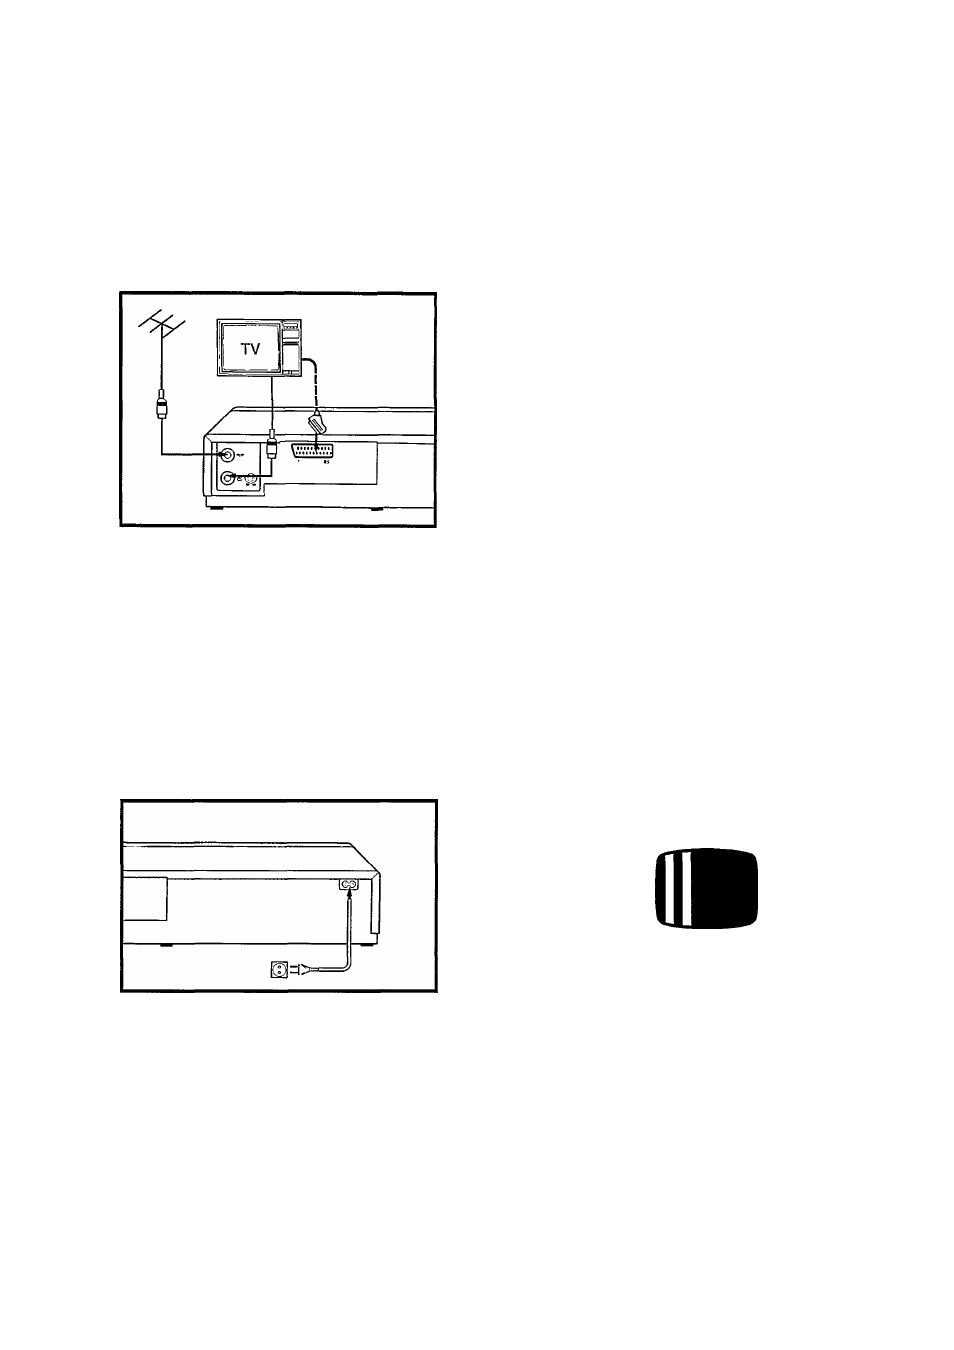
Connecting the aerial
•
Remove the aerial cable from your TV and plug it into nr at
the back of the video recorder.
•
Take the aerial cable supplied and connect it to ® of the
video recorder and to the aerial-input socket on your TV.
Connecting to the mains
•
Insert the female plug of the mains lead into the mains socket
at the rear of the video recorder.
•
Insert the other plug of the mains lead into the wall socket.
Note;
The video recorder should remain connected to the mains at all
times to make sure that timed recordings can be made and to
allow normal TV reception. The needed power consumation is
very little.
Selecting the Display language
(T) Press ^ to remove the cassette, if already loaded.
(D Press ►.
This will automatically switch on the video recorder.
The Display shows a language indication, for example ‘ENGL.’,
‘DEUT.’,‘FRAN.' or’lTAL'.
(3) Press + or - to select the language indication of your
choice.
@ Press
1Ò .
Tuning your TV to the video recorder signal
(T) Switch on the TV.
(2)
Press
¡4
to remove the cassette, if already loaded.
@ Press ►.
The Display shows, for example;
l._ Ml. I
!_/MUl_ .
(
4
) Select on the TV the preselection (program) number for the
video recorder.
Most modern TVs have preselection numbers for selecting TV
stations or the video recorder signal.
Refer to the Operating Instructions of your TV to determine
which preselection number you must use and how to tune it.
(¿) Tune the TV until you see the following black and white
pattern:
This should be around UHF channel 37.
(6) If the reception of any TV station as inference of the tuning of
your TV to the videorecorder is now of poor picture quality, use a
small screwdriverto turn the 30-39 channel control on the rear of the
video recorder until the reception is good. Then search again for the
black and white pattern, as described in steps 0 and (5).
Note:
If you now want to play back a pre-recorded cassette see the
chapter ‘Playing a cassette’.
4<@)