View clock, Clock setting, Timer setting – Philips FW560C User Manual
Page 23: To cancel the timer, Clock, Timer
Attention! The text in this document has been recognized automatically. To view the original document, you can use the "Original mode".
f
CLOCK
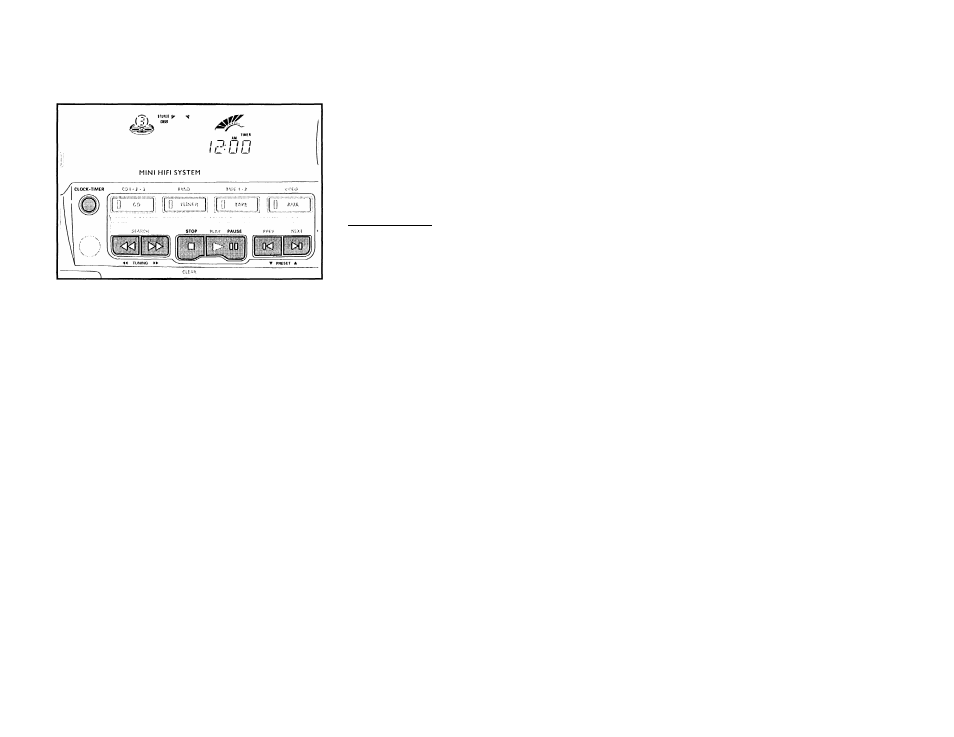
View Clock
You can view the clock (if it is set) at standby or any
source mode. It will be displayed for about 7 seconds.
• Press
CLOCK*TIMER briefly.
" /u- c'S AM" (the current time) will be displayed,
will be displayed if the clock is not set.
Clock setting
The clock is set in 12-hour mode, e.g. ic-QD AM or
I'c' Clu PM. Before setting the clock, you must be in the
View Clock mode.
1 Press CLOCK*TIMER to select clock mode.
— " !,P:OG AM" or the current time starts flashing.
—
, 1-^ , H, ■" light up.
2
Set the hour with ◄•^or^^.
3 Set the minute with W or ►!.
4 Press CLOCK«TIMER again to store the setting.
The clock starts running.
• To exit without storing the setting, press
STOP ■ .
TIMER
Notes:
- During clock setting, if no button is pressed within 90
seconds, the system will exit clock setting mode
automatically.
- When power interruption occurs, the clock setting is
erased.
Timer Setting_______________________________
• The system can switch on to CD or TUNER mode
automatically at a preset time. It can serve as an
alarm to wake you up. After half an hour from the
preset time, the system will return to the standby
mode if no button is pressed.
• Before setting the timer, make sure the clock is set
correctly.
• The timer has to be reset or start again for each
subsequent preset time.
• The volume of the timer will be at the last setting
before the system is switched to standby mode.
1 Press and hold CLOCK*TIMER for more than 2
seconds to select timer mode.
— "ON ic'. iJlJ AM" or the last set timer starts
flashing. The TIMER flag will be displayed.
The last selected source is lighted while other
available sources are flashing.
—
H , ►), ■ " light up.
2 Press CD or TUNER to select the desired source.
3 Press ◄◄ or ►► to set the hour for the timer to start.
4 Press M or H to set the minute for the timer to start.
5 Press CLOCK*TIMER again to store the start time
and the selected source.
The TIMER is now set.
The TIMER flag remains on the display.
• To exit without storing the setting, press
STOP ■ .
• At the preset time, the TIMER will be activated.
The selected source will be played.
-* The TIMER flag disappears from the display.
Notes:
- During timer setting, if no button is pressed within 90
seconds, the system will exit timer setting mode
automatically.
- If the source selected is TUNER, the last tuned
freguency will be switched on.
- If the source selected is CD, playback will begin with
the first track of the last selected disc. If the CD trays
are empty, the TUNER will be selected instead.
To cancel the TIMER
1 Press CLOCK*TIMER for more than 2 seconds.
2 Press PAUSE
I I
to cancel the timer.
— TEIUEEL" will be displayed.
The TIMER flag disappears from the display.
To start the TIMER again (for the same time)
1 Press CLOCK*TIMER for more than 2 seconds.
2 Press CLOCK*TIMER again to store the start time
and the selected source.
23