DVIGear DVI-7525 User Manual
Page 11
-9-
For POH operation, connect the supplied AC Power Adapter to the 12 VDC
Power Input on the transmitter unit and then to a working AC power source.
Once the transmitter unit detects the POH compatible receiver unit, it will provide
power over the CAT-X cable. If non-POH operation is desired, simply connect the
optional AC Power Adapter to the 12 VDC Power Input on the receiver unit. In
this case, the transmitter unit no longer supplies power to the receiver unit.
Note: This product utilizes a locking DC power connector to prevent the power cable from
disengaging. Insert the DC plug into the power input jack on the rear panel, then gently rotate
the locking collar in the clockwise direction until it is secure. To remove the power connection,
simply unscrew the locking collar counter-clockwise and then extract the power cable.
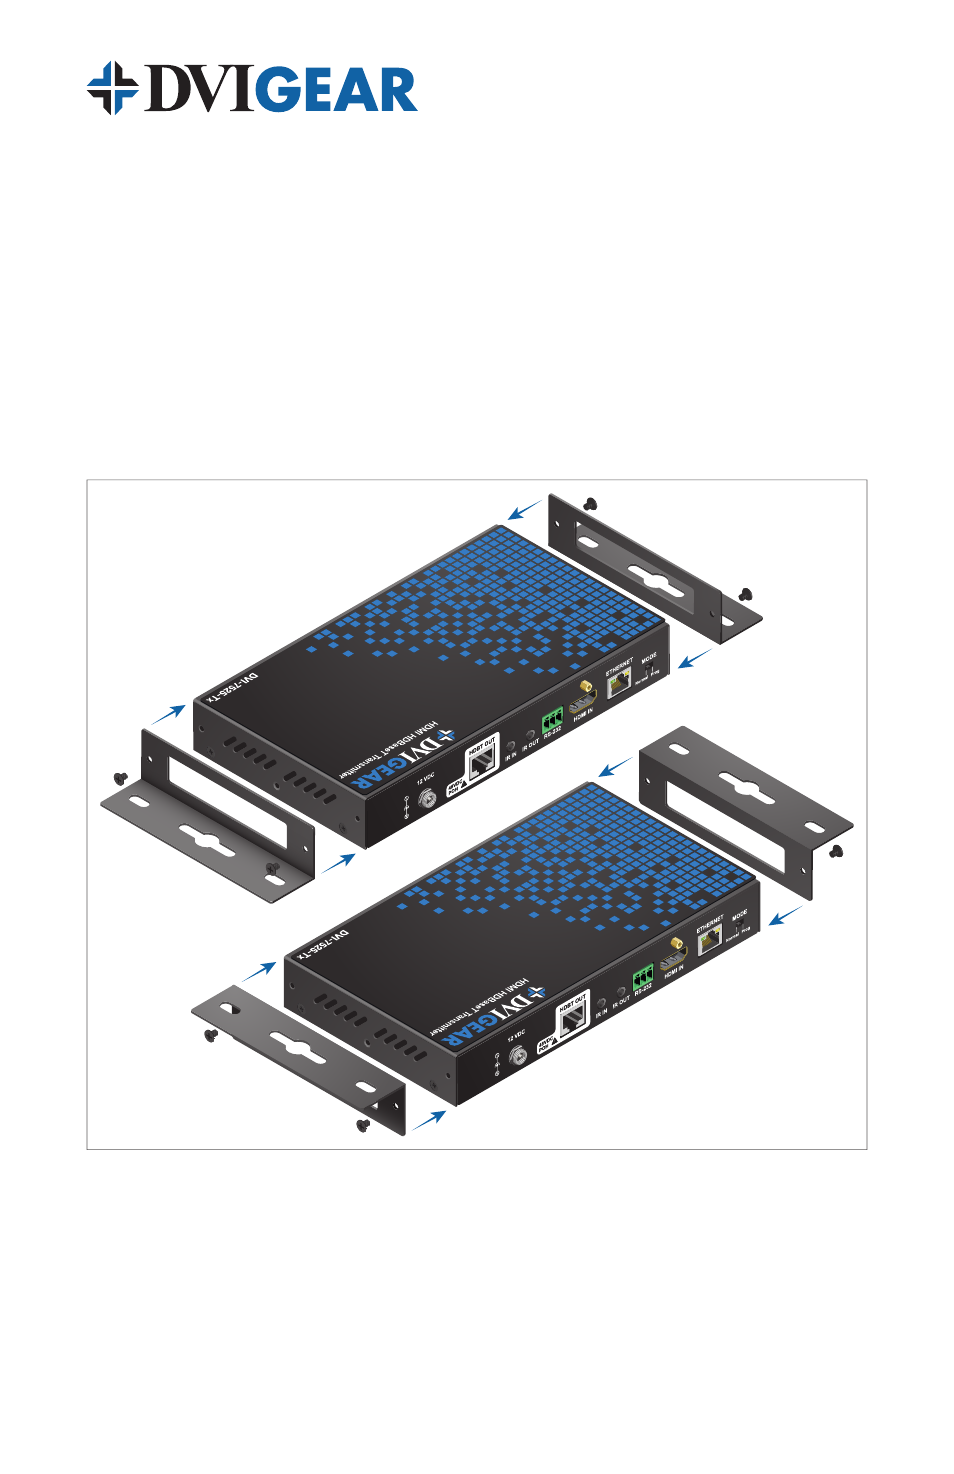
4.3 Mounting Hardware
Each transmitter and receiver unit comes with a pair of mounting brackets to
facilitate installation on furniture or other surfaces. These mounting brackets are
reversible, so the unit may be installed above or below the mounting surface.
To affix each bracket to an extender unit, place the side of the bracket with the
large rectangular ventilation opening against the side of the unit. Next, use the
supplied screws to secure the bracket to the two mounting holes located on the
each side of the extender units. These mounting brackets may also be used to
attach the extender units to the optional 19” Rack Mount Kit (see page 4).
Above Mount
Below Mount