Dynaflite DYFA3045 User Manual
Page 23
❏ ❏ ❏ ❏
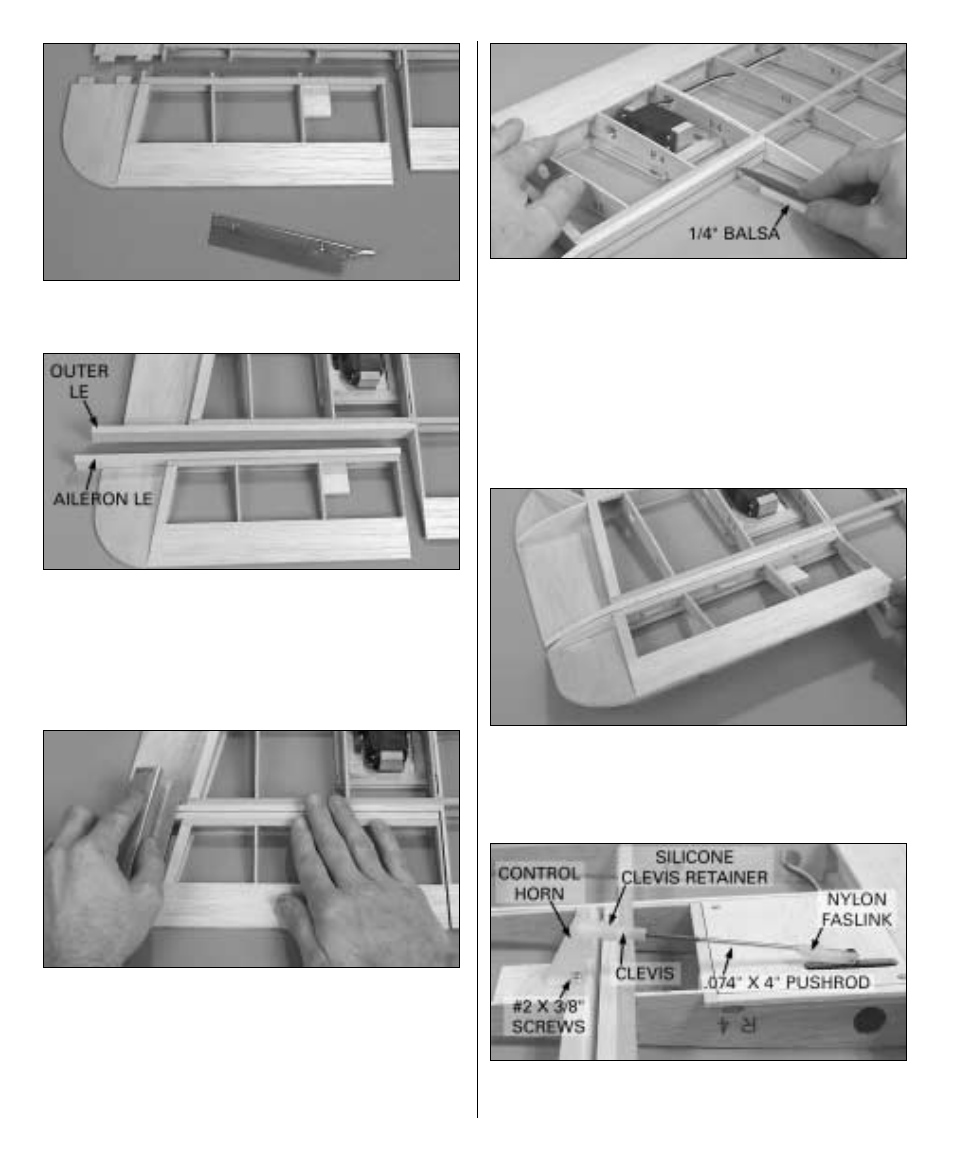
8. Use a razor saw to cut the aileron
from the outer panel.
❏ ❏ ❏ ❏
9. Trim the leftover portions of the ribs
and wing tip even with the outer panel and the
aileron spars. Cut the outer trailing edge and
the aileron leading edge from a 1/4" x 7/8" x
24" [6.4 x 22.2 x 610mm] balsa stick, then glue
them into position.
❏ ❏ ❏ ❏
10. Sand the aileron leading edge
even with the aileron and sand the outer trailing
edge even with the wing. Place the wing and
the aileron flat on the workbench. Holding them
down, sand the wing trailing edge and the
aileron leading edge even with each other.
❏ ❏ ❏ ❏
11. The same as was done on the tail
surfaces, mark a centerline on the outer trailing
edge. On the model shown, a ballpoint pen
supported by a piece of 1/4" [6.4mm] balsa was
used to mark the lines (the lines don’t have to
be exactly on center–it’s more important that
the lines accurately align with each other). Mark
a centerline on the aileron leading edge the
same way.
❏ ❏ ❏ ❏
12. Cut the hinge slots, then bevel the
leading edge of the aileron to allow for control
throw movement. Test fit the aileron to the wing
with the hinges. Make adjustments where necessary.
❏ ❏ ❏ ❏
13. Make the aileron pushrod from
the hardware shown in the photo and on the
23