Dynaflite PT-19 User Manual
Page 17
2. Cut the lower TE sheet from a 3/32" x
3/4" x 24" balsa stick and pin it to the plan.
3. Cut the LE from a 1 /4" x 3/4" x 24" balsa
stick. Glue and pin it to the 3/32" x 1/2" LE sheet.
4. Glue ribs 6 - 1 1 into place.
I 5. Cut and glue two 1 /4" x 3/4" doubler
sticks where the aileron horn will mount.
6. Cut and glue hinge blocks into position
from a 1/2" x 5/8" x 24" balsa stick.
7. Remove the aileron from the plan. Carve
and sand the top of the LE to match the taper of the
ribs. Taper the TE as well. Be careful as it is easy to
sand into the ribs.
8. Glue the top 3/32" x 1/2" LE into place.
9. Glue the top 3/32" x 3/4" TE into place.
I 10. Fit and glue cap strips to the top and
bottom of the aileron using 3/32" x 1/4" x 30"
balsa sticks.
11. Sand the aileron to fit the wing. Mark the
centerline of the aileron leading edge along its entire
length. Using the cross section on the plans as a
reference, sand the leading edge to the "V" shape
shown. Make sure the "V" is large enough to allow
for the full up and down movement of the aileron.
NOTE: Do not bevel the TE of the wing to the "V"
shape shown on the plan (this was drawn in error.)
12. Repeat steps 1 - 11 to build the left aileron.
13. Cut six additional hinge blocks from the 1 /2"
x 5/8" balsa stick. Glue these into position along the
inside edge of the TE of the wing opposite the
position of the blocks in the aileron.
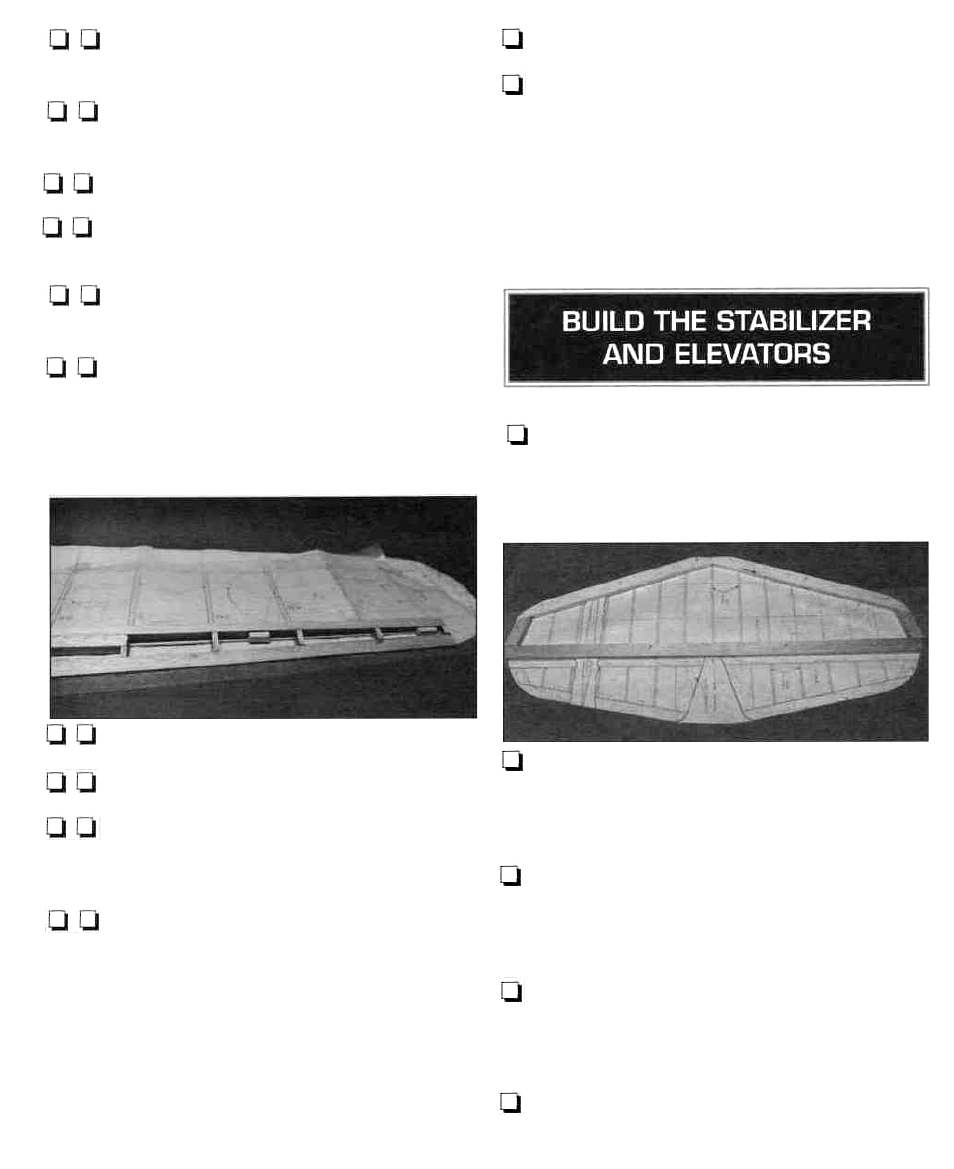
1. Cut the stabilizer drawing from the wing plan
and place it on your building board. Cover the plan
with wax paper.
2. Cut the trailing edge from 1/2" x 15/16" x 36"
balsa and pin it in place over the plan.
3. Cut both leading edges from 1/2" x 15/16" x 36"
balsa and set them aside.
4. Cut the tips from leftover 1/2" x 15/16"
balsa. Glue and pin them in place.
5. Glue and pin the leading edges in place.
17