Installing a single rocketport usb serial hub, Install a single rocketport usb serial hub – Comtrol RocketPort USB Serial or Modem Hub Driver Installation with Windows 2000 User Manual
Page 3
Installing a Single RocketPort USB Serial Hub
3
Installing a Single RocketPort USB Serial Hub
Use the following procedure to initially install the RocketPort USB Serial Hub hardware and software. If you
have installed a previous version of the device driver, you must remove it before installing an updated driver.
See the
discussion before reinstalling a driver.
Note: If you downloaded the driver from the
ftp
/
sites, make sure that you
extract
the driver to the
C:\Comtrol directory before installing the software.
1.
Plug the B end of the cable into the RocketPort USB Serial Hub back panel labeled USB-B.
Note: If your installation requires power, connect a power adapter to the RocketPort USB Serial and a
power source before connecting the unit. If you do not connect the power at this time, the installation
will fail.
2.
Plug the A end of the cable into your USB port on your computer or USB Hub. Windows will start the
process of installing the new hardware.
Note: The Power light (amber) on the front of the unit indicates that there is power coming into the unit.
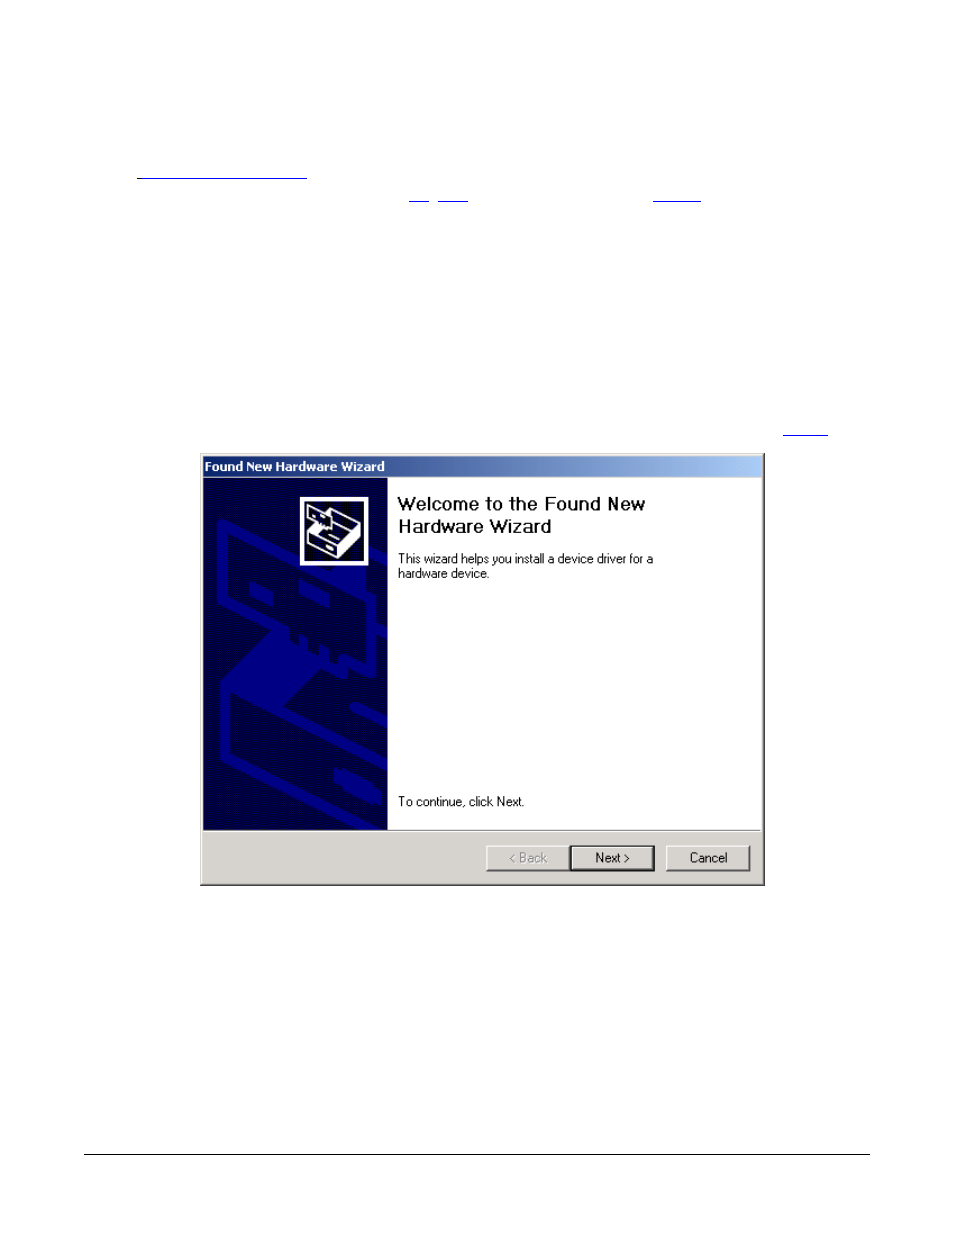
3.
If this is the first Comtrol USB device that you are installing on this computer, click the Next button when
the Found New Hardware - Welcome screen appears. This procedure installs the platform for installing
USB Devices.
Note: If the first screen that appears during the installation is the Files Needed screen, go to